Posts

Doin’ Demos

I would not be doing what I do today if it were not for demos.

Yes…. I was the kid mom and dad would lose at places like Greenfield Village – part of the Henry Ford museum complex in Dearborn, Michigan, Historic Mystic Seaport in Connecticut, or any of the Mackinac State Historic Parks at the northern tip of Michigan’s lower peninsula.  The 5 of us kids would all be there one minute and the next thing they knew… there were only 4.  Luckily, it did not take them long to figure out where to find me = simply backtrack to the last place that had demonstrations and there I would be… still watching….. completely spellbound.  At all of these places.. and many more…. I saw weavers, spinners, dyers, blacksmiths, woodworkers, glass blowers, ropemakers, coopers…. all plying their trade for everyone to see. Everyday people actually DOING these crafts with skill and artistry – creating magic right before my eyes and I would lose all track of time… and my family as they moved onto the next thing.

Demonstrations are a fabulous way to connect the general public to skills and crafts that are no longer part of our modern everyday life and I love doing them.

-3  IMG_7458   demo2013_pic by Jen Stafford

I’ve done them at our guild sales and at fairs.  My work as a storyteller, along with my fascination with odd bits of off-beat information, certainly helps.

IMG_7522  
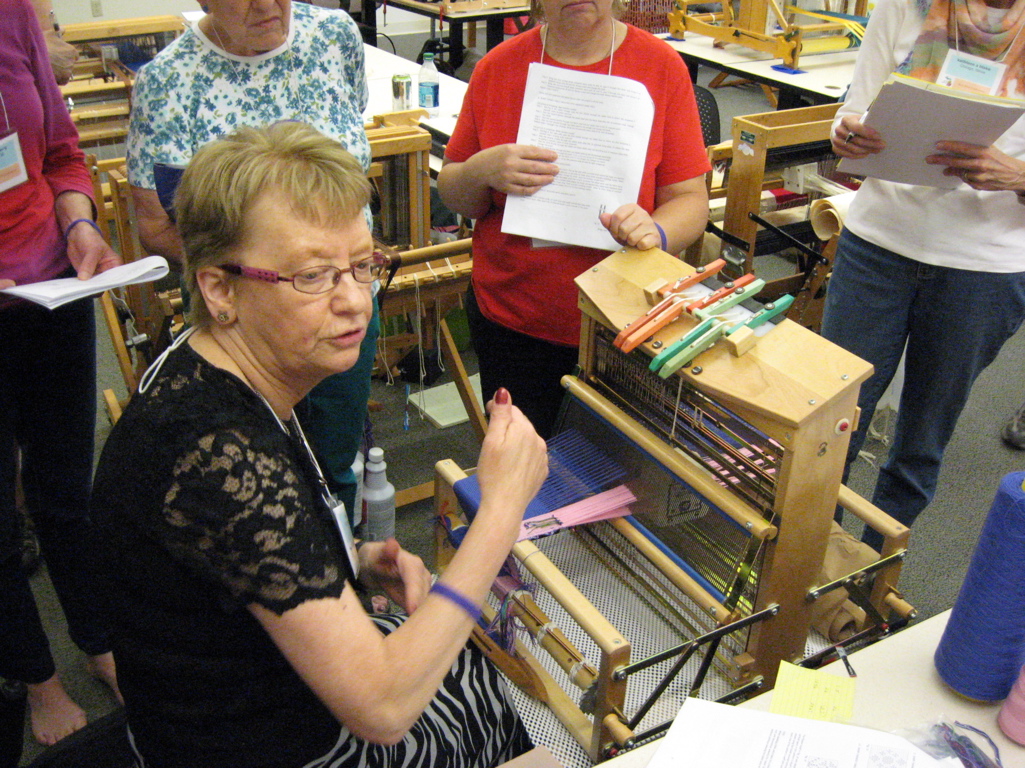
Showing how things are done….

IMG_20140712_090647_303  
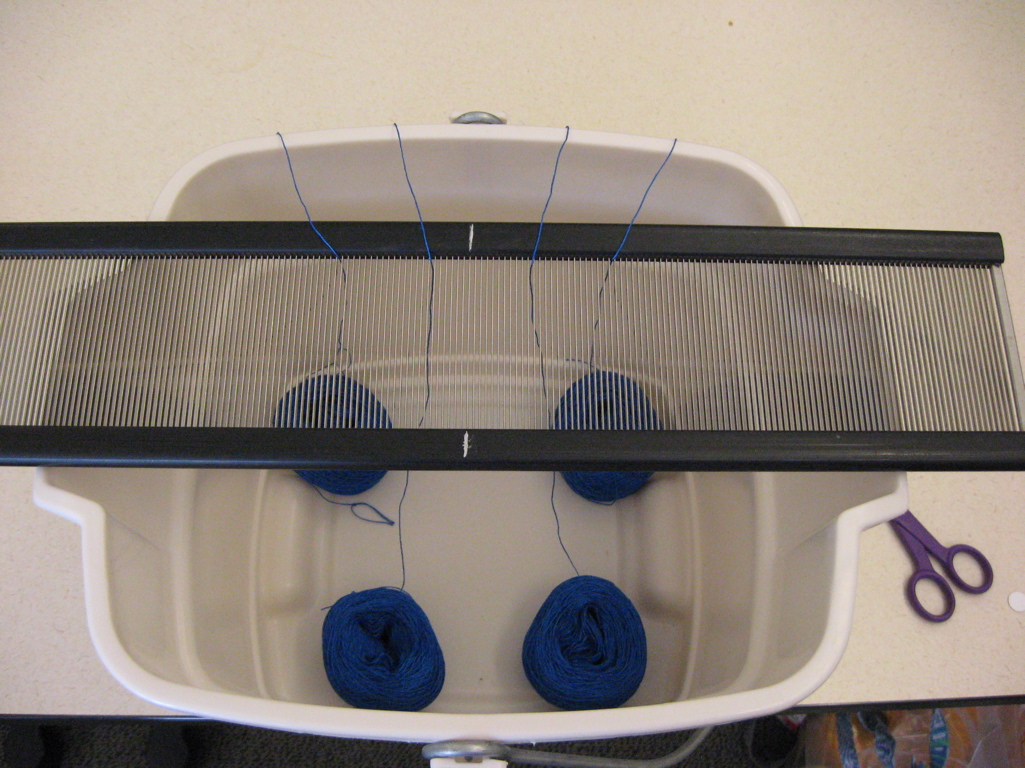
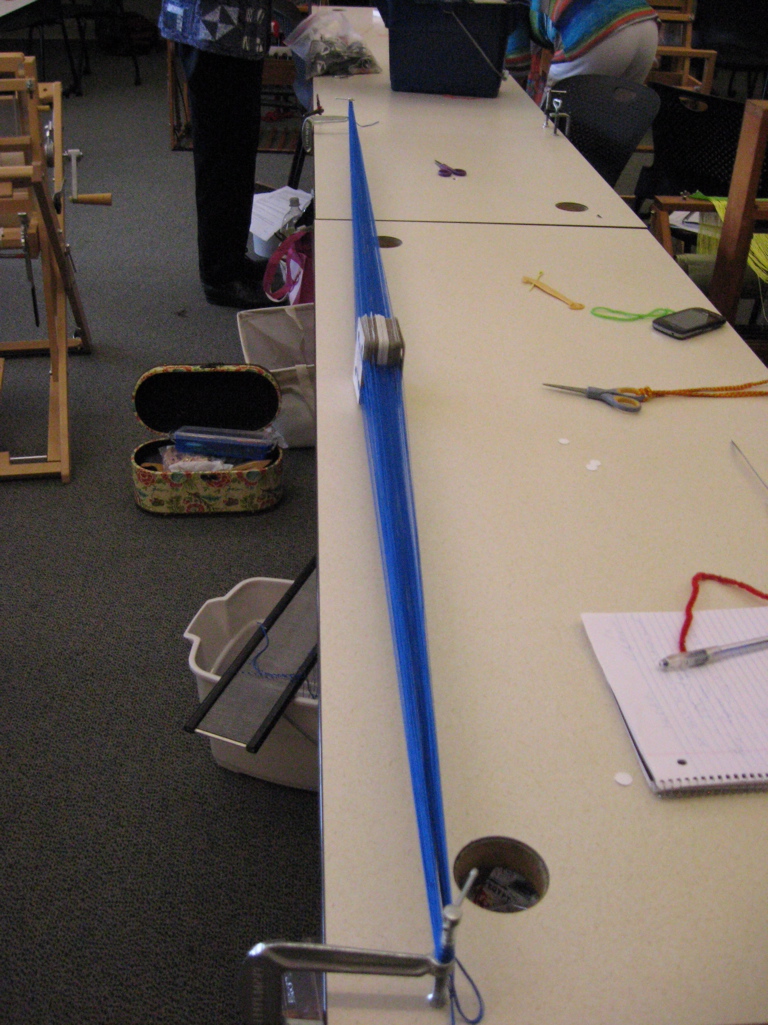
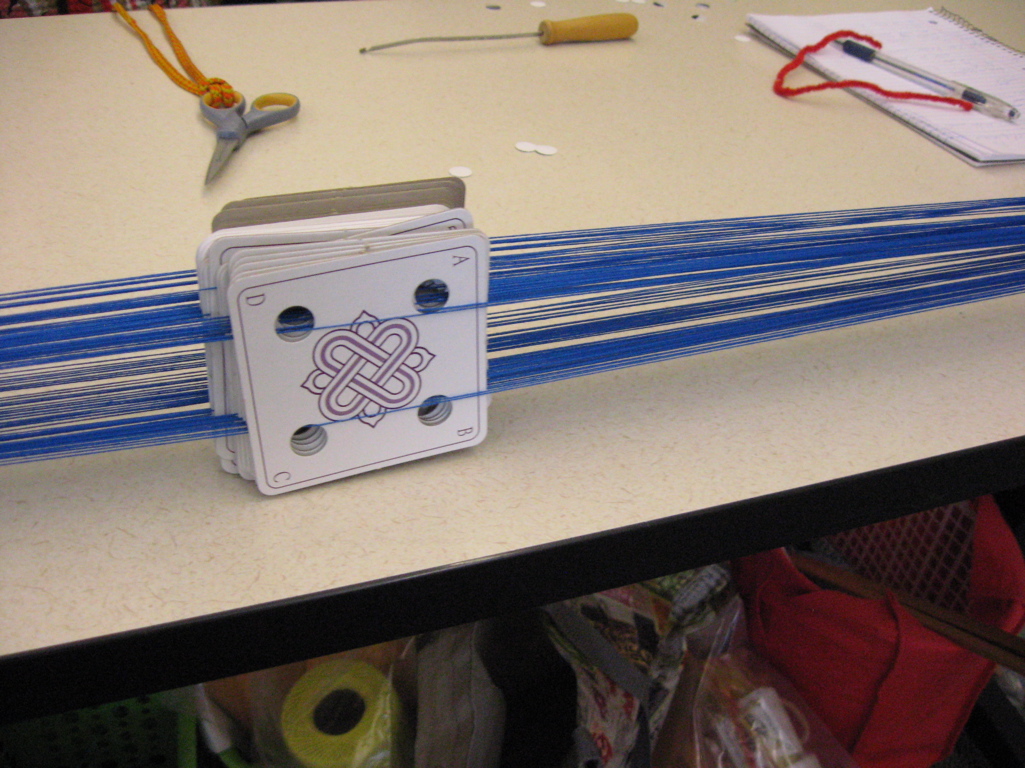
letting people touch the wool and yarns….

weaving demo_3  
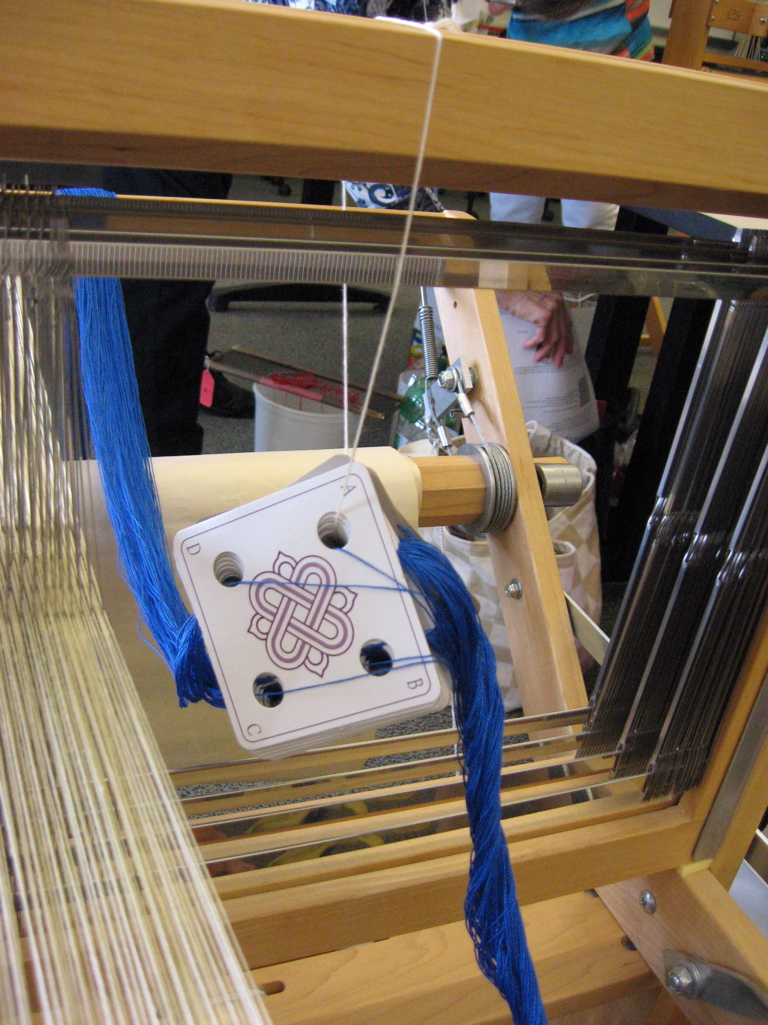
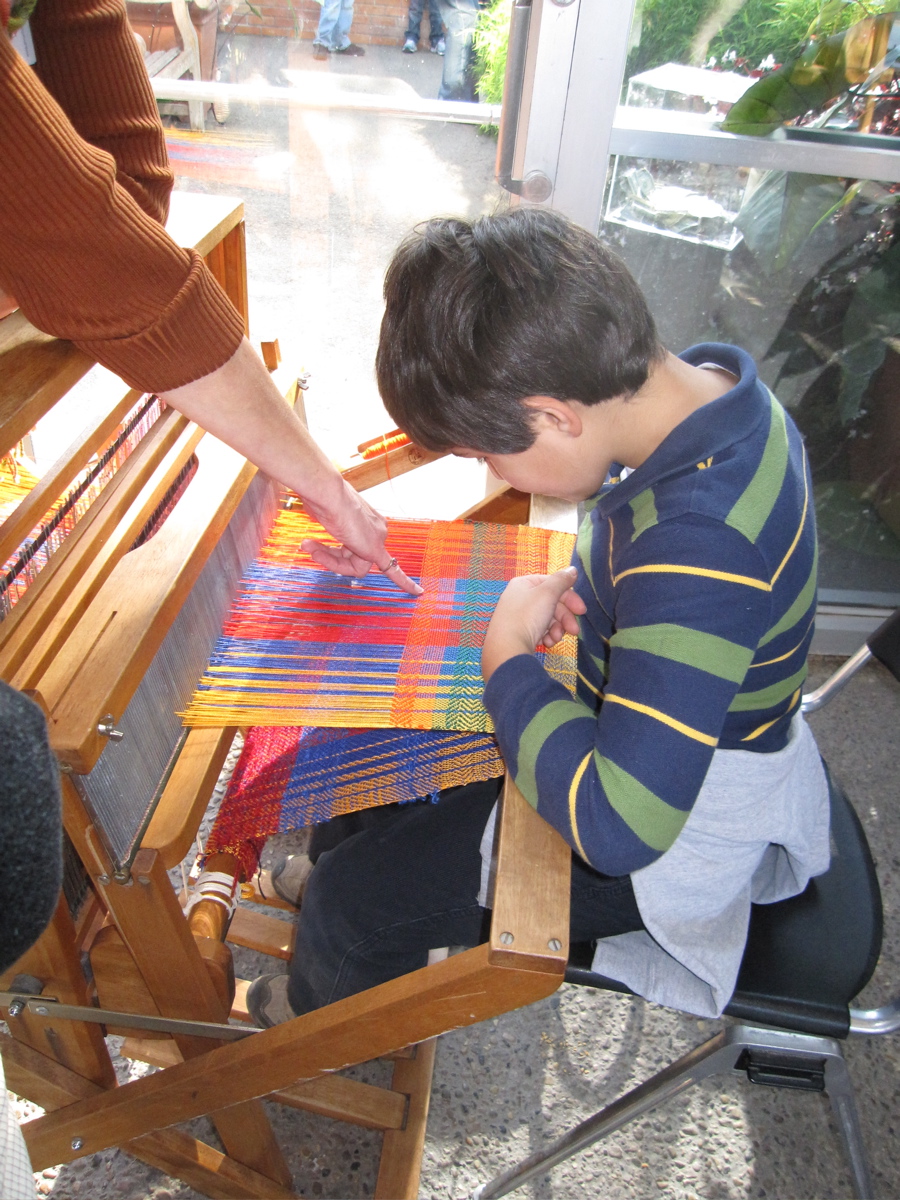
and giving them have a chance to throw the shuttle….

create tactile hands-on experiences that can stay with someone their entire life.  Telling the stories of the workers in the mills, how fortunes were made and lost, and where the terms and sayings we use today originated brings dry facts of history to life and connects us to our past.  This is where cloth comes from….. this is how it’s made…. and these are people who make it today.

IMG_7485


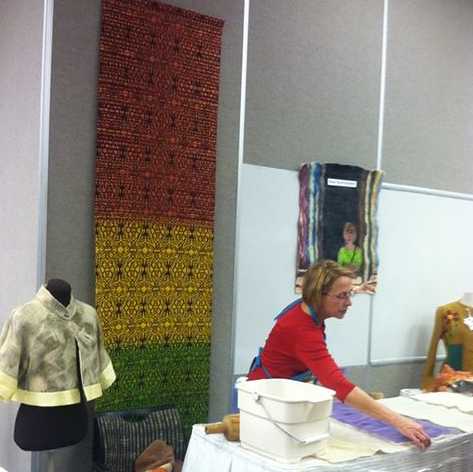
One of the fun things about doing demonstrations is that you never know what may come out of the experience. Because I’m talking with people as I work and need to be able to stop at any given moment to answer a question or give a quick recap, I do not attempt to create anything complex –  I just play and try out ideas. This was true at the last AAFG Holiday Sale when I made a hat using silk chiffon fabric covered with layers of merino wool and silk fibers as embellishmentto to demonstrate wet felting. Because this hat can be turned inside out, you get to choose which ‘look’ strikes your fancy = more intense color or muted color.

hat

I was pleased with the experiment and continued playing with the idea in different colors.

reversible green hat reversible red hat reversible blue hat


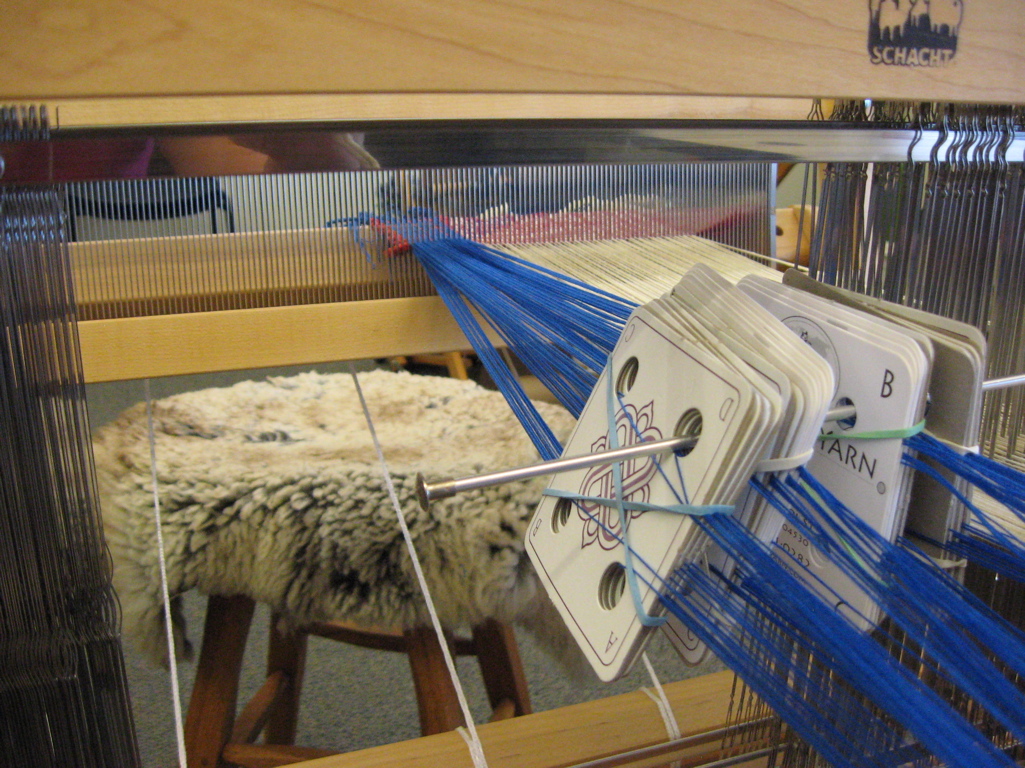
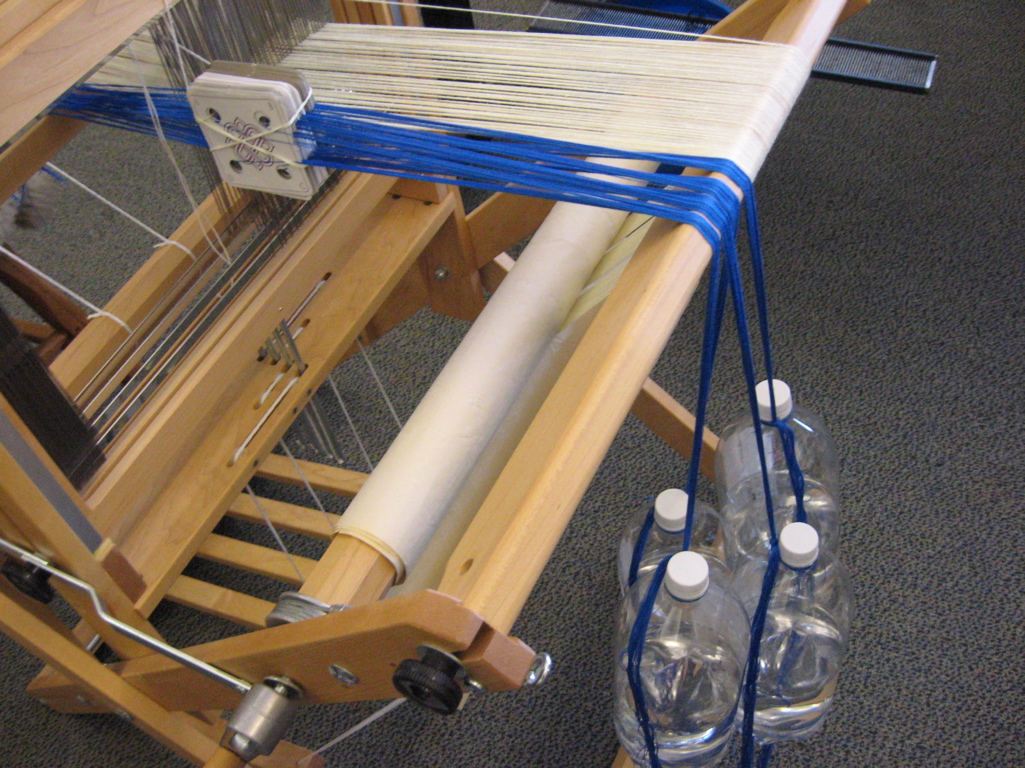
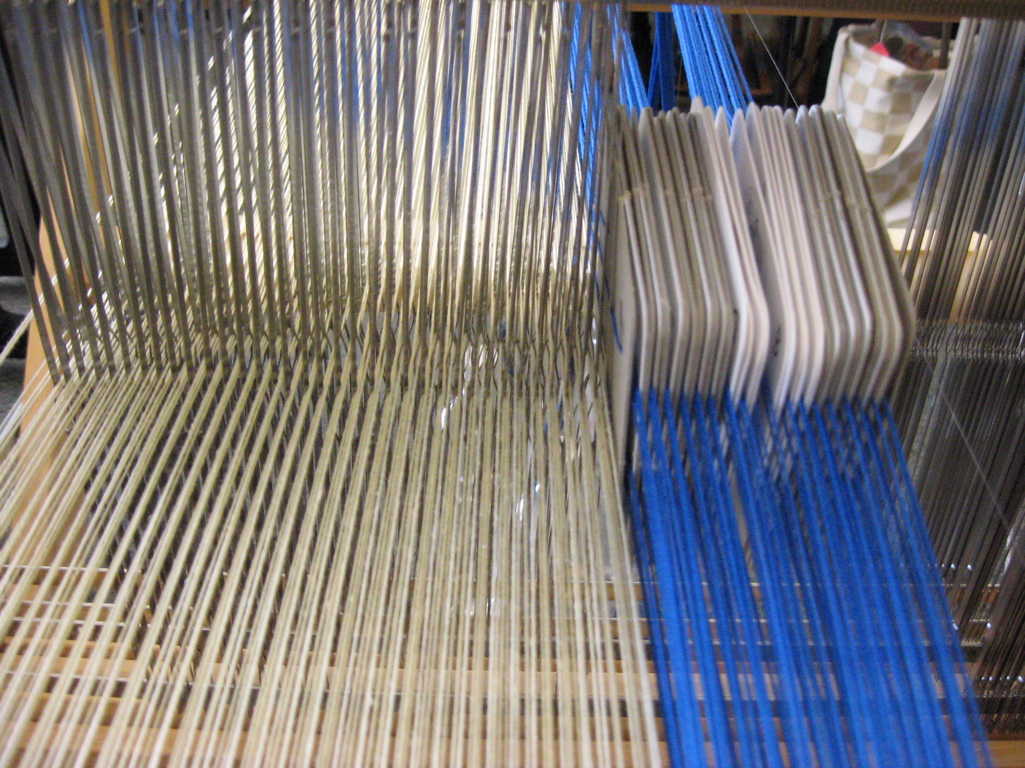
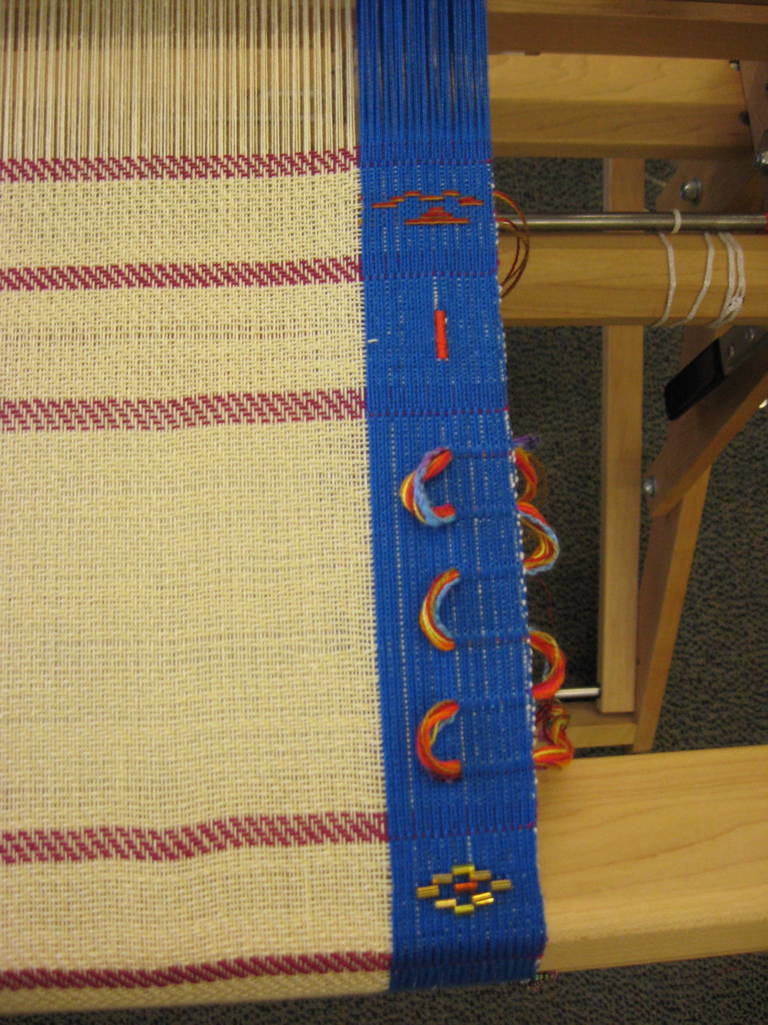
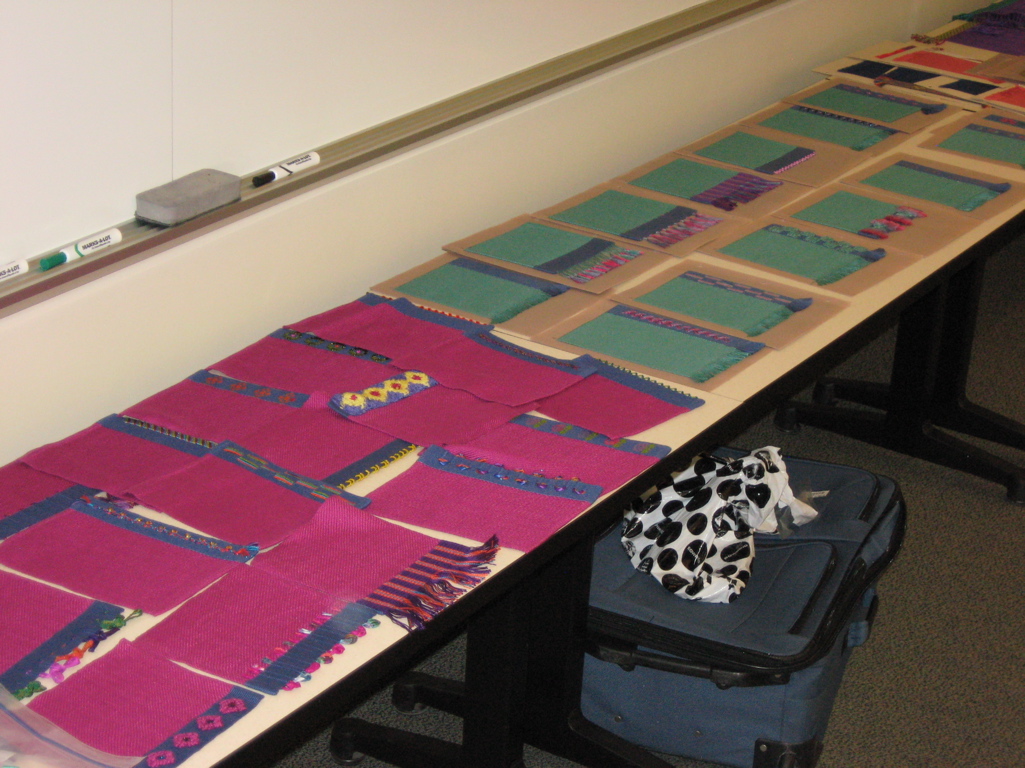
Not only can doing demonstrations educate and allow for experimentation, they can be a welcome distraction.  For the past 12 years members of the Ann Arbor Fiberarts Guild have been weaving at the University of Michigan Medical Center as a form of entertainment and distraction for patients and family members who are waiting to see the doctor.  Currently we are in the lobby of the Cancer Center and the cloth woven is made into hats that are given to patients undergoing chemo and other treatments.

IMG_20141009_134358_442

“We are so pleased to have this wonderful skill shared with our patients,
not only for the calming affect it has by sitting and observing the weavers,
but also for the lovely hats made for our patients from the weavings.”

Share….. Educate…… Outreach…… Connect…….
all this and more can be found when doin’ demos!

Building a Tapestry Loom

The summer of 2011 I took my first tapestry weaving course at The Association of Guilds of Weavers, Spinners and Dyers summer school held in Edinburgh, Scotland that year.  Our instructor, Dot Seddon, had us working on simple frame looms which are very portable, fast and easy to warp, plus I brought along one that I had made.

nail loom  IMG_4081

Midweek we took a field trip to the Dovecot Tapestry Studio in Edinburgh.  When I walked into the space I was immediately hit with a déjà vu experience = I’ve been here before!

SS 2011 Tapestry - 116

The building that now houses the Dovecot Studio is the old ‘Infirmary Street Baths’, the first public baths in Edinburgh – built in 1885, designed by Robert Morham – and I used to swim there in the mid 1970’s when I was a student at Edinburgh University!   The baths closed in the 1990’s and fell into disrepair.  The Dovecot Studio moved into the space in 2009 after a 2 year – £12million renovation.  This is a perfect studio space with tons of natural light from the glass ceiling, the pool has been filled in to make the weaving floor, the changing rooms have been turned into office and meeting rooms, and the observation walkway is used as gallery space.  Click here for a wonderful visual tour of the studio.

Here I saw vertical/high warp looms built of steel scaffolding pipe.

DovecotTapestryStudio_2

When I came home I was inspired to try weaving a larger tapestry.  But looms are expensive so I adapted a triangle loom I already had into a larger version of what I had used at summer school.

Reflections in Water 13in

I liked working upright but it was difficult to get and keep an even tension on a warp that large, plus I wanted to have an option of being able to lift the warp threads for faster/easier weaving and the frame I was using had nails on all 4 sides.  I got another large frame, added nails to the top and bottom only, and figured out a shedding device to lift my warp threads.  This was an improvement but there were still problems with the warp tension and the easel stand took up quite a bit of space.

IMG_4496

I took another tapestry course at the next AWSD summer school in 2013.  [see ‘Weaving in Wales’ posts from September 2013.]  Our instructor, Alastair Duncan, brought his scaffold loom.  I was able to get a good look at how it’s made and to weave on it for the week.

scaffold loom  working on scaffold

I decided that this is the type of loom I wanted.  Looking at my pictures and notes, my engineer husband was able to come up with plan to use galvanized pipe so all the parts would be available at the local hardware store.  I received a professional development grant from my guild, The Ann Arbor Fiberarts Guild, to help with the cost of materials.

We used 1 1/2″ pipe for the top/bottom and 1 1/4″ pipe for the sides with bushings to connect and it can be taken apart to transport; scaffold level jacks are used to adjust the vertical sides for control of the warp tension; attached it to a wood base; and added measuring tapes to the top and bottom.

3_corner pipe 2_levelingJack-base hardware


4_measuring tape

The finished size is 4′ x 6′ with 3 1/2′ x 5′ weaving space.

1-scaffold loom

I still need to create a shedding device like the Dovecot looms have to lift the warp threads but I am excited to get started on a new tapestry!


Early Medieval Tunic found in Glacier to be Recreated

reconstructed-early-medeval-tunic-650x433

Astonishingly well preserved Iron Age tunic will be recreated (mostly) using the ‪spinning‬ and ‪weaving‬ techniques available at the time.  You can read about the examination of the wool fibres, method of spinning, the diamond twill weaving pattern and other factors which have been revealed by this project.
Click on the link to read this fascinating article.
http://www.medievalists.net/2014/11/24/early-medieval-tunic-recreated-norway/


When disaster strikes……

Every artist knows there are times when a project just does not want to go as planned and this was one of those projects.

In September I started on a commissioned shawl.  The warp was 10/2 cotton in 20 colors.

rainbow warp

642 yarns threaded in a point twill over 8 shafts/harnesses.

heddles

3″ into the weaving and I realized I had a misthread in the pattern = inappropriate expletive uttered!!!  What to do?
Do I (A) keep going with the philosophy that we humans are not perfect and embrace my imperfection or (B) correct the mistake = unweave, untie, unthread, rethread, and retie?

IMG_6004

If this was something I was making for myself, I would probably go with option (A) as there was only 1 thread in the wrong place.  BUT this shawl is something I am selling and the buyer deserves the highest quality work I can give…. so option (B) is it.

I took out the black 5/2 cotton weft and the red header then dealt with 200+ threads and heddles to get the 1 thread moved to the correct shaft, retie and finally back to where I was…. 24 hours earlier.

Weaving now went fairly smoothly…

IMG_6119

…until 5″ from the end when I noticed a lot of black fuzz = uh-oh.  I took out several rows to see what was going on and I realized the 5/2 cotton yarn was disintegrating = WHAT is going on here????  This particular cone of yarn had been in my stash for quite a while and though the outer section was OK so the first 2/3 of the shawl was fine, the middle of the cone had rotted and the last third of the shawl was falling apart = REALLY inappropriate expletives uttered!!

At this point I had no idea if the fabric was stable and would hold up during washing so I stopped weaving, hemmed it, cut it off the loom and held my breath as I put it in the washing machine.

Here’s how it came out.  A misthread is a pain but this is a disaster that cannot be saved.

disaster

I emailed my client and explained the situation.  Luckily she was OK with getting the shawl by the end of October so back to square one I go.  I decided this time I would use 5/2 bamboo for the weft, ordered the NEW yarn, and as I waited for the delivery, I began to wind out another warp.  I kept the ends of the old warp threaded through the reed and heddles so all I had to do is tie the new warp onto the old then pull it through.

IMG_6102

The second warp wound on and the new weft in hand, time to start weaving…. AGAIN.

IMG_6121

This time there was no added drama as 87″ of this new shawl was woven, hemmed, cut off the loom…

IMG_6128

…and the finishing work began = tying knots and twisting fringe.

IMG_20141021_162143_109

Holding my breath I put it into the washing machine….. and it came out just fine = whew!!  

Because one side of the fabric has the colored warp dominant and the other has the black weft dominant I sewed the shawl into a mobius loop so that you can see both sides = SUCCESS!!  And the Rainbow Mobius Wrap has been shipped to her new owner.

1_front  2_back

Lesson learned from this project:
check ALL yarn prior to using it in a project!!!


Weaving a Tablet Border

On August 8-9-10, 2014 the Michigan League of Handweavers Summer Workshops were held at Hope College in Holland, Michigan.  I received a learning grant from MLH to take the Tablet Borders Woven Simultaneously With Loom Weaving workshop taught by master weaver Inge Dam.

IMG_5938  IMG_5954

Originally done on a warp-weighted loom, this type of weaving goes back to Iron Age Scandinavia (500 BCE – CE 800) and combines the use of tablets/cards to weave a band at the same time you are weaving fabric.  Inge’s book Tablet-Woven Accents for Designer Fabrics: Contemporary Uses for Ancient Techniques is a wonderful combination of history and how to.

There were 15 of us in the workshop.

IMG_5931

We arrived with a 6″ wide warp already on our looms.

IMG_5928

Day 1  (3 steps forward….. 4 steps back)

We began with winding out the warp for the tablets.  Buckets and reeds were used help keep the 4 balls of yarn from tangling.  34 tablets were threaded 1 yarn in each hole.

IMG_5915  IMG_5917

Next we wound our warp between 2 clamps  – dropping 1 tablet with each pass until all 34 were in a pack on the table.

IMG_5919  IMG_5918

At this point the words “Rubber bands are my friend!” became an important mantra to keep the pack together and in order as we now moved the tablets & warp onto our looms….

IMG_5920   IMG_5921

The warp yarns were then threaded into the reed in groups without shifting the order of the tablets or dropping any of them onto the floor!

IMG_5924

The warp ends were tied securely to the front breast beam rod and water bottles were attached at the back to tension the warp.

IMG_5922

At this point we were all ready for a lunch break!

After lunch, life got much more exciting for me.  I forgot to rubber band the tablets when I loosened the front ties in an attempted to correct some tension issues and 1/4 of my warp yarns were pulled back through the reed and those tablets fell to the floor = NOOOOOOOO!!!!!!!!  Luckily the warp yarns stayed in the tablet holes and with Inge’s help, I got the tablets gathered together and the warp reattached to the front rod = whew!!!  The rest of the afternoon was spent untangling the mess of warp yarns I had made.  By the end of the day I finally had everything sorted out.  Time to quit and have a fresh start in the morning!

IMG_5933

Days 2 & 3  (much smoother sailing!!)

To weave the fabric (cream color) & tablet border (blue) at the same time, one shuttle is used to carry the weft across both sections.  I work the loom as I normally do and the cards are rotated by hand 1/4 turn with each pass, either forward or backward, depending on the pattern.  I soon got into a rhythm and was ready to start on the samples/exercises to embellish the tablet border.

IMG_5932
1) Making loops to attach fringes.

IMG_20140809_172443_920
(bottom)  2) Tassles   3) Twining   4) Beaded Edge  (top)

IMG_5943
(bottom)  5) Bead Brocade   6) Selvage Loops  7) Wraped Warps   8) Brocade  (top)

There were breaks throughout each day as Inge talked about the history of tablet weaving….

IMG_5935

explained the samples we would be doing…..

IMG_5930

and gave us a chance to see her fabulous woven garments up close.

IMG_5929

It was a fantastic set of days with a fabulous group of weavers!

TabletBordersMLH2014


Waulking and Art Fair and more…. oh my!

July has been a month filled with one event after another!  

Starting with demonstrating in the Textiles Tent at the Saline Celtic Festival which combines my 2 artistic loves…. stories and weaving.

IMG_20140712_090647_303    IMG_20140712_090704_412

The weather was sunny and relatively cool for a Michigan summer so attendance was good for the festival.  Mary Underwood and CJ Kohoyda-Inglis organized the Textile Tent filling it with fabulous fiber folk so besides my weaving demonstration, there were members of The Spinners Flock demonstrating different forms of spinning and knitting.

One of highlights of our tent is ‘Waulking the Tweed’ with Frances Acar leading us in song.  ‘Waulking’ is the Scottish Gaelic word for fulling.  Woven woolen fabric needs to be ‘fulled’ when it comes off the loom.  Pressure, warmth and moisture creates tiny pockets of air that lift up the woolen fibers making the surface softer, thicker and more weather resistant.  Before the days of machines this was done by hand with friends and family in a community event – each bringing fabric that needed to be fulled.  If there was not a table long enough for the fabric, doors were often taken off hinges and set on the ground or saw horses for the work surface.  Songs were sung to set the pace, rhythm and coordinate movement.  By measuring the woolen fabric after every 2 or 3 songs controlled shrinkage can be achieved.  The songs are call-and-response with the leader singing the verses and everyone else singing the refrain.  Many of the songs were about how wonderful, intelligent or handsome a husband/lover is OR how that husband/lover is a no good rogue and lowlife.  (Some things haven’t changed over the centuries!)

Right on the heels of Celtic Festival came the Ann Arbor Art Fairs.
For 4 days more than 1,000 artists sprawl over 27 blocks of Ann Arbor as 4 separate nationally recognised art fairs are going on simultaneously.  The weather was fantastic and nearly 500,000 people came over the 4 days.  My work, along with 15 other guild members, was part of the Ann Arbor Fiberarts Guild booth in the State Street Area Art Fair.  It certainly ‘took a village’ or in this case a guild (16 sellers and 20 volunteers) – to build, man, and take down our booth.

IMG_20140715_092843_564  IMG_20140715_092854_482

IMG_20140715_095055_809   IMG_5885 felt jacket silk purses small purses  IMG_5878 IMG_5843 IMG_5838

And finally…. the month closes out with the National Storytelling Network Conference in Mesa, Arizona filled with master classes, keynotes, workshops, storytelling concerts and swaps.  Here I’ll connect with storytellers from across the country and help with the 8th season of the Fringe Performances.

FireAndLight400


Michigan League of Handweavers Biennial Fiber Show

I spent a lovely summer afternoon in Holland, Michigan for the last day of the Michigan League of Handweavers Biennial Fiber Show – complete with refreshments, awards ceremony and Ann Keister’s comments on jurying the show as well as a PowerPoint presentation of her work.

Surround Sound Vest won 3rd place in the Functional Fiber category and besides being presented with a lovely woven & beaded ribbon…. I got $75 in prize money too!!

IMG_20140629_134140_726    IMG_20140629_134323_599


It was nice to see ‘Surround Sound Vest’ and my ‘Green Man’ tapestry, as well as all the other fabulous fiber works of art displayed so beautifully.  Hats off to everyone at MLH who worked so hard to put 80 items on display!!

IMG_20140629_134713_980  IMG_20140629_140100_266

IMG_20140629_140108_679  IMG_20140629_140125_200

The Saga of the Green Man comes to an end

The weaving completed, I cut the Green Man off the loom on January 13, 2014
…only 1 year later than planned.

14_final

Now the finishing work began: all the warp threads knotted and secured, the long gap in the center forehead leaf sewn shut, clean up the back (weave in/sink the weft ends), plus there was a lot of rippling in the tapestry because my warp tension had become very uneven.

gaps and ripples  15_sewing loose ends

Crossing my fingers that blocking would eliminate the rippling, I put him onto the shower floor to wet down then I pinned him facedown onto a piece of foam board to block, squaring up the 4 sides.  I stood him up in the bathtub to drain over night then moved the board near the floor register for the next 4 days to dry.

16_blocking

Once he was throughly dry, I unpinned him and turned him over.  To my joy…. the blocking had eliminated the rippling = whew!!!  Twill tape was sewn to the top and bottom, turned to the back and sewn down.  Finished tapestry dimensions: 18″ x 18″.  I used velcro to mount him onto black matboard and made a simple black frame.  Final dimensions: 25″ x 25″.  I packed him up and dropped him off to be juried.

Green Man_Barbara Schutzgruber

The Green Man was accepted for the AAFG 2014 exhibit at the Power Center for the Performing Arts in Ann Arbor, MI.  We hung the exhibit on Tuesday, February 4th and it runs through the month of February.

Library - 6219  Library - 6216  Library - 6218  Library - 6213  Library - 6211

He is nicely positioned so he can check out everyone as they enter the theater from the lobby…. and is watching to make sure no food or drink is brought inside!

My daughter Andrea, who did the orignal painting, announced the other day, “Hey, Mom…. I’ve got an idea for our next painting/tapestry collaboration….. “

The Saga of the Green Man (pt2)

When we last left our hero…. he was awaiting my decision:
Do I chuck all that I’ve done so far… cutting my losses (literally!)
and start over?

Or do I continue on and see what happens?

I am a ‘process’ artist rather than a ‘project’ artist which means I am more interested in the journey than I am in reaching the original destination.  So of course…. my decision was to move the cartoon lower, realigning the eyes, and continued on!!

The Green Man’s features were now more square than the original design.  The good thing about choosing a Green Man for my first attempt to weave a face is that a Green Man is not “human”.  As long as I kept his eyes focused, the rest of his face was open to interpretation.  Not wanting to redo the cartoon, I continued to follow the original, trying to keep my beating pressure the same as I had used the year before.

9_continue weaving  10_15inches  11_16 to 17 inches

Once his forehead was finished…
12_19.5 inches   

I packed down the new weaving to match the new proportions of his lower face.

13_19.75 inches

I was VERY pleased with how he came out but there was still more to do…..

The Saga of the Green Man (pt1)

Some projects just take time.  They are never going to fulfill any need I might have for instant gratification.  The Green Man tapestry has been one of those.

I started this project back in August 2012.  My goal at the time was to have him completed for the February 2013 Ann Arbor Fiberarts Guild annual wall hangings exhibit at the University of Michigan’s Power Center for the Performing Arts.
Click on the links to read about the process:
designing – preparing the loom – the cartoon – weaving –  the face – the eyes –  taking longer than anticipated.  

By mid January it was clear that I would not be able to have him ready.  And so it was…. the Green Man looked on as other projects, deadlines, commissions, and life events took center stage.  [see the blog archives]  For 9 months he patiently watched and waited.

weaving room

FINALLY… 1 year after I started him, I was able to once again turn my attention to the Green Man.  One of the skills I worked on during the AWSD summer school tapestry course in Carmarthen, Wales [see September 2013 blog postings] was beating/packing down the weaving.  Looking at it now, I could see that yup…. my packing was pretty loose so I began to compress.

before

before

The result = the tapestry was now 3″ shorter!

after

after

Also at this point I could see that my warp tension was pretty wonky and I would not be able to easily correct this = OOPS!!!  I now had major decision to make:
Do I chuck all that I’ve done so far… cutting my losses (literally!) and start over?
Or do I continue on and see what happens?