Posts

Riverbend Studio – another year of work

At the end of 2013 the rough construction was competed for my studio space on 5 acres of woodland in central Michigan.  See the November & December 2013 achieve for Riverbend – rustic beginnings  and  Riverbend – building the studio [part 1] [part 2] [part 3] [part 4]

2014 has been a year filled with continued work.  

In May steps were built….
steps 1  steps 2

and a contraption for maintaining the lane.

road grader 3 road grader 4

The metal roof was put on…

IMG_20140522_165427_335  IMG_20140523_133836_573

and a small folding table and a sideboard were added to the living space.

IMG_20140524_181341_541

With the addition of vinyl flooring, curtains and rugs…. the inside space was coming together nicely.

IMG_20140606_163857_690

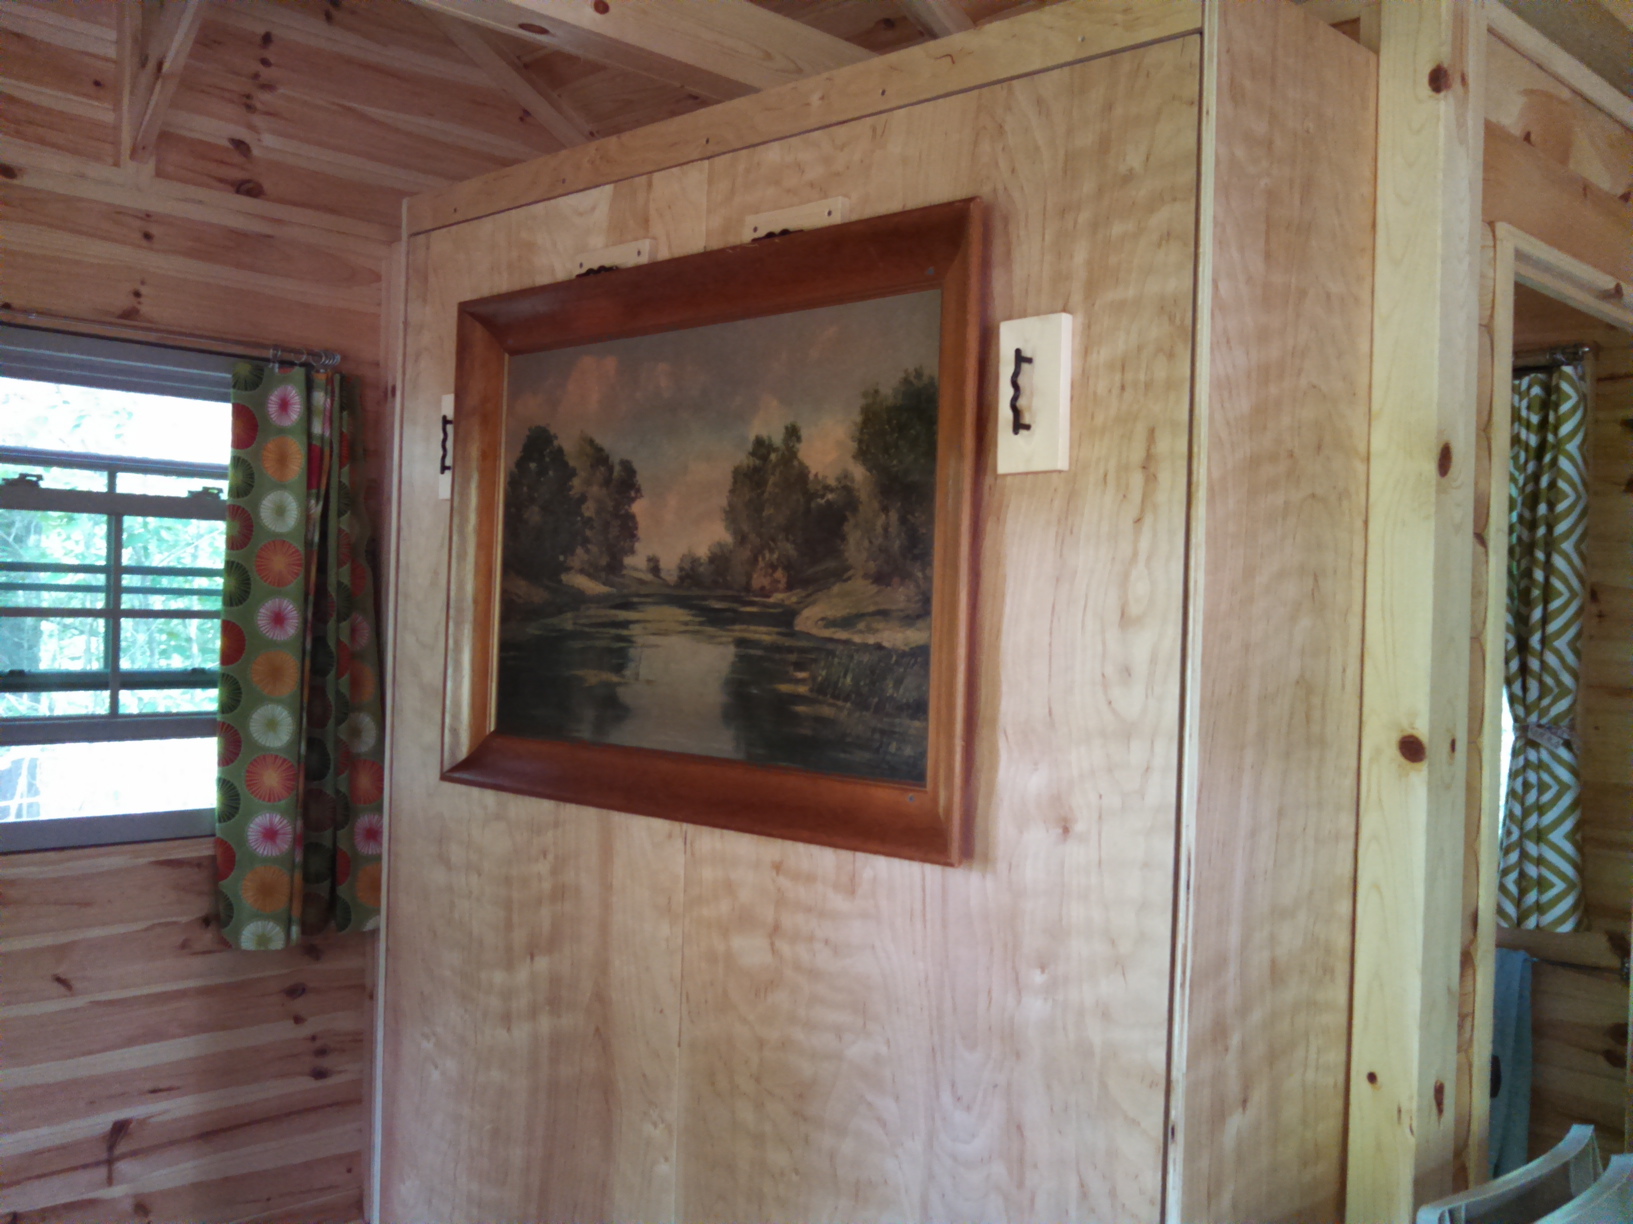
Later in the summer came the building of a Murphy bed

IMG_20140627_115014_635  IMG_20140627_115027_364

and the picture that hung over the fireplace in my parent’s house for 55 years has a new home.

IMG_20140627_105240_275

In the spring and fall the overnight temperatures inside the studio can easily drop into the 40’s F…

3_cold

so one thing was left on the list for comfort = getting a propane heater that would vent to the outside.

IMG_20141003_174321_321  IMG_20141004_134512_221

With the painting of the front door…

IMG_20141004_134541_518

and hanging the nameplate made of Welsh slate…

IMG_20140606_105526_886

my Riverbend studio retreat is coming along nicely.

IMG_20141003_174852_250

Here’s to more adventures in 2015!


Riverbend – building the studio [part 4]

With the studio completely enclosed….

1_studio

cold weather setting in with snow outside…

2_snow

and only 40F inside…

3_cold

it was time for one last weekend to complete this building project.

The trim was added to the exterior walls…

4_outside trim

hurricane ties were attached to the roof and walls…

5_hurricane clips

and trim was added to the rafters.

8_ceiling

The interior walls went up to enclose what will be the bathroom area…

7_sleeping area

and this is the view I’ll have waking up in the morning.

9_view from inside

In the Russian folktales, Baba Yaga lives deep in the forest in a tiny house that stands on chicken legs.  Well… this may not be as unique at hers…. but it is MY ‘house in the forest’.

10_studio front

Riverbend – building the studio [part 3]

Putting on the roof… cont.

2 weeks later we were back at Riverbend with a spiffy machine that Terry designed to lift the panels.
1_winch  2_lifting roof panel

This was a LOT easier than hoisting them up the 12 feet using only brute force.  Let’s hear it for machines and the engineers who build them! 

With the porch on, the roof was complete!

7_roof front    

Next came the tar paper
8_laying tarpaper  

but we won’t put the metal roof panels on until warmer weather in the spring so on went another set of tarps for the winter.
9_metal roof panel  10_winter tarp

10_TAG team
I could not have gotten my dream of a studio built without this amazing ‘TAG team’= Terry A Gruber & Tristan A Gruber!!  Well done, Gentlemen!

Riverbend – building the studio [part 2]

The call came in mid October that the studio was ready to be delivered.   With the 25 panels, 4ft x 8ft and weight in at about 120 lbs each, coordinating some extra ‘muscle’ to help was necessary – which meant building on the weekends.   The clock was ticking to get the structure up as quickly as possible because once November hits in Michigan, the weather becomes unpredictable.  It could be warm & sunny…. or warm & rainy…. or cold & sunny….. or cold & snow… you never know!  Our daughter, Andrea, was not available but luckily we were able to enlist our son, Tristan, making this a ‘everyone in the family helped’ project.

Step 3 : The insulation/moisture barrier went down
1_insulation   2_insulation 

then the subfloor.
3_subfloor

Delivery the next morning brought another ‘impressively large’ truck…
4_truck

leaving 4 stacks of panels with directions for ‘some assembly required’.
4_the delivery  5_some assembly required

Step 4: building the walls
Yup… all we needed was a screwdriver & a caulk gun.
6_corner  7_walls  8_walls  9_end of day 1  10_piles
By the end of the day, 1/2 the walls were up and the piles were getting smaller!

The second day of assembly we finished the walls
11_all walls up

and moved on to preparing for the roof panels.
14_roof  13_roof  15_roof

Part 5 : putting on the roof
Using brute force we hoisted the roof panels from the outside and over the wall,
supported them from below, and secure them into place.

16_roof panel  18_end of day 2

The ‘brute force’ part of this was turning out to be way more intense than expected – there had to be an easier way.

So… the third day we built a temporary rafter system and covered with a tarp.
18_rafters  19_tarp  20_end day 3  

Engineers build machines to make work easier… my husband Terry had new puzzle to solve!