Posts

Doin’ Demos

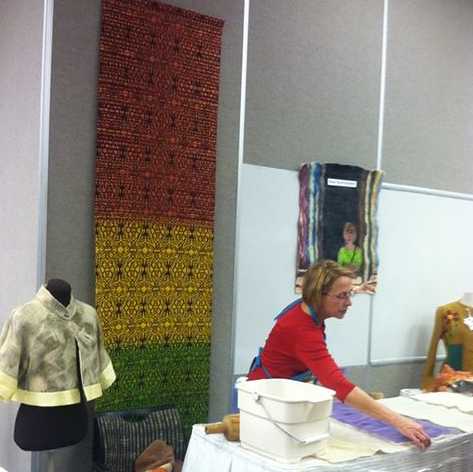
I would not be doing what I do today if it were not for demos.

Yes…. I was the kid mom and dad would lose at places like Greenfield Village – part of the Henry Ford museum complex in Dearborn, Michigan, Historic Mystic Seaport in Connecticut, or any of the Mackinac State Historic Parks at the northern tip of Michigan’s lower peninsula.  The 5 of us kids would all be there one minute and the next thing they knew… there were only 4.  Luckily, it did not take them long to figure out where to find me = simply backtrack to the last place that had demonstrations and there I would be… still watching….. completely spellbound.  At all of these places.. and many more…. I saw weavers, spinners, dyers, blacksmiths, woodworkers, glass blowers, ropemakers, coopers…. all plying their trade for everyone to see. Everyday people actually DOING these crafts with skill and artistry – creating magic right before my eyes and I would lose all track of time… and my family as they moved onto the next thing.

Demonstrations are a fabulous way to connect the general public to skills and crafts that are no longer part of our modern everyday life and I love doing them.

-3  IMG_7458   demo2013_pic by Jen Stafford

I’ve done them at our guild sales and at fairs.  My work as a storyteller, along with my fascination with odd bits of off-beat information, certainly helps.

IMG_7522  Showing how things are done….

IMG_20140712_090647_303  letting people touch the wool and yarns….
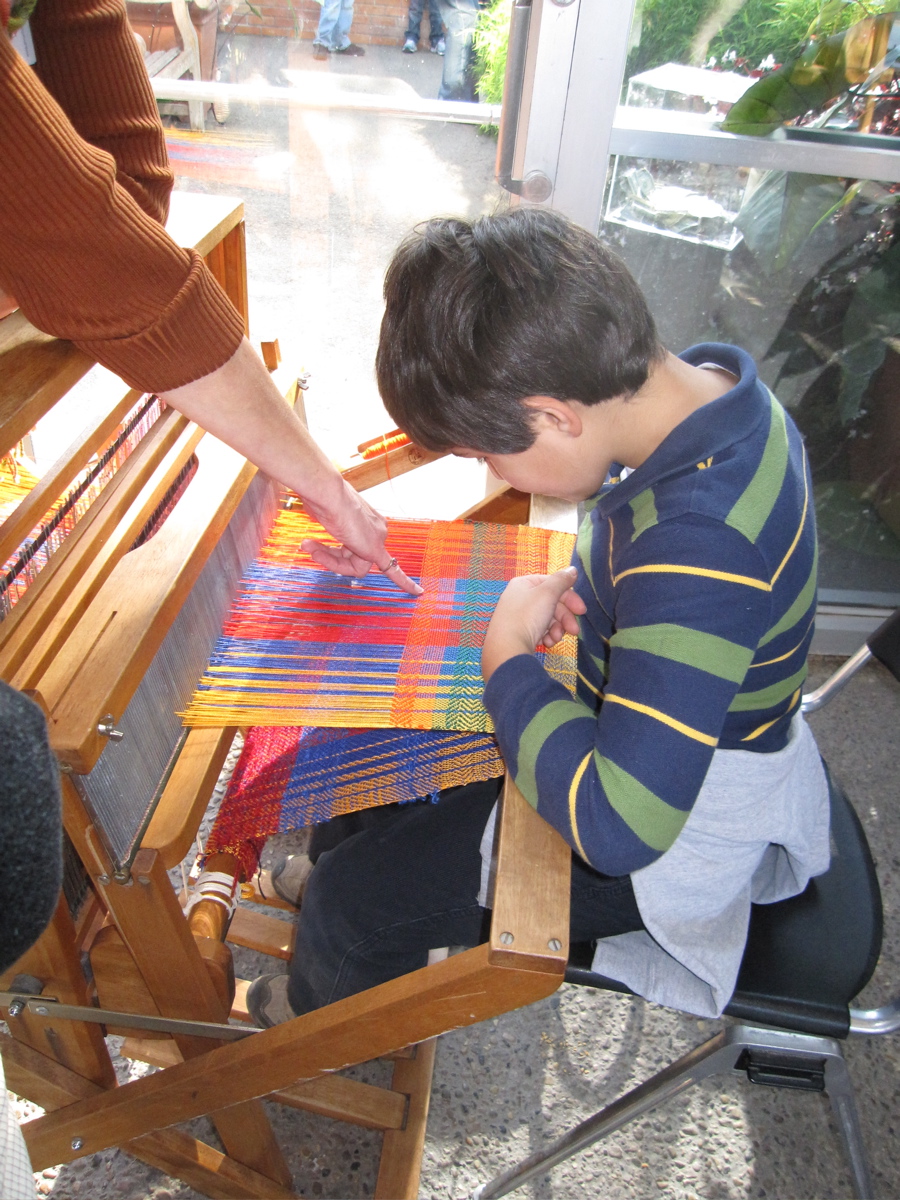
weaving demo_3  and giving them have a chance to throw the shuttle….

create tactile hands-on experiences that can stay with someone their entire life.  Telling the stories of the workers in the mills, how fortunes were made and lost, and where the terms and sayings we use today originated brings dry facts of history to life and connects us to our past.  This is where cloth comes from….. this is how it’s made…. and these are people who make it today.

IMG_7485


One of the fun things about doing demonstrations is that you never know what may come out of the experience. Because I’m talking with people as I work and need to be able to stop at any given moment to answer a question or give a quick recap, I do not attempt to create anything complex –  I just play and try out ideas. This was true at the last AAFG Holiday Sale when I made a hat using silk chiffon fabric covered with layers of merino wool and silk fibers as embellishmentto to demonstrate wet felting. Because this hat can be turned inside out, you get to choose which ‘look’ strikes your fancy = more intense color or muted color.

hat

I was pleased with the experiment and continued playing with the idea in different colors.

reversible green hat reversible red hat reversible blue hat


Not only can doing demonstrations educate and allow for experimentation, they can be a welcome distraction.  For the past 12 years members of the Ann Arbor Fiberarts Guild have been weaving at the University of Michigan Medical Center as a form of entertainment and distraction for patients and family members who are waiting to see the doctor.  Currently we are in the lobby of the Cancer Center and the cloth woven is made into hats that are given to patients undergoing chemo and other treatments.

IMG_20141009_134358_442

“We are so pleased to have this wonderful skill shared with our patients,
not only for the calming affect it has by sitting and observing the weavers,
but also for the lovely hats made for our patients from the weavings.”

Share….. Educate…… Outreach…… Connect…….
all this and more can be found when doin’ demos!

Critic or Critique?

Critic (noun) a person who expresses an unfavorable opinion of something

For many people, including myself, the idea of having your art judged does not bring happy thoughts to mind and can crush creativity.  My elementary school did not have an art teacher.  A picture from a magazine would be taped to the chalkboard and we were simply told “Draw this.”  The results were always graded using letter grades (A to E) one for content and and one for neatness.  My work, if I was lucky, might…. just might…. get C-/D and there were no suggestions to help me improve my work.  To this day the thought of drawing something sends me into an anxiety attack.

Critique (noun) a detailed analysis and assessment of something

Getting a thoughtful critique can raise art to new levels, broaden perspective and increase creativity. Last year I worked on large felt wall hanging for the annual Ann Arbor Fiberarts Guild show which runs the month of February in the lobby of the Power Center for the Performing Arts here in Ann Arbor, MI.

View From Above
(28″ x 82″- felted wool fibers)

ViewFromAbove2014

This was one of the largest felt pieces I’ve ever made and felting it was physically demanding.  I was pleased with the design – the mix of colors and line movement.  It made a statement, especially from a distance.  I believed it was good enough, so fingers crossed….. I submitted it.

It was not selected and in my disappointment I suddenly found myself emotionally back in elementary school.  But here is where ‘critique’ turned this experience from the negative ‘critic’ into something positive.  The jury committee had made comments.  Some were positive (it was felted well and it did catch attention from a distance) PLUS there comments about where it still needed work:
1) there is no real change in value (light/dark) within each of the colors used
2) there was nothing new to discover once you stepped closer

So for the next year I thought about what I could do to embellish this piece yet stay true to my desire to only use felting techniques.

Using a barbed needle to punch fibers into place,

needlefelting

I needle felted silk fibers to give a broader range of color value and bring more interest and details, then I repeated the wet felting to blend everything together.

Top detail – before and after

ViewFromAbove_top          CoastalWaterways_top

Bottom detail –  before and after

ViewFromAbove_bottom         CoastalWaterways_bottom

I am happy to say that Coastal Waterways was accepted for this year’s Power Center Show.

Critic or Critique?  It’s all in how you say it and where the emphasis is placed.

Coastal Waterways
(26″ x 79″ – felted wool & silk fibers)

CoastalWaterways2015

Look Ma….. No Seams!

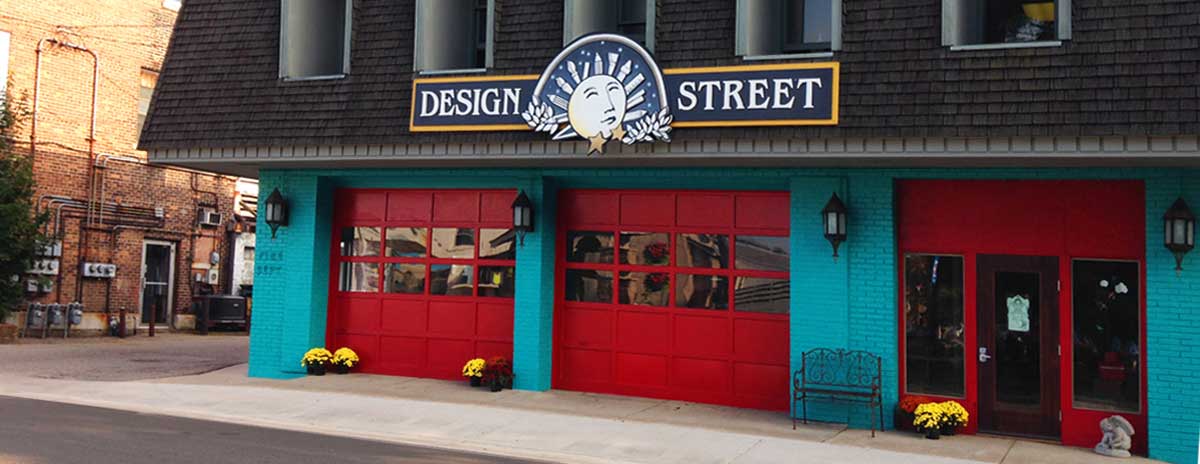
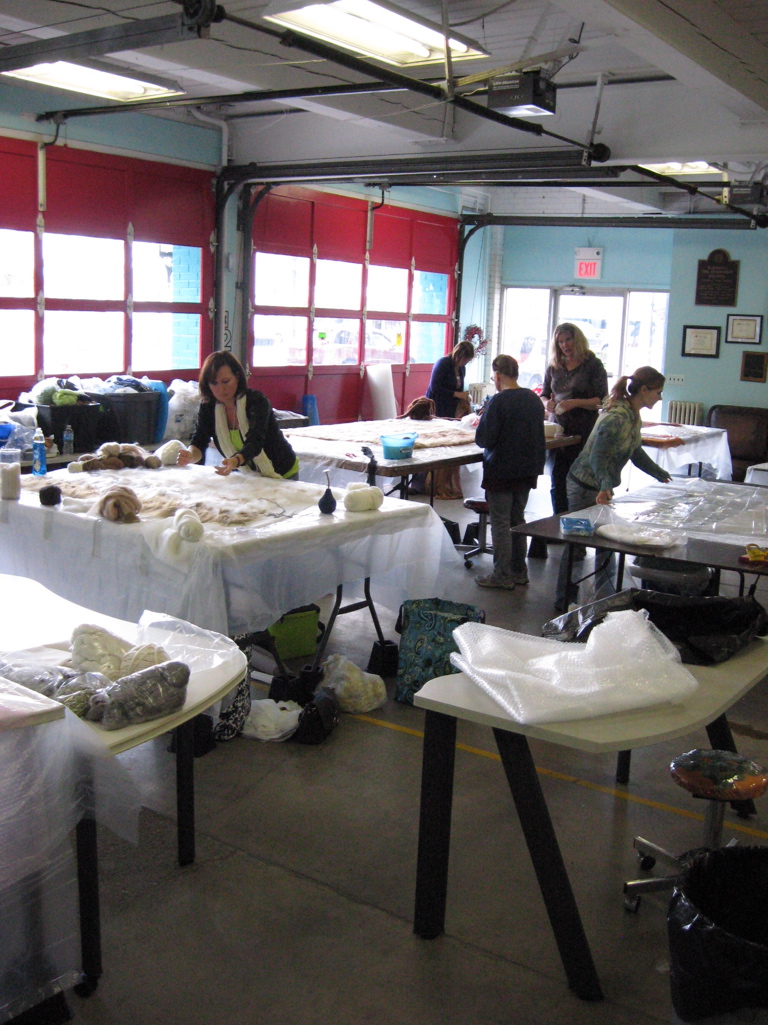
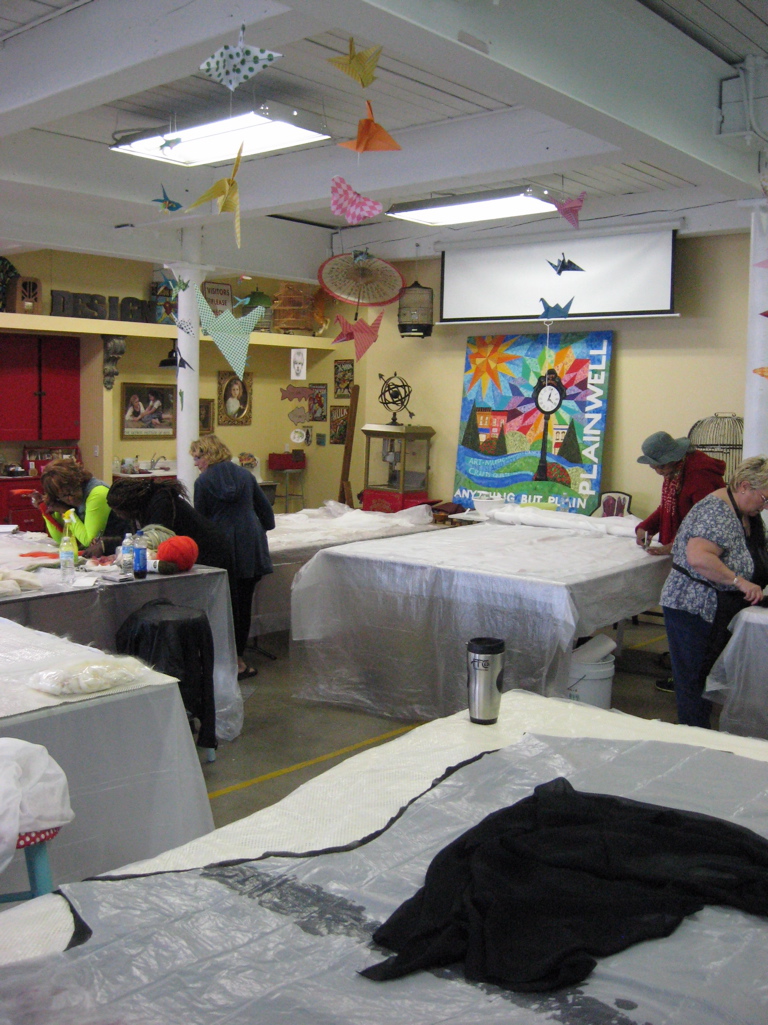
In the middle of September I spend 3 fabulous days in a felting workshop with international feltmaker and clothing designer Charity Van der Meer from the Netherlands.  The workshop was organized by Michigan felt artist Dawn Edwards and held at Design Street, a community art education center in Plainwell, Michigan.

bldglow

The old fire station has lots of natural light and plenty of space for 12 large felting stations.

IMG_6033   IMG_6034

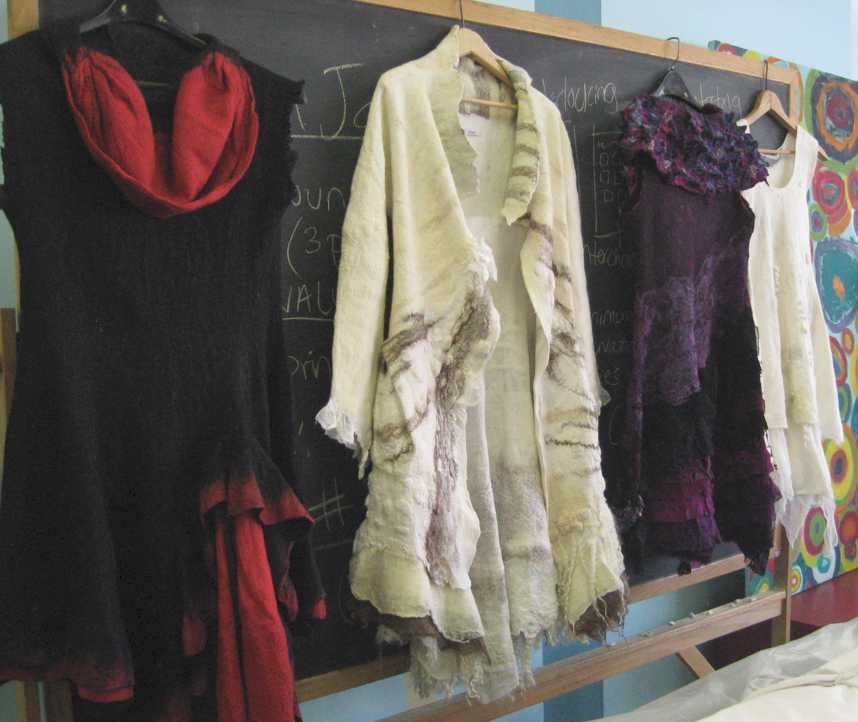
Charity’s work is amazing!  She combines colors, textures and shapes to create clothing that is soft, light weight and comfortable to wear.

IMG_6052

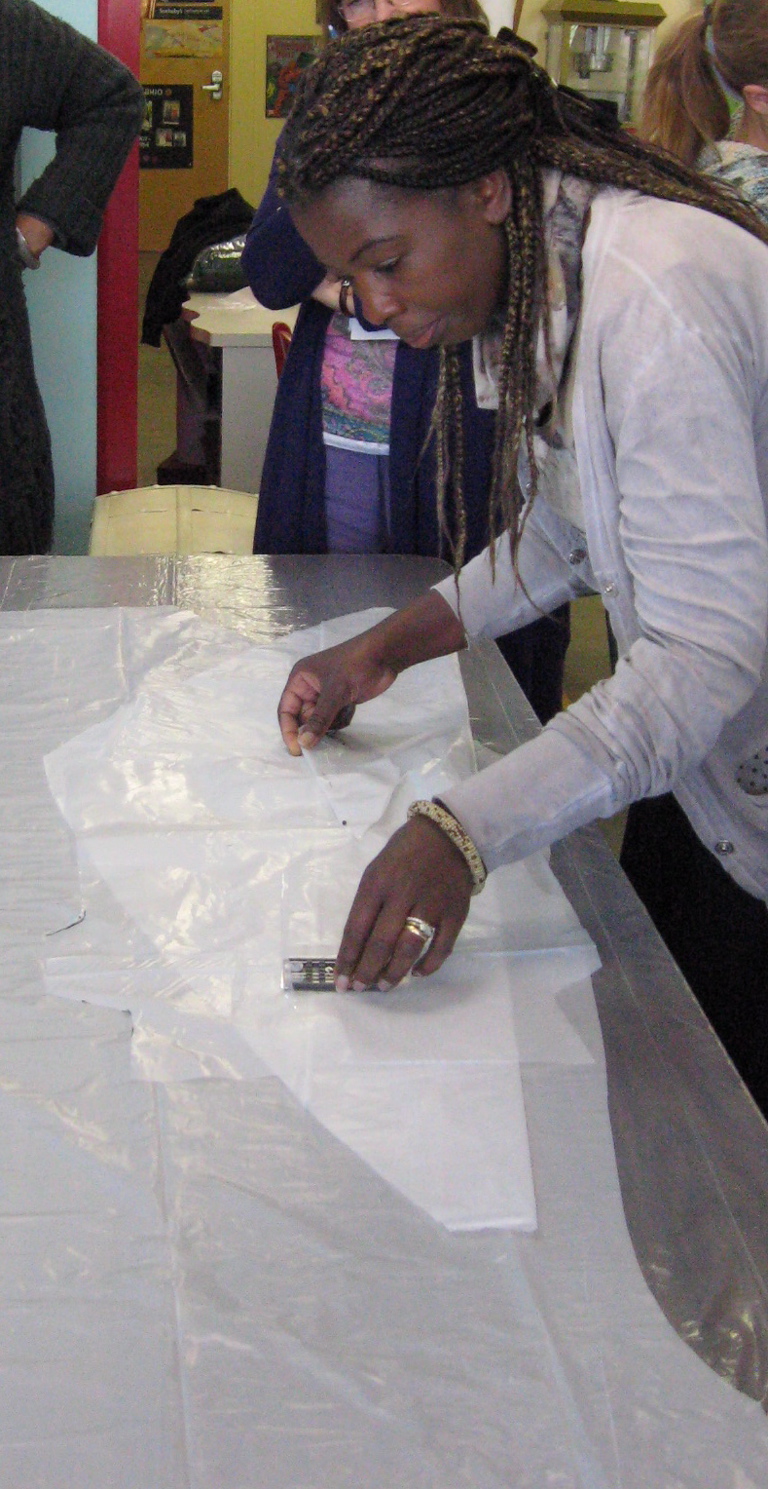
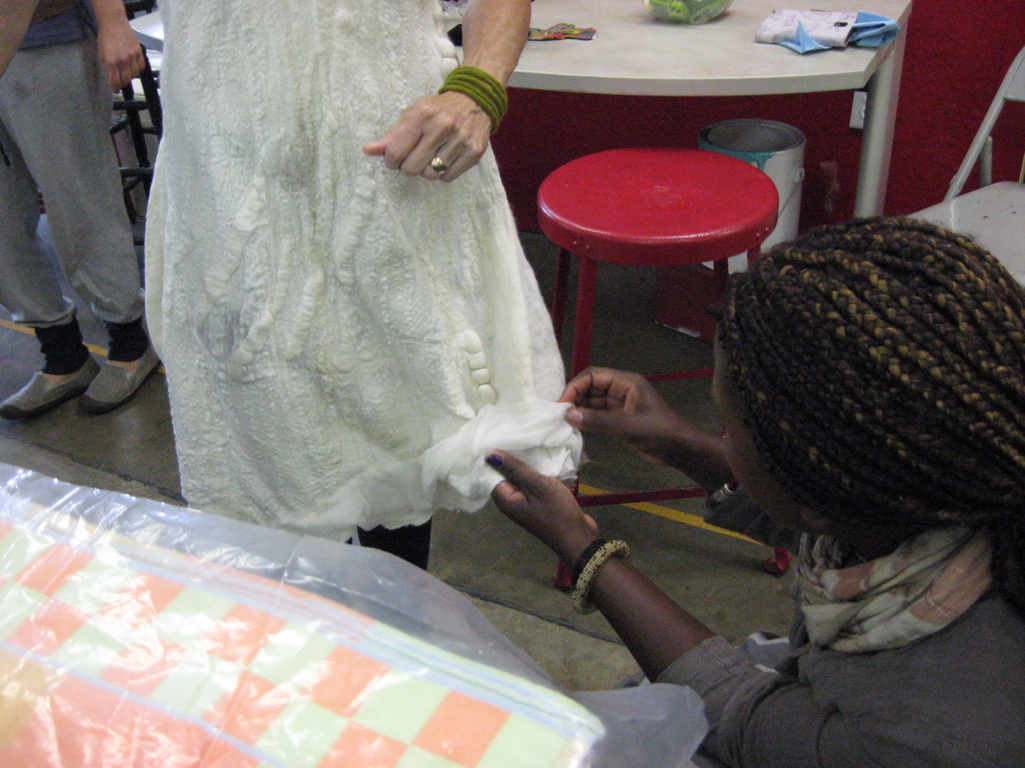
The  focus of this workshop was to make a one-piece nuno felted dress or skirt with an emphasis on pleating, layering and adding godets to the design.  Using her very simple but effective patterns we were encouraged to use our imagination and develop our own fashion ideas.  We calculated our starting dimensions (the dress will shrink 100%) and Charity showed us how trace out our patterns onto plastic and add the godet panel(s).  [A godet is a triangular piece of material inserted in a dress, shirt, or glove to make it flared or for ornamentation.]

IMG_6030

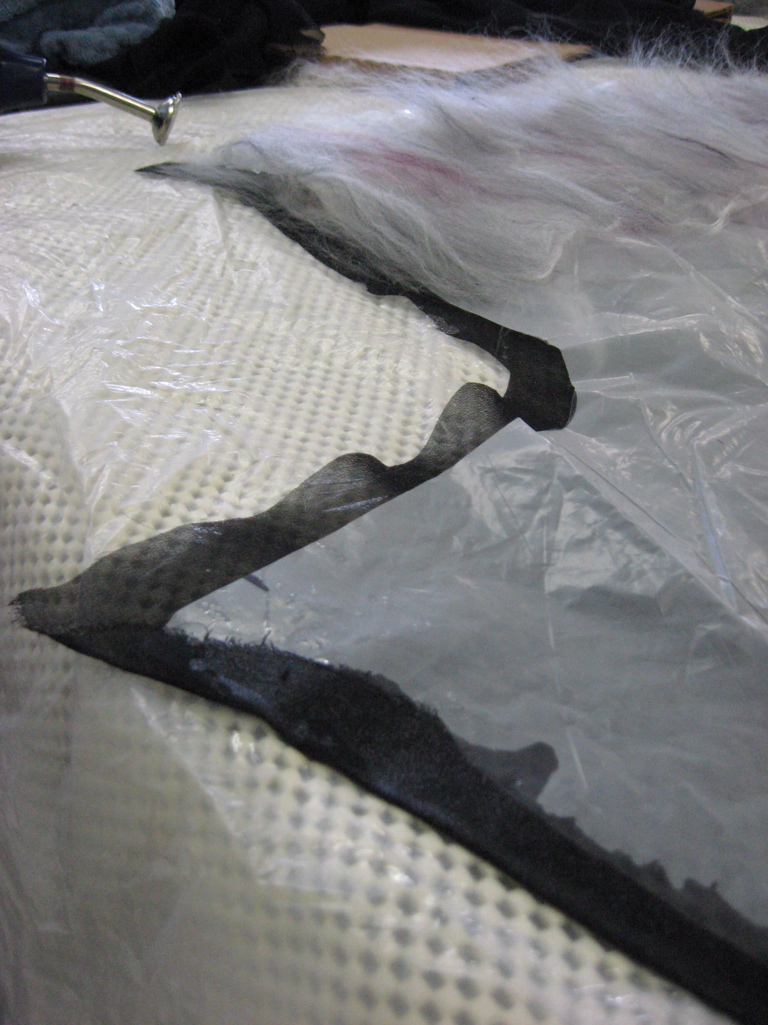
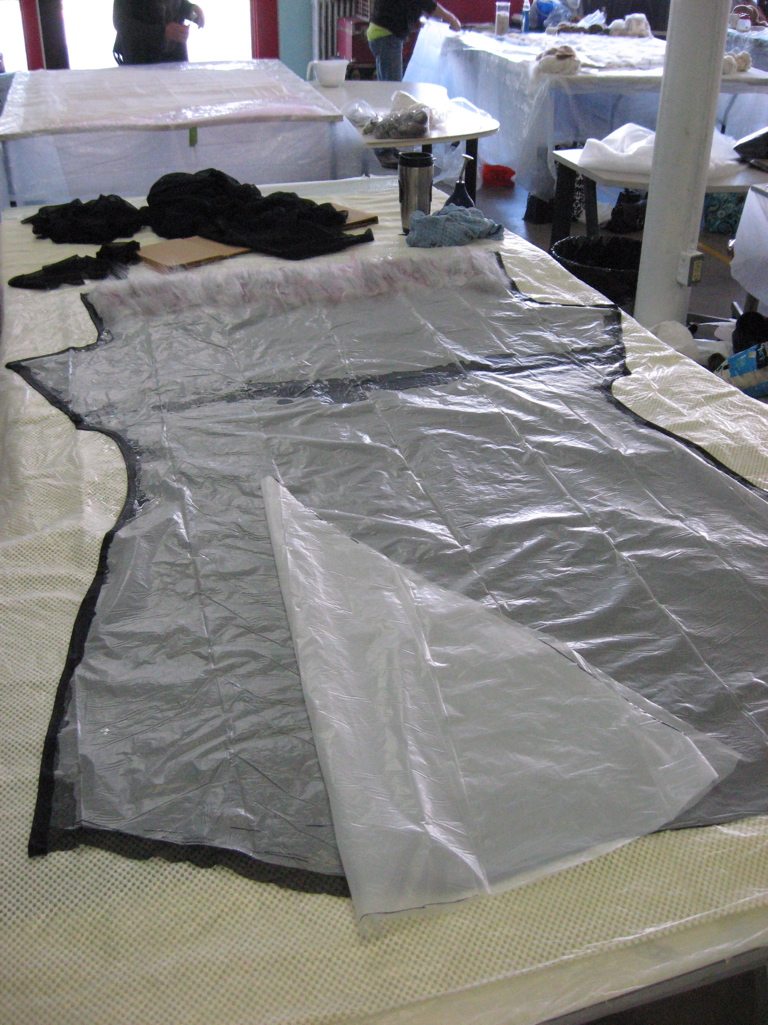
Using silk chiffon fabric and merino wool fibers we created layers wrapping the silk & base wool around the plastic pattern.  The plastic works as a resist to keep the wool & silk from felting into a 2D shape instead of the 3D shape needed to be a dress.  Overlapping the silk fabric and wool fibers at the shoulders and sides creates the ‘seam’ so no sewing is involved!!

IMG_6031 IMG_6032

Day 2:  The silk fabric & wool fibers are layered for the other side but this time making sure to cover the godet separately.

IMG_6036  IMG_6039

Now the fun begins = adding the details and embellishments to the dress!!  I used wool fibers, silk fibers, polyester lace fabric, blended wool/silk fiber, plus wool and silk yarns.

IMG_6044

Wet down the front of the dress with warm soapy water.

IMG_6045

Layout my design and wet down the back.

IMG_6046

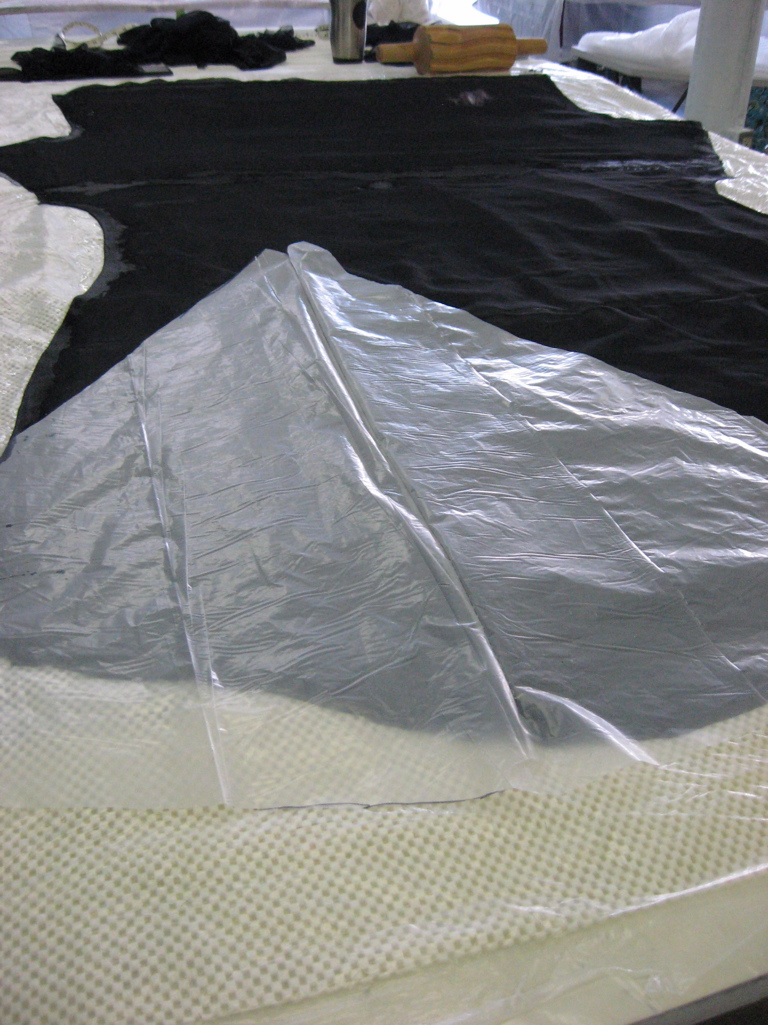
Sandwich everthing between plastic……

IMG_6048

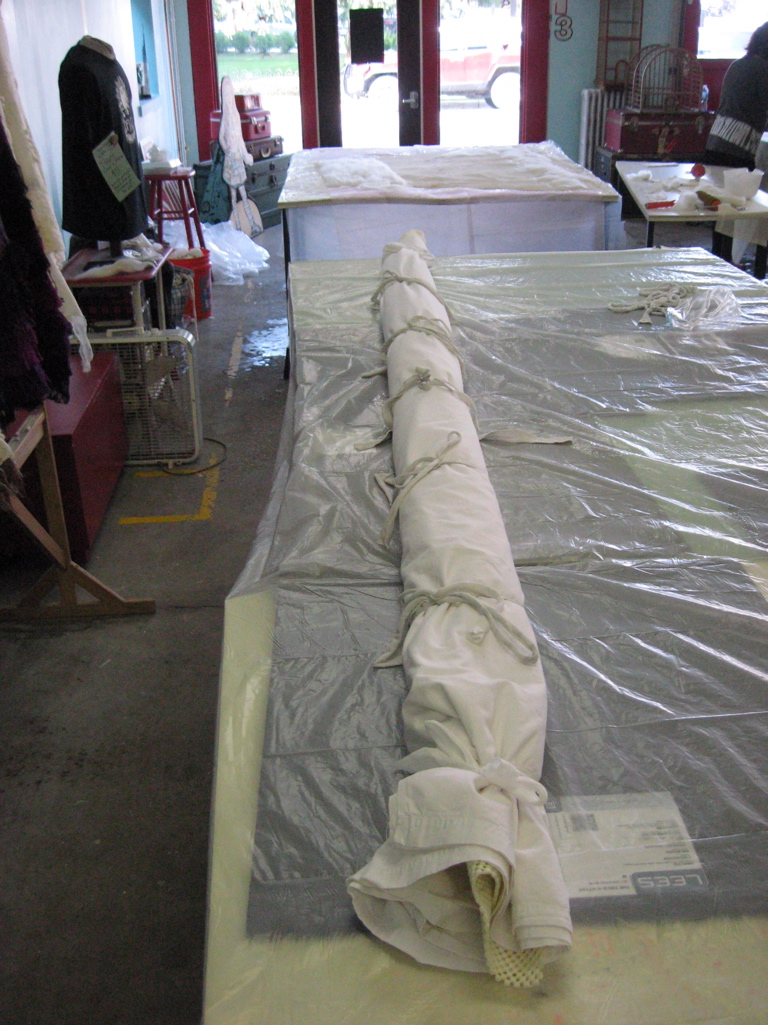
Roll it all up in an anti-skid rug mat and old sheet then start rolling…… rolling…. rolling….

IMG_6051

Day 3: Continue  rolling…. rolling… rolling…..

Now it’s time to unwrap and try it on!  (Oh…. was this the part soggy!!!)
And…. oh my gosh…. it fits like a glove!!

IMG_6059  IMG_6078

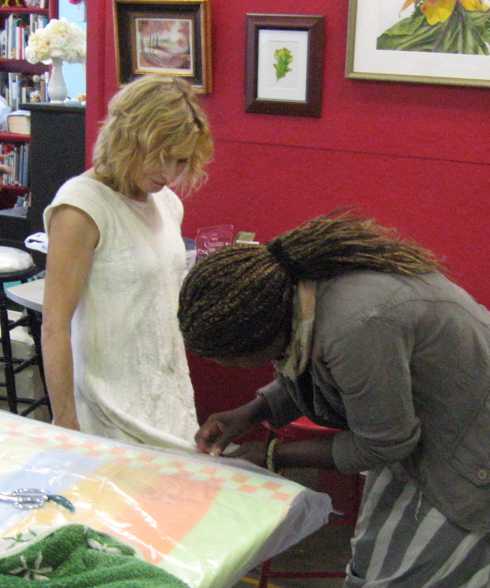
Charity helped smooth and give finishing touches to everyone’s dress.

IMG_6053  IMG_6054

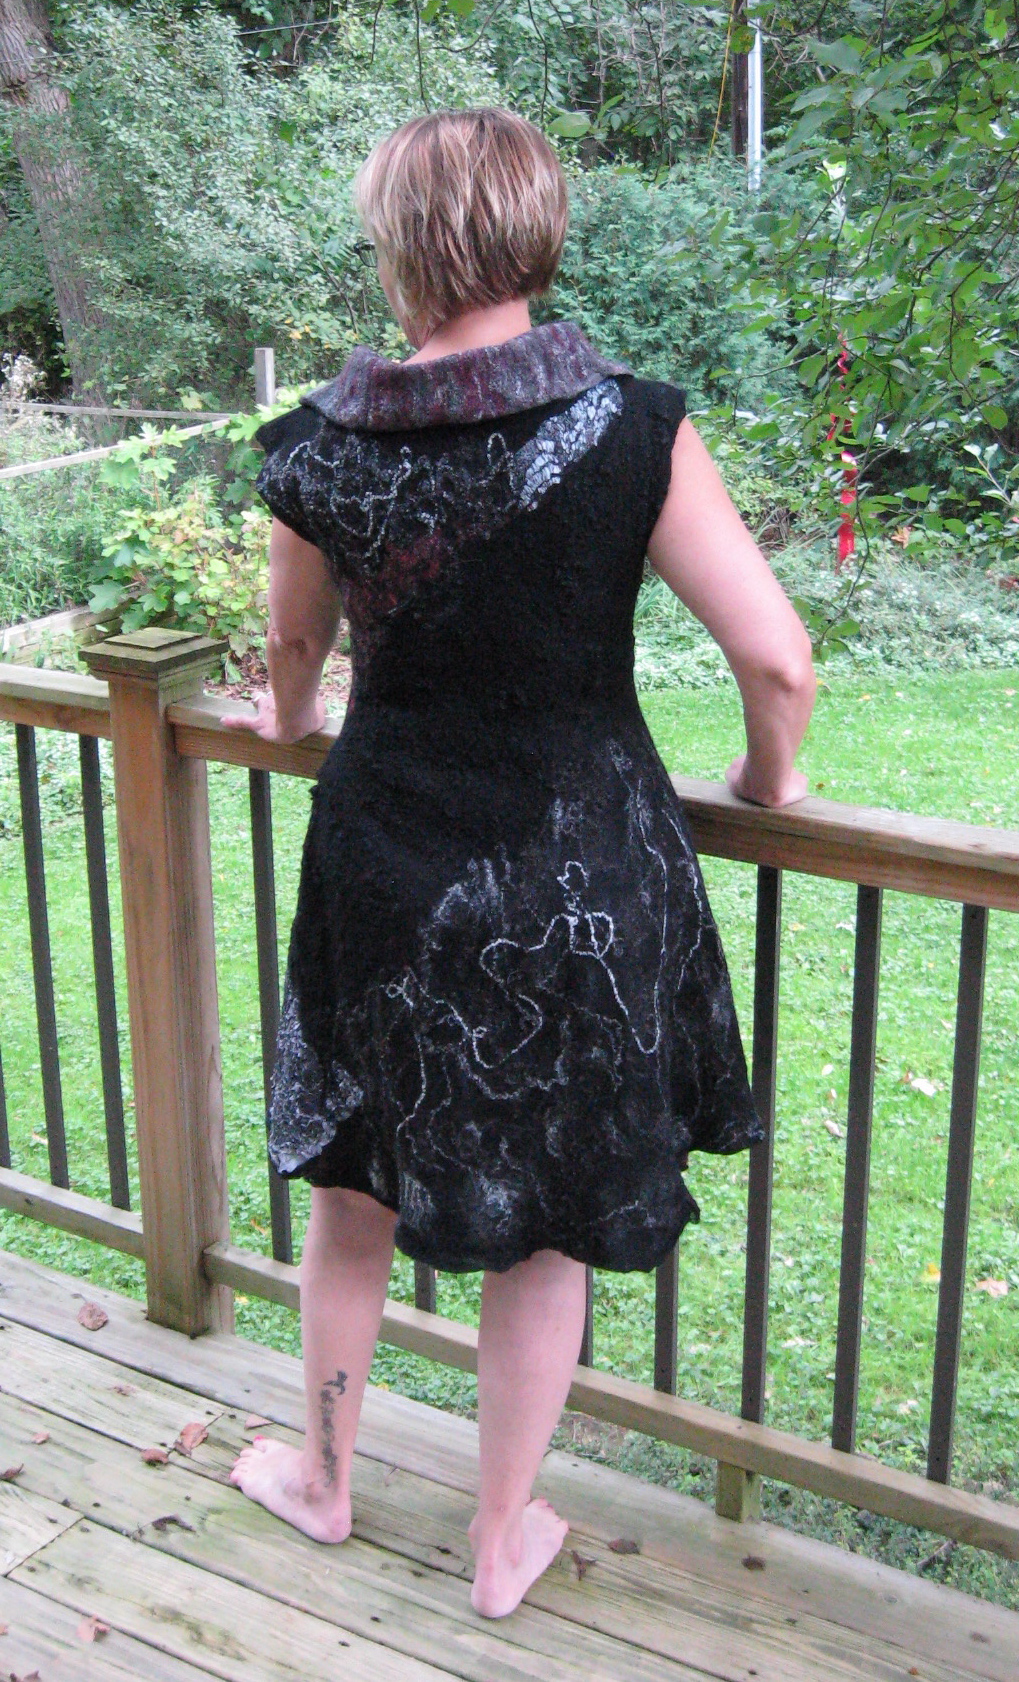
And we all went out for a group photo.  Each dress and skirt was true one-of-a-kind work of art!!!

workshop participants

I even had enough time to layout a shorter top before leaving and felted it at home the next day.

IMG_6089  IMG_6083

This workshop was just the ticket to my get my creative juices flowing this fall!  I will definitely continue to work with this technique and I’ve made a note in my 2016 fall calendar = Charity may be back to give another workshop!!


Felting with Suzanne Higgs – Day 2

Felting at the Michigan Fiber Festival Symposium in Kalamazoo, MI at the end of March.  I did 2 workshops with Suzanne Higgs.

Day 2 – Fabulous, Funky, Fun Felt Bag

For this workshop we made felt bags using recycled sari silk as surface embellishment.

1_sari silk

2_resist

Light weight, flexible plastic 1 1/2 times larger than the desired bag size is used as a resist – a middle core/layer to keep the wool from felting in the center of the bag.
———–

3_inside bag

Working from the inside out, thin layers of wool are laid out on both sides of the plastic resist.  The inside of the bag will be yellow, with a pink rim folded over to the outside.
—————–
4_middle layer

Periwinkle will be the middle color
——–

5_placing sari silk crop

and finally the sari silk is wrapped around the entire bag.
———–

6_cover and rub

Wet with soapy water, wrap in plastic and start rubbing to felt the wool to the silk
————-

Here’s how the inside and the outside came out:

7_inside of bag

8_outside of bag_a9_outside of bag_b

13_interior

———–

before_after

The starting resist size (26″ x 26″) compared to than the final size (15″ x 12″ after folding the edge down).
————–

Add handles, magnetic snap closure and I’m done!

handle_ahandle_bsnap & handles

So much to do… so little time!

The good news is… it’s been a busy 2 weeks.
The bad news is….. it’s been a busy 2 weeks and there are only so many hours in the day!

A dear friend of 30 years passed away on her 90th birthday.  Jean was an amazing woman – a teacher, master gardener, weaver and storyteller who was always up for an adventure and road trip.  She’s the one who connected me with my very first weaving teacher – Gloria Teeter.  I’ve been helping her family inventory and organize the sale of her loom and spinning wheel, plus all the equipment that goes with them!  [The loom is still for sale so if anyone is interested in the details – send me an email.]

Last weekend I was the emcee for the Storytelling Festival at the ARK here in Ann Arbor with Donald Davis, Carol Birch, and Laura Lee Hayes performing.  The stories told on Saturday night for adults and Sunday afternoon for families were a spellbinding blend of humor, poignancy, rich language and imagery.

Plus I was working on a second felt wall hanging to submit with ‘Heron’ for the AAFG show in March at the Village Theater at Cherry Hill in Canton, MI.  I decided to do a self-portrait.  Now I struggle when it comes to sketching/drawing and being a ‘process’ artist/‘experiential’ learner … oh this was going to be an adventure!

Because I don’t ‘draw’ I take a lot of photographs and use those as my ‘jumping off’ point when it comes to design.

B in tower windows_1

Here I am in the lantern tower windows of Ely Cathedral, England.

————–

This is the view from the floor below.

This is the view from the floor below!

————–

Next I cropped the photo.

I cropped the photo…

————–

enlarge to 36" x 43" pattern

…enlarged to make a 36″ x 43″ pattern.

————–

laid out my wool fibers onto black silk chiffon fabric and felted using soapy water and rubbing.

Take #1
I laid out Merino wool fiber, black silk chiffon fabric and then backed it with Romney wool – the only black wool in my stash.  I felted it – rubbing/rolling using soapy water.  End size is 29″ x 24″ but the Romney was too ‘hairy’ so it did not felt the way I wanted and worked it’s way from the back to the surface = oops!!  Even after giving it a ‘shave’ with an electric beard trimmer, this was not going to work…..

————–

face test

…but it did give me a piece I could practice adding the facial features….

————–

12x18 test

Take #2
12″ x 18″ sample while I waited for my order of black Merino fiber to arrive.

————–

Daydreaming

Third time’s the charm!!   “Daydreaming”  (29″ x 33″)