Posts

Doin’ Demos

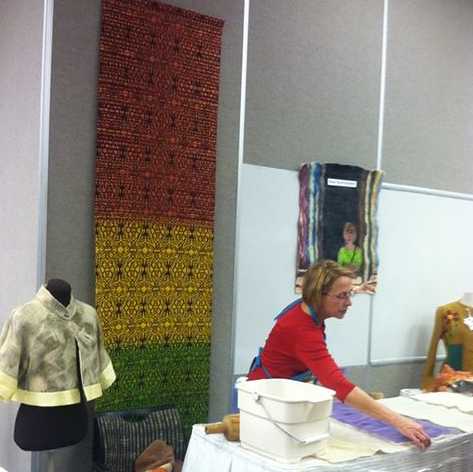
I would not be doing what I do today if it were not for demos.

Yes…. I was the kid mom and dad would lose at places like Greenfield Village – part of the Henry Ford museum complex in Dearborn, Michigan, Historic Mystic Seaport in Connecticut, or any of the Mackinac State Historic Parks at the northern tip of Michigan’s lower peninsula.  The 5 of us kids would all be there one minute and the next thing they knew… there were only 4.  Luckily, it did not take them long to figure out where to find me = simply backtrack to the last place that had demonstrations and there I would be… still watching….. completely spellbound.  At all of these places.. and many more…. I saw weavers, spinners, dyers, blacksmiths, woodworkers, glass blowers, ropemakers, coopers…. all plying their trade for everyone to see. Everyday people actually DOING these crafts with skill and artistry – creating magic right before my eyes and I would lose all track of time… and my family as they moved onto the next thing.

Demonstrations are a fabulous way to connect the general public to skills and crafts that are no longer part of our modern everyday life and I love doing them.

-3  IMG_7458   demo2013_pic by Jen Stafford

I’ve done them at our guild sales and at fairs.  My work as a storyteller, along with my fascination with odd bits of off-beat information, certainly helps.

IMG_7522  Showing how things are done….

IMG_20140712_090647_303  letting people touch the wool and yarns….
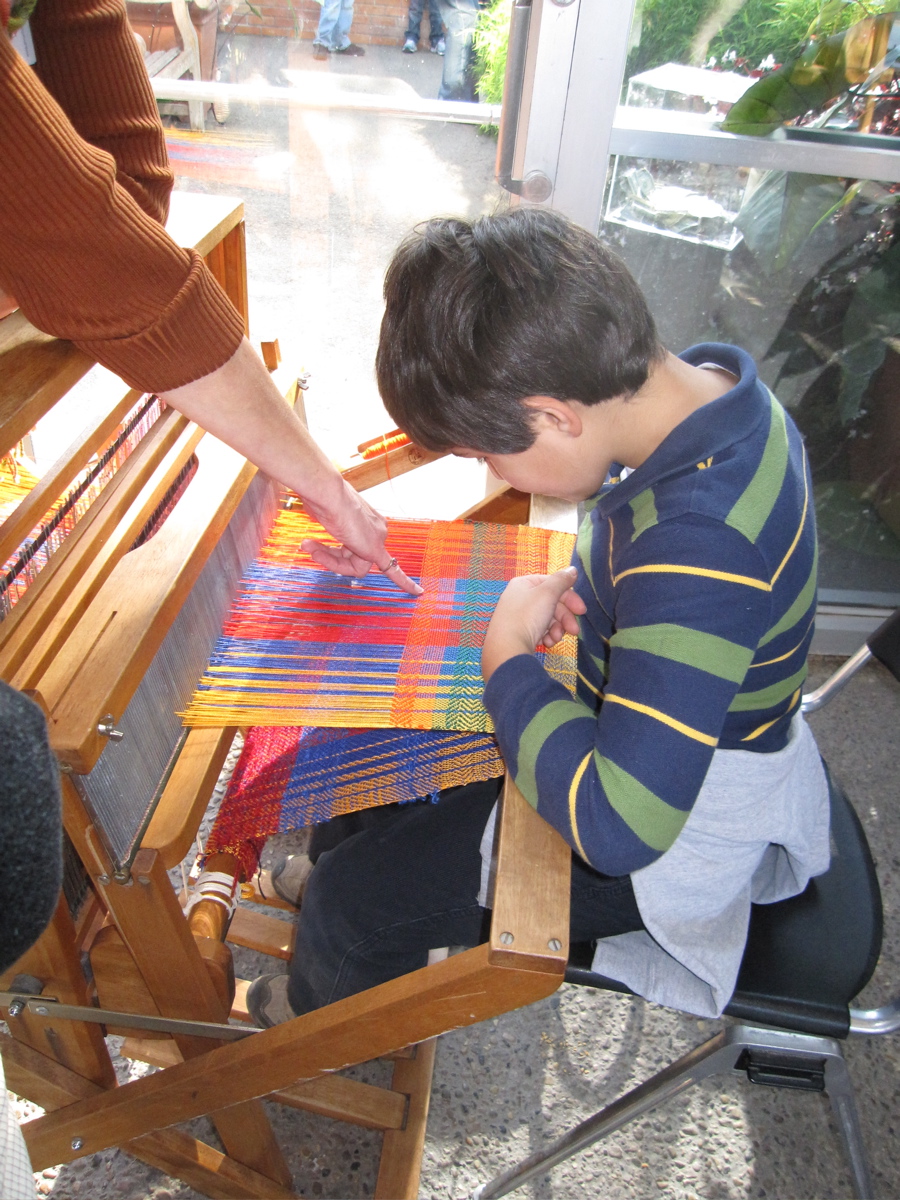
weaving demo_3  and giving them have a chance to throw the shuttle….

create tactile hands-on experiences that can stay with someone their entire life.  Telling the stories of the workers in the mills, how fortunes were made and lost, and where the terms and sayings we use today originated brings dry facts of history to life and connects us to our past.  This is where cloth comes from….. this is how it’s made…. and these are people who make it today.

IMG_7485


One of the fun things about doing demonstrations is that you never know what may come out of the experience. Because I’m talking with people as I work and need to be able to stop at any given moment to answer a question or give a quick recap, I do not attempt to create anything complex –  I just play and try out ideas. This was true at the last AAFG Holiday Sale when I made a hat using silk chiffon fabric covered with layers of merino wool and silk fibers as embellishmentto to demonstrate wet felting. Because this hat can be turned inside out, you get to choose which ‘look’ strikes your fancy = more intense color or muted color.

hat

I was pleased with the experiment and continued playing with the idea in different colors.

reversible green hat reversible red hat reversible blue hat


Not only can doing demonstrations educate and allow for experimentation, they can be a welcome distraction.  For the past 12 years members of the Ann Arbor Fiberarts Guild have been weaving at the University of Michigan Medical Center as a form of entertainment and distraction for patients and family members who are waiting to see the doctor.  Currently we are in the lobby of the Cancer Center and the cloth woven is made into hats that are given to patients undergoing chemo and other treatments.

IMG_20141009_134358_442

“We are so pleased to have this wonderful skill shared with our patients,
not only for the calming affect it has by sitting and observing the weavers,
but also for the lovely hats made for our patients from the weavings.”

Share….. Educate…… Outreach…… Connect…….
all this and more can be found when doin’ demos!

Cartography Chic

Guilds and associations are great places to connect with other artists, bounce ideas around, get support, feedback, and be challenged to push one’s creativity and art.  My fiber guild is the Ann Arbor Fiberarts Guild and back in May 2014, a challenge was issued for the April 2015 meeting:

Recycled and Repurposed Runway 

Tablecloths, cassette tape, telephone wire, discarded garments, curtains and draperies, old sweaters, cast off jewelry – any and all of these materials might go into a garment or accessory you create for this creative runway show.
Your object of fashion may be wearable and useable…. or not,
sedate or flamboyant…. or something in between,
fashionable…. or not.
The only criteria is it must be made from used materials.
How creative can Guild members be?
We will learn the answer to that on the runway!

I had already woven a garment using audio cassette tape [see July 2013 post “Recycle… Upcycle…. Fairs… and more…..”] which had been part of our annual spring fashion show in 2014 so I wanted to come up with something new.  What to use and what to do?  For the next 9 months ideas simmer in the back of my mind…. and then I cleaned out a cabinet.  There were the National Geographic maps that had been collecting for over 30 years!

Cartography ~ study and practice of making maps
The premise being that by combining science, aesthetics, and technique,
reality can be modeled in ways that communicate spatial information effectively.

I’ve always liked maps.  The lines, shapes, colors can be beautiful works of art.  We even used them to decorate the nursery when the kids were little.  I would weave something out this pile of maps!

nursery map

But what?

In 1999, I attended my first Association of Guilds of Weavers, Spinners and Dyers summer school taking a course on weaving with bulrushes taught by Linda Lemieux. In the USA, bulrushes are a protected plant but in the UK, they can be cultivated and harvested making this was a unique opportunity for me.  We wove braided bands, containers and finished the week with making a hat.

IMG_6581 IMG_6578

I would use those same techniques to weave a hat & purse out of maps!  I made samples weaving on the bias and plain weave to see how pliable the map paper was.  It was quickly apparent that the paper on its own was very flimsy and I would have to reinforce it to keep it from tearing and to be firm enough to hold the shape.

Using my notes from a workshop I took in 2000 from Jackie Abrams weaving with painted cotton paper as reference, I used a spray adhesive to attach the map paper to sheets of artist canvas.  I made several more tests cutting the map/canvas strips into 1/2″ and 1/4″ widths and used waxed linen thread when twinning was needed.  This worked much better and I was ready to start!
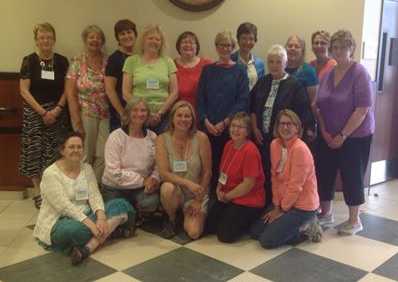
IMG_6564  IMG_6570

I laid out 1/2″ wide map/canvas strips in a plain weave….

  IMG_6591  IMG_6592

and laid that on the bias over a hard foam hat block to weave the crown using pins and clips to keep it in place.  I stitched the base of the crown to secure the proper diameter.

IMG_6593

I was not able to weave the brim as I had done on the bulrush hat but made it separate and attached it to the crown using hot glue.

IMG_6657  IMG_6670  IMG_6661

Next I trimmed the spokes, used the spay adhesive to attach a map to the underside of the brim, and machine stitched around the edge.

IMG_6699  IMG_6745

 IMG_6709

Making the purse was MUCH easier!!!  Using 1/2″ map/canvas strips and a styrofoam block for the mold, I wove a 12″ x 5 1/2″ x 1″ clutch bag.

IMG_6720 IMG_6714

All the pieces were given a coat of matt varnish to provide added strength and protection.

The Cartography Chic Hat & Purse Set is just the ticket
for any explorer with a flair for fashion!

Building a Tapestry Loom

The summer of 2011 I took my first tapestry weaving course at The Association of Guilds of Weavers, Spinners and Dyers summer school held in Edinburgh, Scotland that year.  Our instructor, Dot Seddon, had us working on simple frame looms which are very portable, fast and easy to warp, plus I brought along one that I had made.

nail loom  IMG_4081

Midweek we took a field trip to the Dovecot Tapestry Studio in Edinburgh.  When I walked into the space I was immediately hit with a déjà vu experience = I’ve been here before!

SS 2011 Tapestry - 116

The building that now houses the Dovecot Studio is the old ‘Infirmary Street Baths’, the first public baths in Edinburgh – built in 1885, designed by Robert Morham – and I used to swim there in the mid 1970’s when I was a student at Edinburgh University!   The baths closed in the 1990’s and fell into disrepair.  The Dovecot Studio moved into the space in 2009 after a 2 year – £12million renovation.  This is a perfect studio space with tons of natural light from the glass ceiling, the pool has been filled in to make the weaving floor, the changing rooms have been turned into office and meeting rooms, and the observation walkway is used as gallery space.  Click here for a wonderful visual tour of the studio.

Here I saw vertical/high warp looms built of steel scaffolding pipe.

DovecotTapestryStudio_2

When I came home I was inspired to try weaving a larger tapestry.  But looms are expensive so I adapted a triangle loom I already had into a larger version of what I had used at summer school.

Reflections in Water 13in

I liked working upright but it was difficult to get and keep an even tension on a warp that large, plus I wanted to have an option of being able to lift the warp threads for faster/easier weaving and the frame I was using had nails on all 4 sides.  I got another large frame, added nails to the top and bottom only, and figured out a shedding device to lift my warp threads.  This was an improvement but there were still problems with the warp tension and the easel stand took up quite a bit of space.

IMG_4496

I took another tapestry course at the next AWSD summer school in 2013.  [see ‘Weaving in Wales’ posts from September 2013.]  Our instructor, Alastair Duncan, brought his scaffold loom.  I was able to get a good look at how it’s made and to weave on it for the week.

scaffold loom  working on scaffold

I decided that this is the type of loom I wanted.  Looking at my pictures and notes, my engineer husband was able to come up with plan to use galvanized pipe so all the parts would be available at the local hardware store.  I received a professional development grant from my guild, The Ann Arbor Fiberarts Guild, to help with the cost of materials.

We used 1 1/2″ pipe for the top/bottom and 1 1/4″ pipe for the sides with bushings to connect and it can be taken apart to transport; scaffold level jacks are used to adjust the vertical sides for control of the warp tension; attached it to a wood base; and added measuring tapes to the top and bottom.

3_corner pipe 2_levelingJack-base hardware


4_measuring tape

The finished size is 4′ x 6′ with 3 1/2′ x 5′ weaving space.

1-scaffold loom

I still need to create a shedding device like the Dovecot looms have to lift the warp threads but I am excited to get started on a new tapestry!


Critic or Critique?

Critic (noun) a person who expresses an unfavorable opinion of something

For many people, including myself, the idea of having your art judged does not bring happy thoughts to mind and can crush creativity.  My elementary school did not have an art teacher.  A picture from a magazine would be taped to the chalkboard and we were simply told “Draw this.”  The results were always graded using letter grades (A to E) one for content and and one for neatness.  My work, if I was lucky, might…. just might…. get C-/D and there were no suggestions to help me improve my work.  To this day the thought of drawing something sends me into an anxiety attack.

Critique (noun) a detailed analysis and assessment of something

Getting a thoughtful critique can raise art to new levels, broaden perspective and increase creativity. Last year I worked on large felt wall hanging for the annual Ann Arbor Fiberarts Guild show which runs the month of February in the lobby of the Power Center for the Performing Arts here in Ann Arbor, MI.

View From Above
(28″ x 82″- felted wool fibers)

ViewFromAbove2014

This was one of the largest felt pieces I’ve ever made and felting it was physically demanding.  I was pleased with the design – the mix of colors and line movement.  It made a statement, especially from a distance.  I believed it was good enough, so fingers crossed….. I submitted it.

It was not selected and in my disappointment I suddenly found myself emotionally back in elementary school.  But here is where ‘critique’ turned this experience from the negative ‘critic’ into something positive.  The jury committee had made comments.  Some were positive (it was felted well and it did catch attention from a distance) PLUS there comments about where it still needed work:
1) there is no real change in value (light/dark) within each of the colors used
2) there was nothing new to discover once you stepped closer

So for the next year I thought about what I could do to embellish this piece yet stay true to my desire to only use felting techniques.

Using a barbed needle to punch fibers into place,

needlefelting

I needle felted silk fibers to give a broader range of color value and bring more interest and details, then I repeated the wet felting to blend everything together.

Top detail – before and after

ViewFromAbove_top          CoastalWaterways_top

Bottom detail –  before and after

ViewFromAbove_bottom         CoastalWaterways_bottom

I am happy to say that Coastal Waterways was accepted for this year’s Power Center Show.

Critic or Critique?  It’s all in how you say it and where the emphasis is placed.

Coastal Waterways
(26″ x 79″ – felted wool & silk fibers)

CoastalWaterways2015

Early Medieval Tunic found in Glacier to be Recreated

reconstructed-early-medeval-tunic-650x433

Astonishingly well preserved Iron Age tunic will be recreated (mostly) using the ‪spinning‬ and ‪weaving‬ techniques available at the time.  You can read about the examination of the wool fibres, method of spinning, the diamond twill weaving pattern and other factors which have been revealed by this project.
Click on the link to read this fascinating article.
http://www.medievalists.net/2014/11/24/early-medieval-tunic-recreated-norway/


When disaster strikes……

Every artist knows there are times when a project just does not want to go as planned and this was one of those projects.

In September I started on a commissioned shawl.  The warp was 10/2 cotton in 20 colors.

rainbow warp

642 yarns threaded in a point twill over 8 shafts/harnesses.

heddles

3″ into the weaving and I realized I had a misthread in the pattern = inappropriate expletive uttered!!!  What to do?
Do I (A) keep going with the philosophy that we humans are not perfect and embrace my imperfection or (B) correct the mistake = unweave, untie, unthread, rethread, and retie?

IMG_6004

If this was something I was making for myself, I would probably go with option (A) as there was only 1 thread in the wrong place.  BUT this shawl is something I am selling and the buyer deserves the highest quality work I can give…. so option (B) is it.

I took out the black 5/2 cotton weft and the red header then dealt with 200+ threads and heddles to get the 1 thread moved to the correct shaft, retie and finally back to where I was…. 24 hours earlier.

Weaving now went fairly smoothly…

IMG_6119

…until 5″ from the end when I noticed a lot of black fuzz = uh-oh.  I took out several rows to see what was going on and I realized the 5/2 cotton yarn was disintegrating = WHAT is going on here????  This particular cone of yarn had been in my stash for quite a while and though the outer section was OK so the first 2/3 of the shawl was fine, the middle of the cone had rotted and the last third of the shawl was falling apart = REALLY inappropriate expletives uttered!!

At this point I had no idea if the fabric was stable and would hold up during washing so I stopped weaving, hemmed it, cut it off the loom and held my breath as I put it in the washing machine.

Here’s how it came out.  A misthread is a pain but this is a disaster that cannot be saved.

disaster

I emailed my client and explained the situation.  Luckily she was OK with getting the shawl by the end of October so back to square one I go.  I decided this time I would use 5/2 bamboo for the weft, ordered the NEW yarn, and as I waited for the delivery, I began to wind out another warp.  I kept the ends of the old warp threaded through the reed and heddles so all I had to do is tie the new warp onto the old then pull it through.

IMG_6102

The second warp wound on and the new weft in hand, time to start weaving…. AGAIN.

IMG_6121

This time there was no added drama as 87″ of this new shawl was woven, hemmed, cut off the loom…

IMG_6128

…and the finishing work began = tying knots and twisting fringe.

IMG_20141021_162143_109

Holding my breath I put it into the washing machine….. and it came out just fine = whew!!  

Because one side of the fabric has the colored warp dominant and the other has the black weft dominant I sewed the shawl into a mobius loop so that you can see both sides = SUCCESS!!  And the Rainbow Mobius Wrap has been shipped to her new owner.

1_front  2_back

Lesson learned from this project:
check ALL yarn prior to using it in a project!!!


Look Ma….. No Seams!

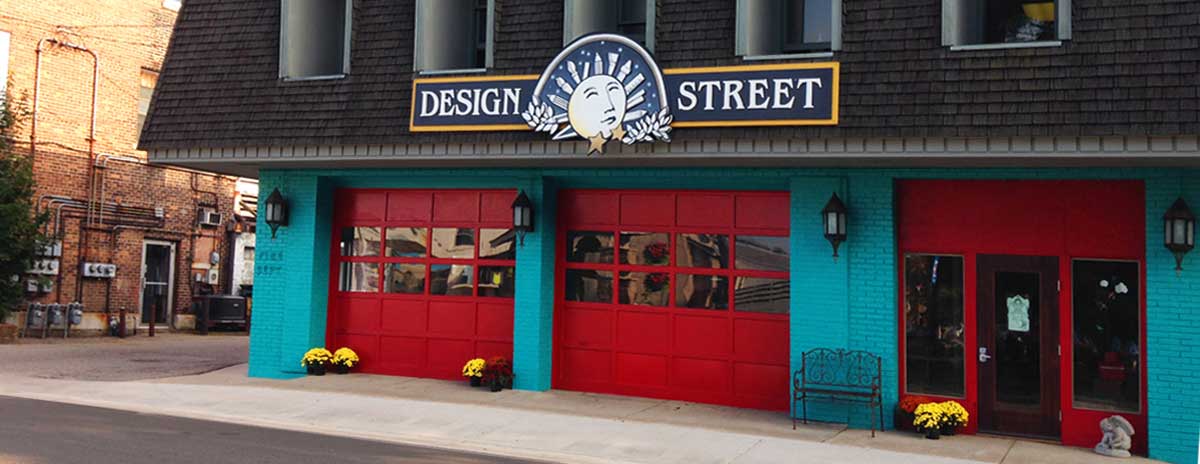
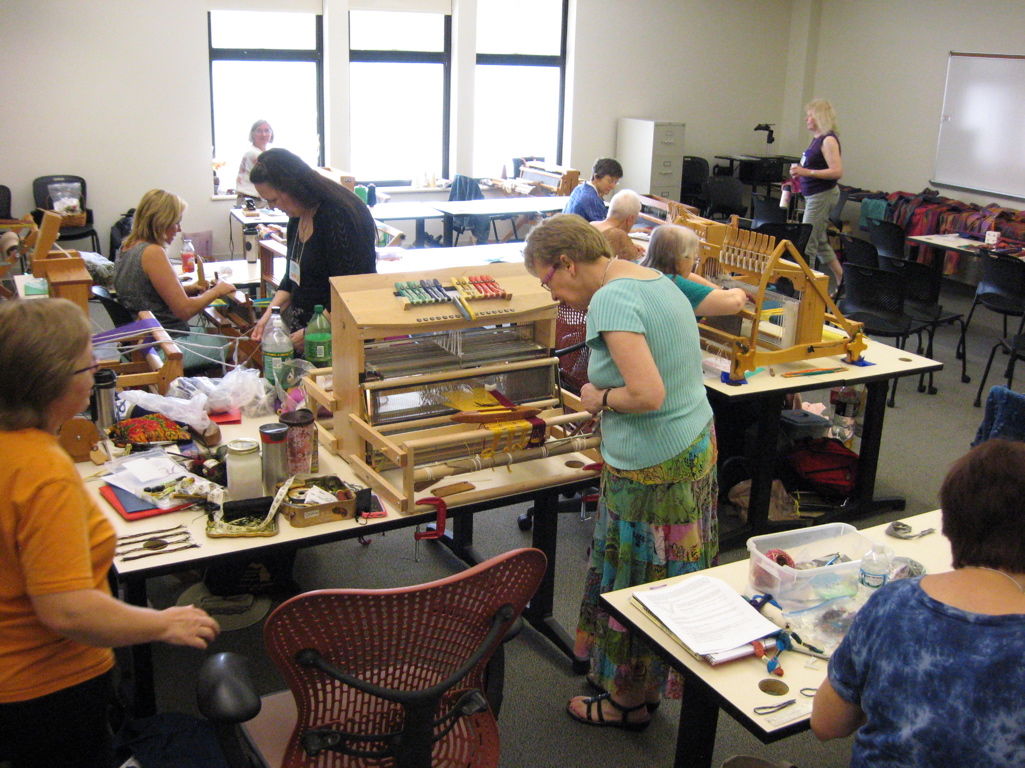
In the middle of September I spend 3 fabulous days in a felting workshop with international feltmaker and clothing designer Charity Van der Meer from the Netherlands.  The workshop was organized by Michigan felt artist Dawn Edwards and held at Design Street, a community art education center in Plainwell, Michigan.

bldglow

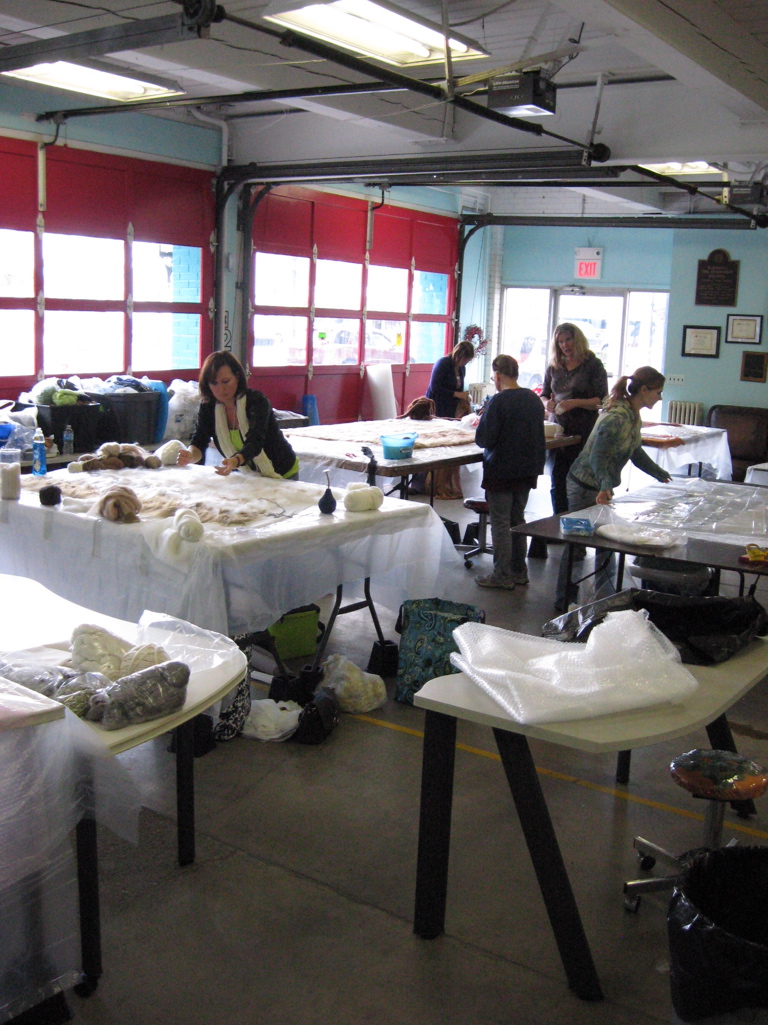
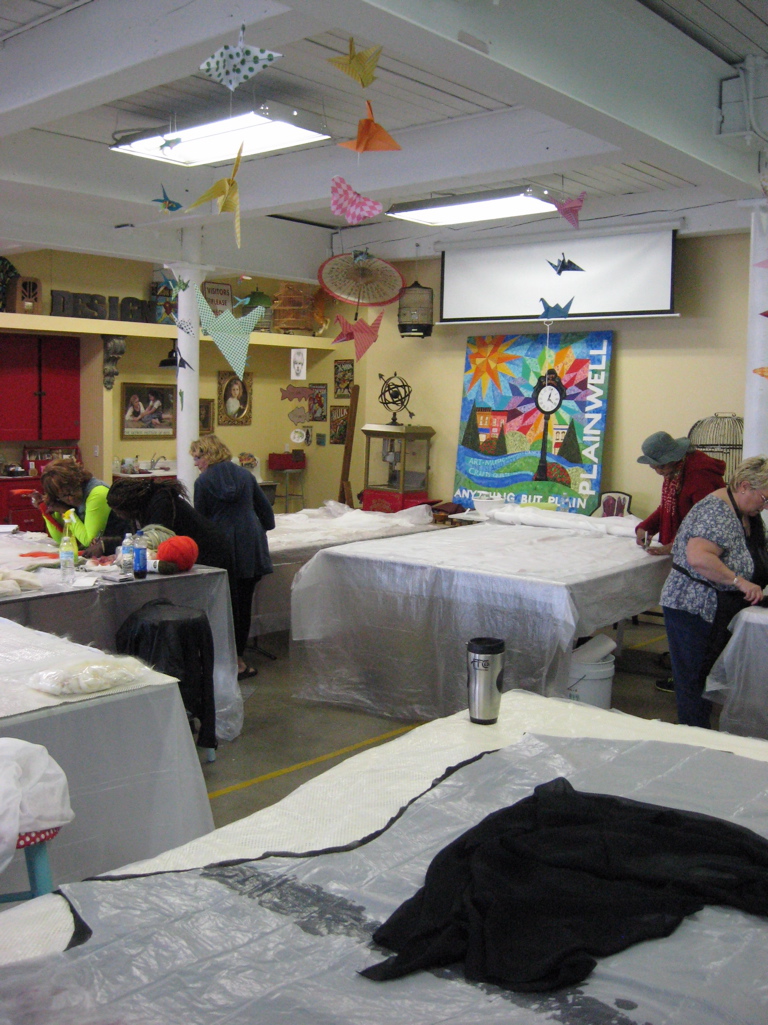
The old fire station has lots of natural light and plenty of space for 12 large felting stations.

IMG_6033   IMG_6034

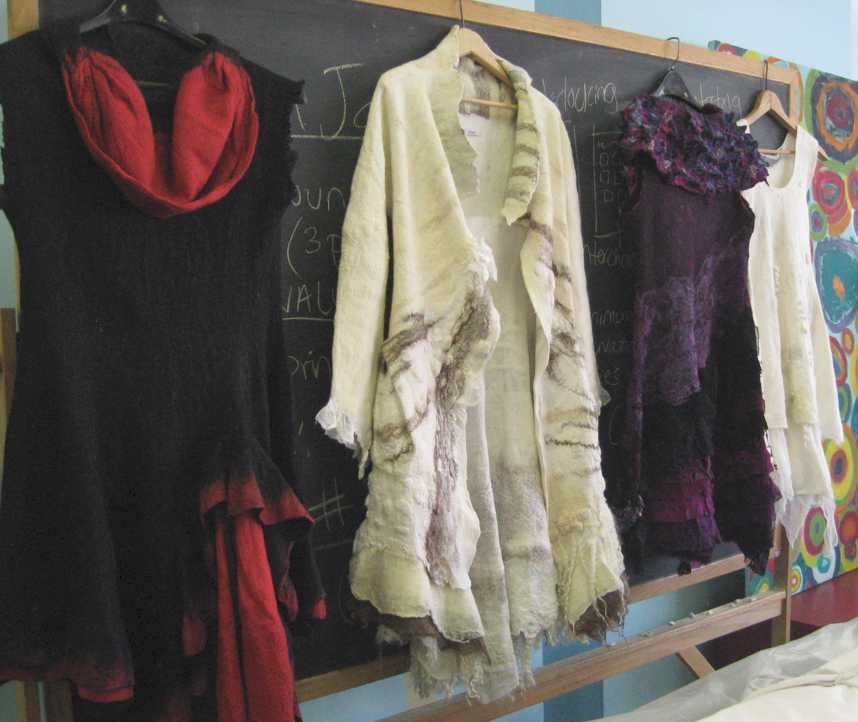
Charity’s work is amazing!  She combines colors, textures and shapes to create clothing that is soft, light weight and comfortable to wear.

IMG_6052

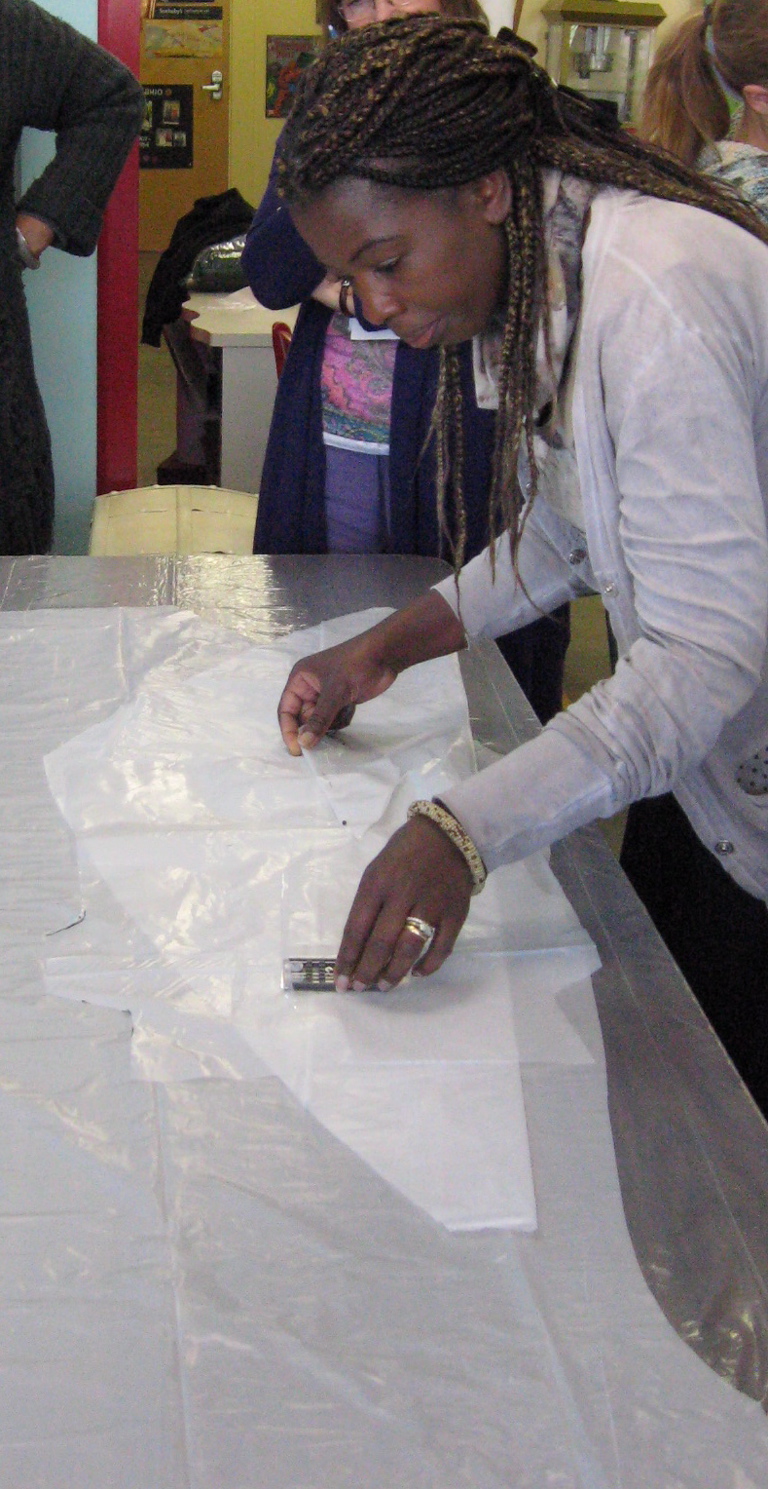
The  focus of this workshop was to make a one-piece nuno felted dress or skirt with an emphasis on pleating, layering and adding godets to the design.  Using her very simple but effective patterns we were encouraged to use our imagination and develop our own fashion ideas.  We calculated our starting dimensions (the dress will shrink 100%) and Charity showed us how trace out our patterns onto plastic and add the godet panel(s).  [A godet is a triangular piece of material inserted in a dress, shirt, or glove to make it flared or for ornamentation.]

IMG_6030

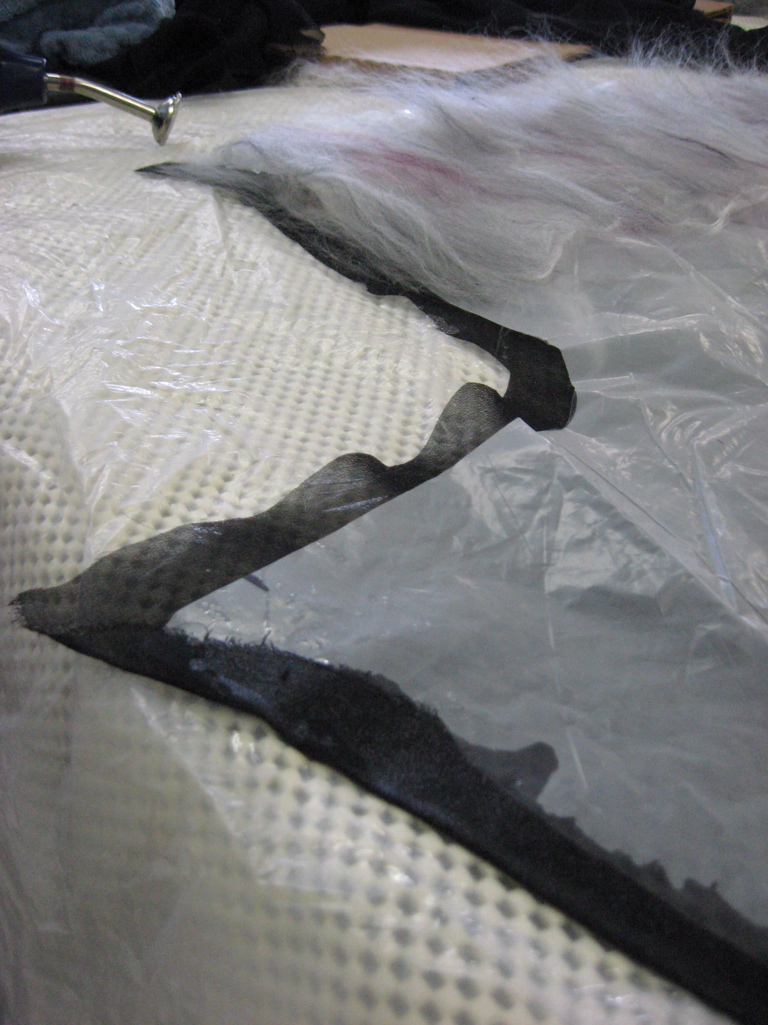
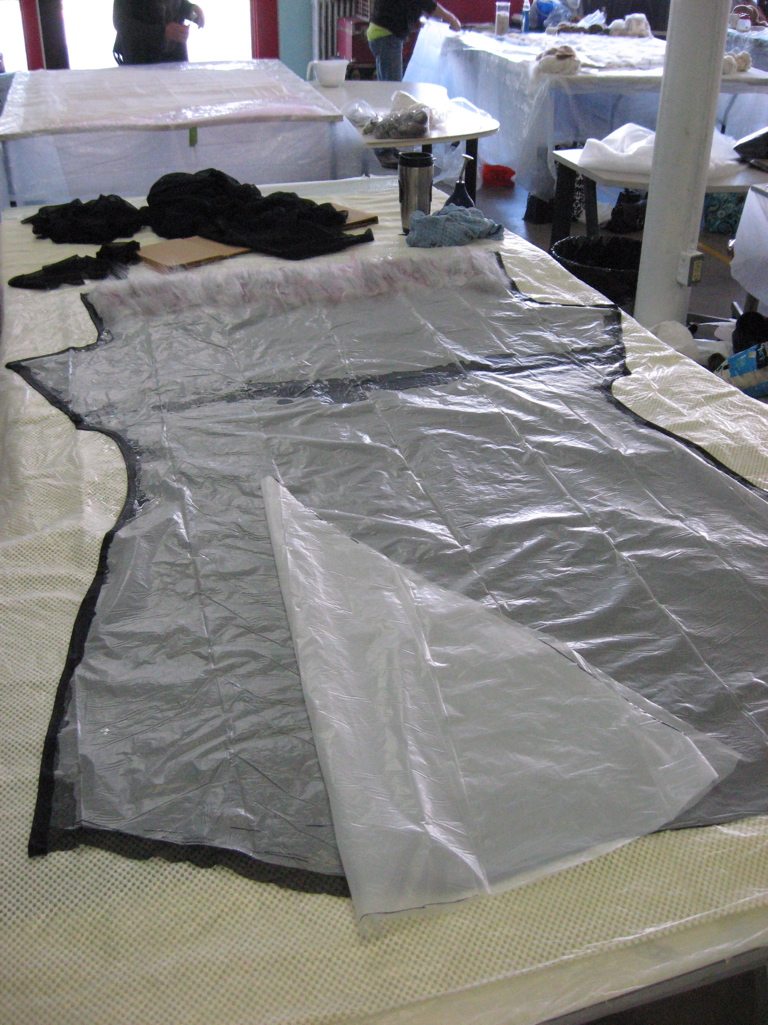
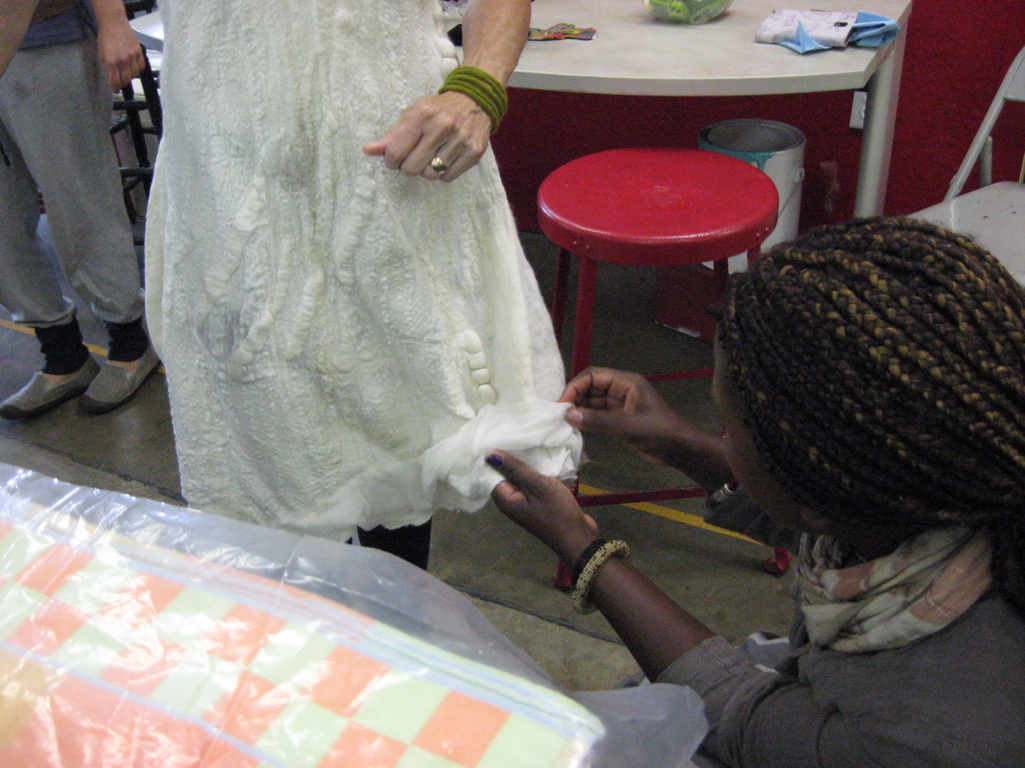
Using silk chiffon fabric and merino wool fibers we created layers wrapping the silk & base wool around the plastic pattern.  The plastic works as a resist to keep the wool & silk from felting into a 2D shape instead of the 3D shape needed to be a dress.  Overlapping the silk fabric and wool fibers at the shoulders and sides creates the ‘seam’ so no sewing is involved!!

IMG_6031 IMG_6032

Day 2:  The silk fabric & wool fibers are layered for the other side but this time making sure to cover the godet separately.

IMG_6036  IMG_6039

Now the fun begins = adding the details and embellishments to the dress!!  I used wool fibers, silk fibers, polyester lace fabric, blended wool/silk fiber, plus wool and silk yarns.

IMG_6044

Wet down the front of the dress with warm soapy water.

IMG_6045

Layout my design and wet down the back.

IMG_6046

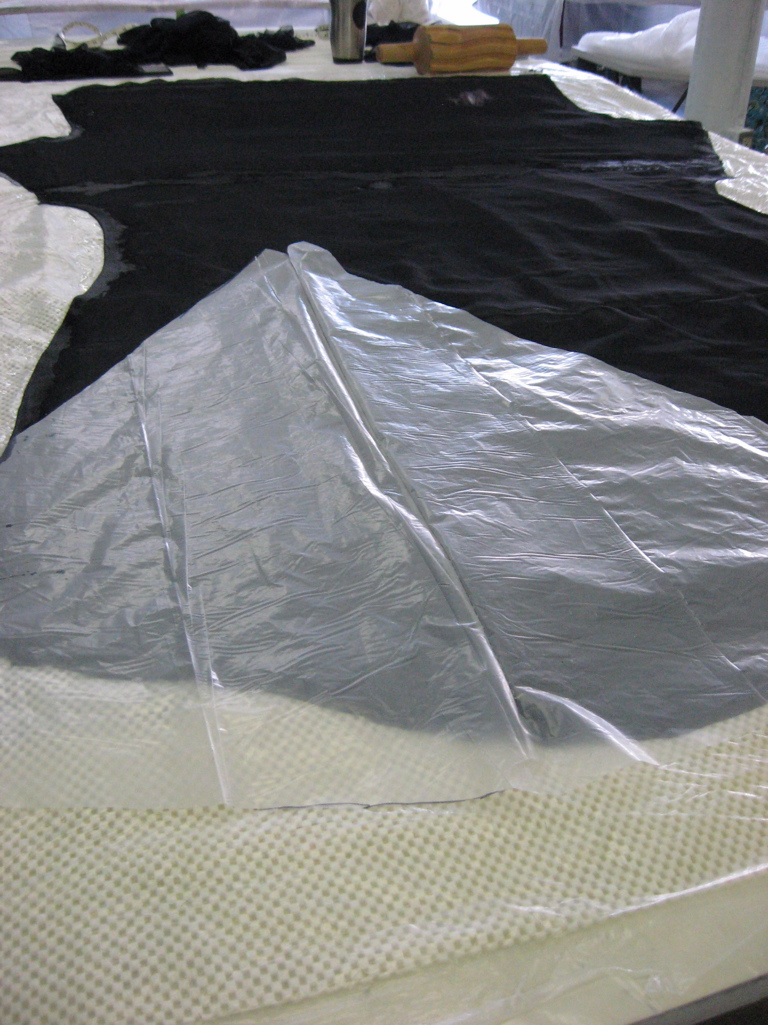
Sandwich everthing between plastic……

IMG_6048

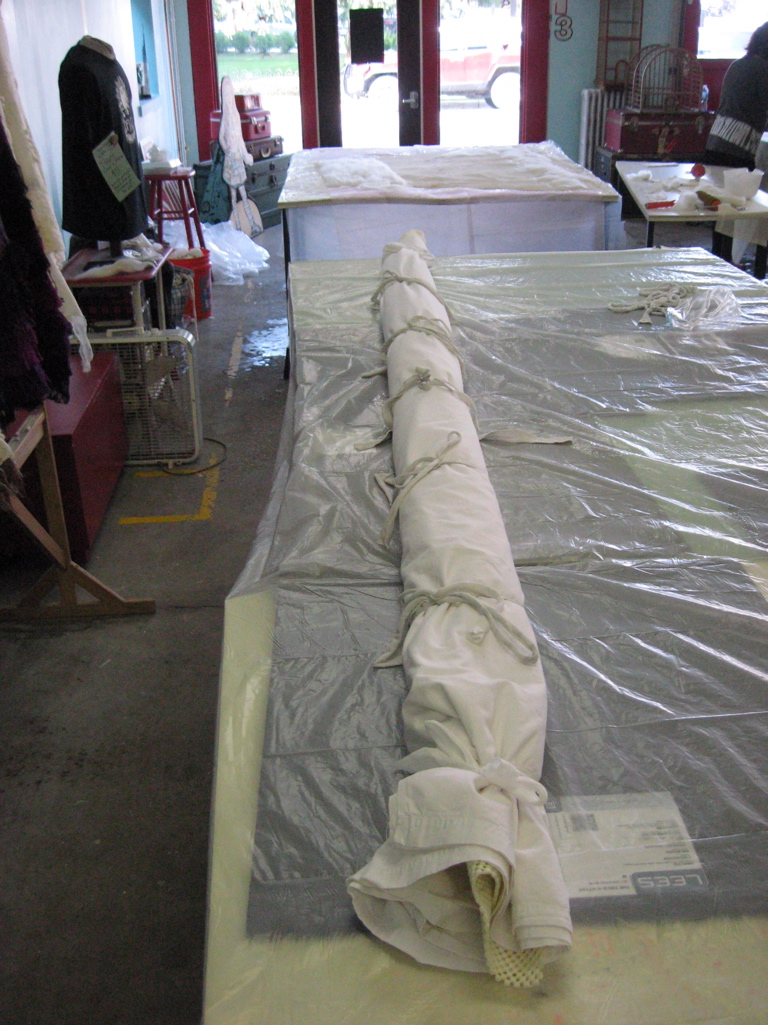
Roll it all up in an anti-skid rug mat and old sheet then start rolling…… rolling…. rolling….

IMG_6051

Day 3: Continue  rolling…. rolling… rolling…..

Now it’s time to unwrap and try it on!  (Oh…. was this the part soggy!!!)
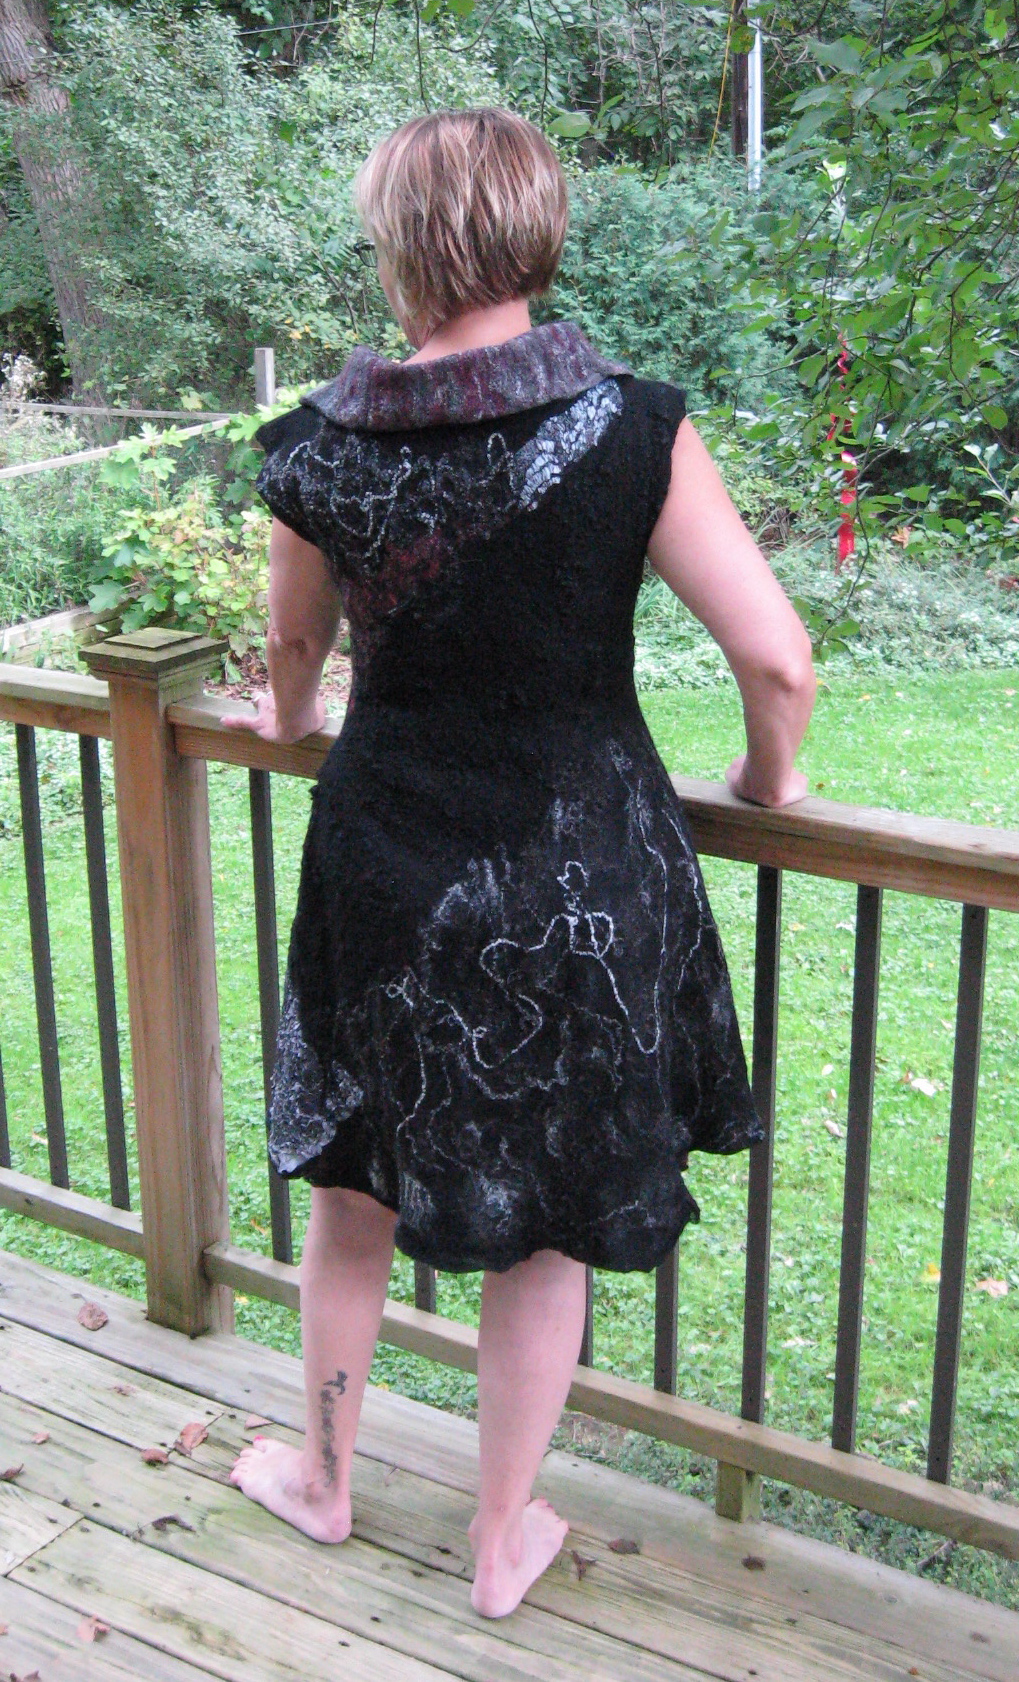
And…. oh my gosh…. it fits like a glove!!

IMG_6059  IMG_6078

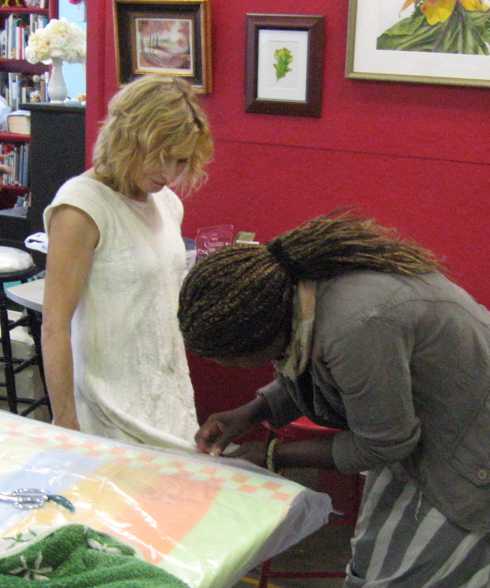
Charity helped smooth and give finishing touches to everyone’s dress.

IMG_6053  IMG_6054

And we all went out for a group photo.  Each dress and skirt was true one-of-a-kind work of art!!!

workshop participants

I even had enough time to layout a shorter top before leaving and felted it at home the next day.

IMG_6089  IMG_6083

This workshop was just the ticket to my get my creative juices flowing this fall!  I will definitely continue to work with this technique and I’ve made a note in my 2016 fall calendar = Charity may be back to give another workshop!!


Weaving a Tablet Border

On August 8-9-10, 2014 the Michigan League of Handweavers Summer Workshops were held at Hope College in Holland, Michigan.  I received a learning grant from MLH to take the Tablet Borders Woven Simultaneously With Loom Weaving workshop taught by master weaver Inge Dam.

IMG_5938  IMG_5954

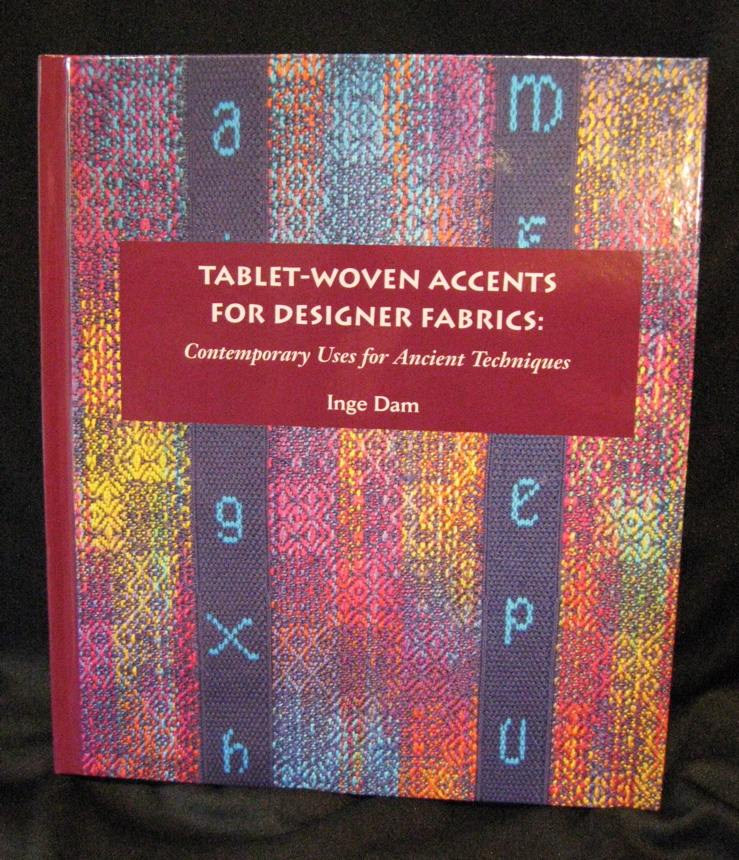
Originally done on a warp-weighted loom, this type of weaving goes back to Iron Age Scandinavia (500 BCE – CE 800) and combines the use of tablets/cards to weave a band at the same time you are weaving fabric.  Inge’s book Tablet-Woven Accents for Designer Fabrics: Contemporary Uses for Ancient Techniques is a wonderful combination of history and how to.

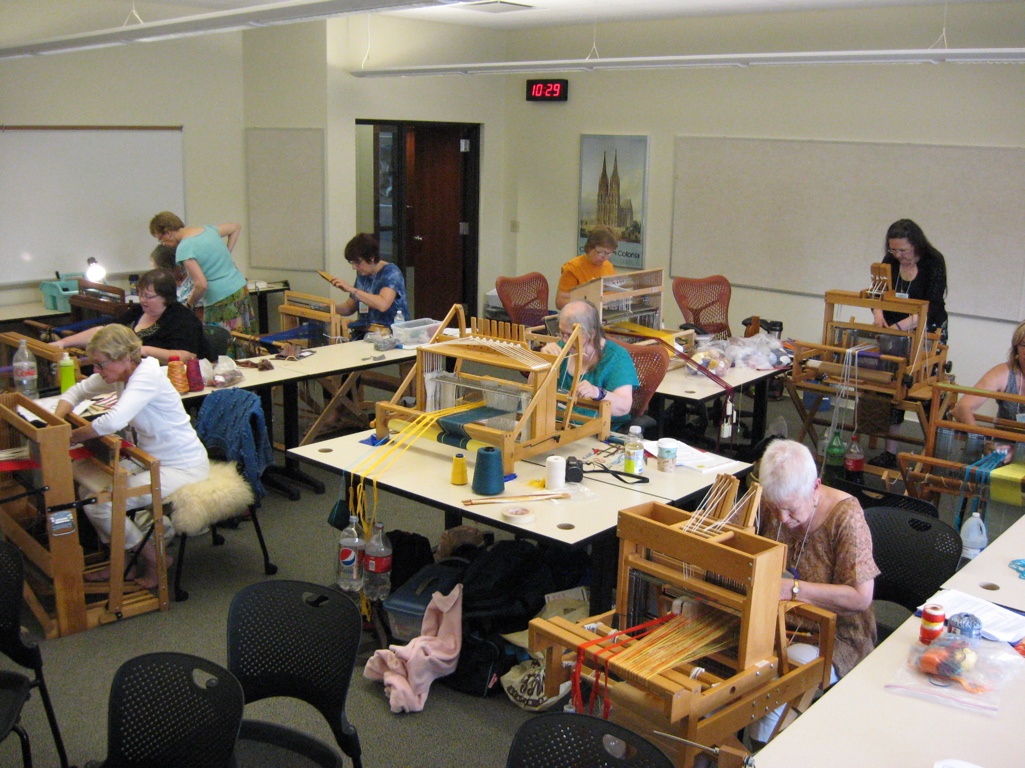
There were 15 of us in the workshop.

IMG_5931

We arrived with a 6″ wide warp already on our looms.

IMG_5928

Day 1  (3 steps forward….. 4 steps back)

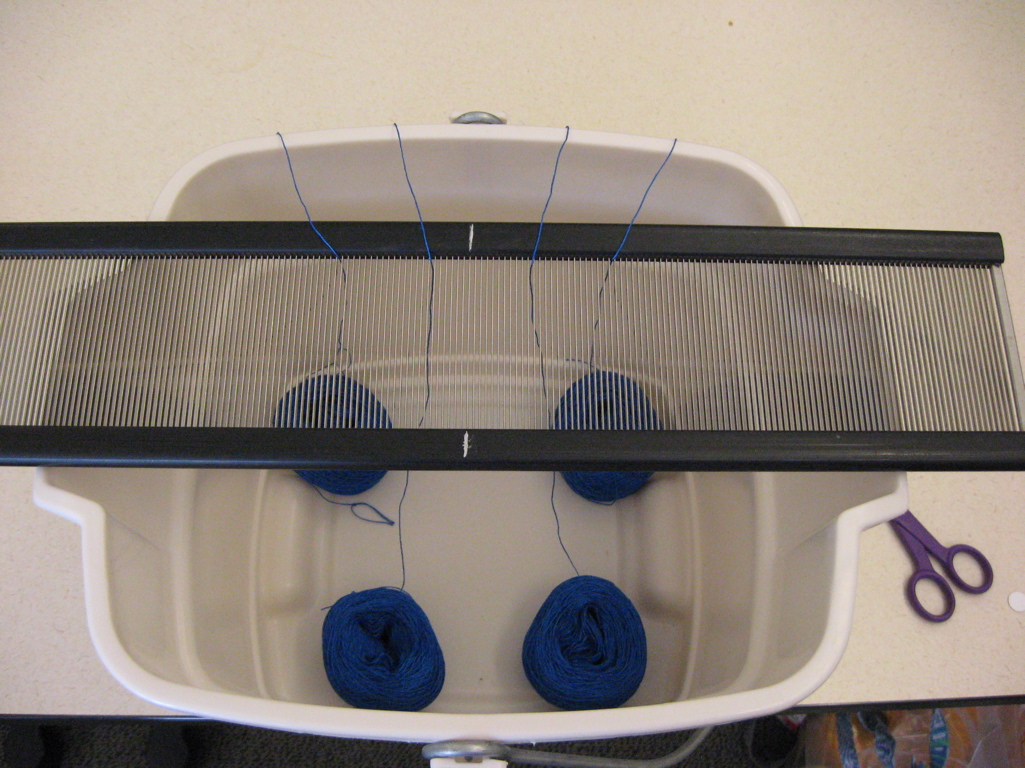
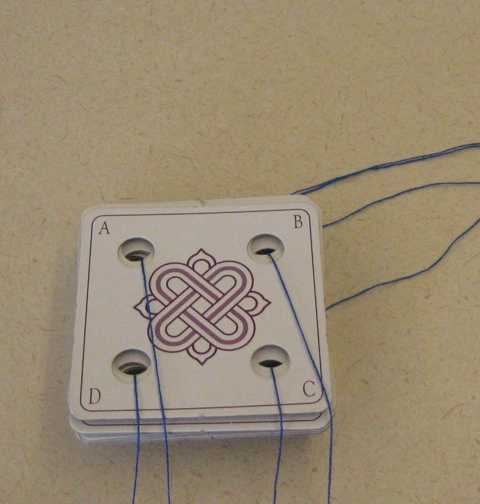
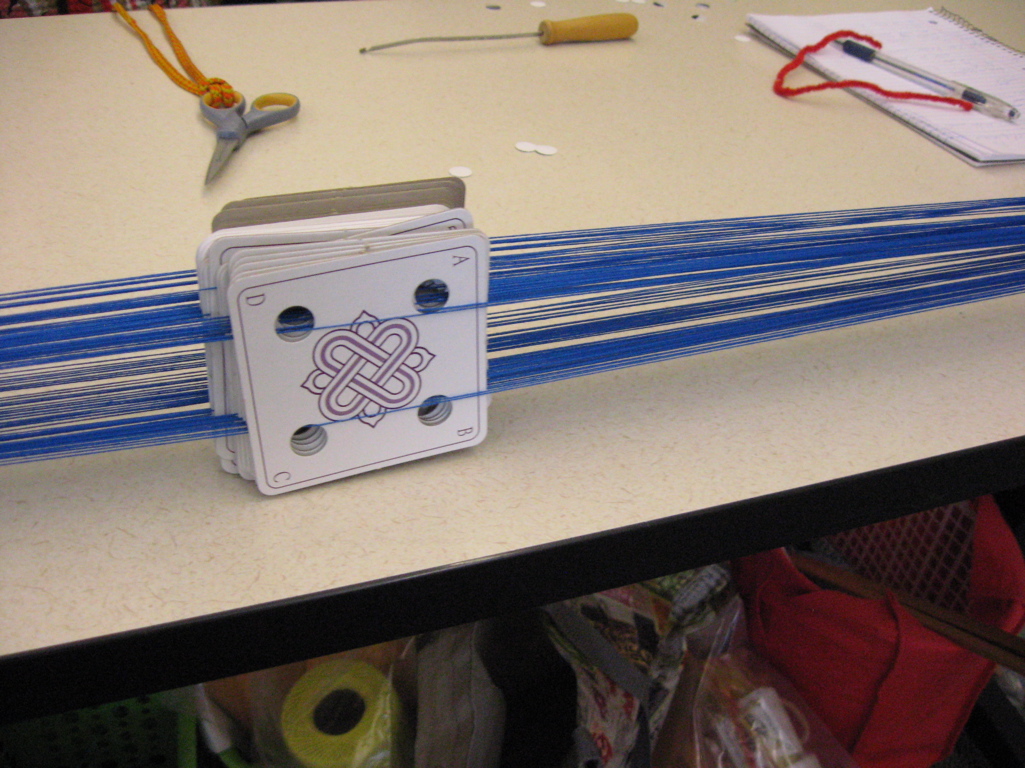
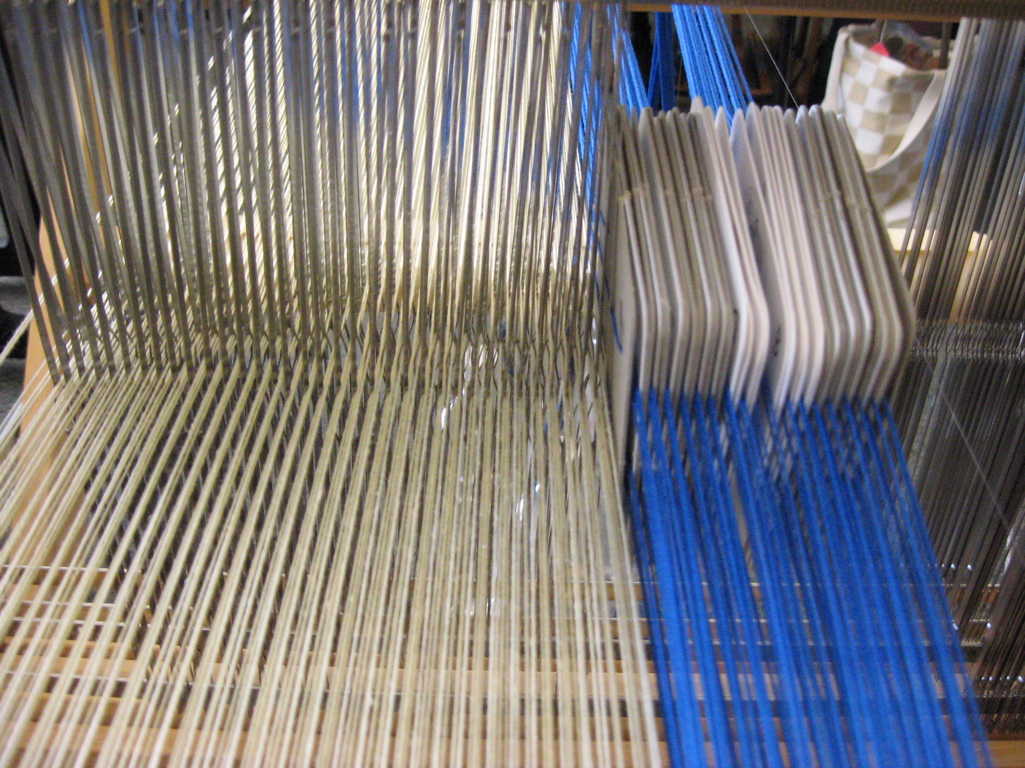
We began with winding out the warp for the tablets.  Buckets and reeds were used help keep the 4 balls of yarn from tangling.  34 tablets were threaded 1 yarn in each hole.

IMG_5915  IMG_5917

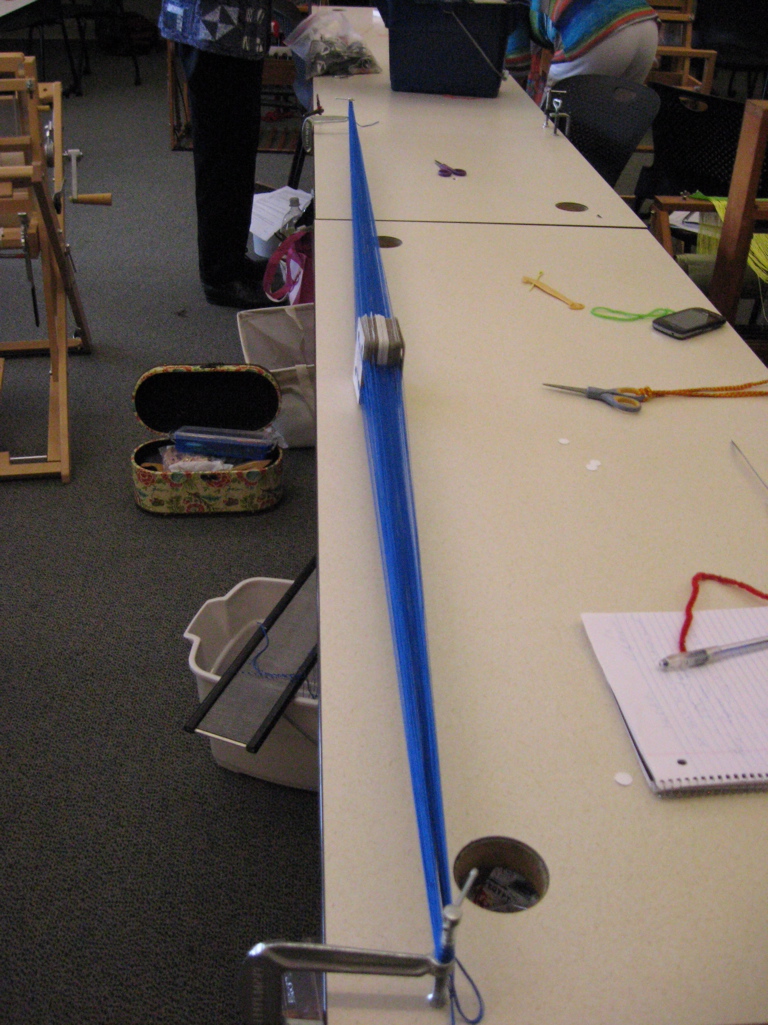
Next we wound our warp between 2 clamps  – dropping 1 tablet with each pass until all 34 were in a pack on the table.

IMG_5919  IMG_5918

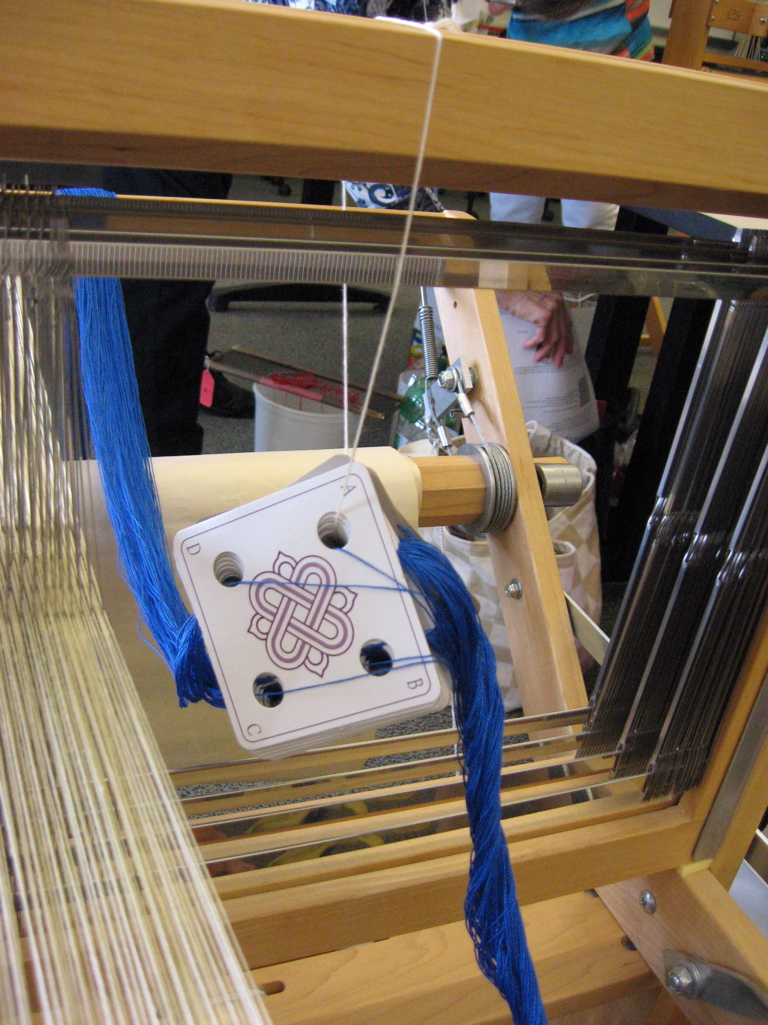
At this point the words “Rubber bands are my friend!” became an important mantra to keep the pack together and in order as we now moved the tablets & warp onto our looms….

IMG_5920   IMG_5921

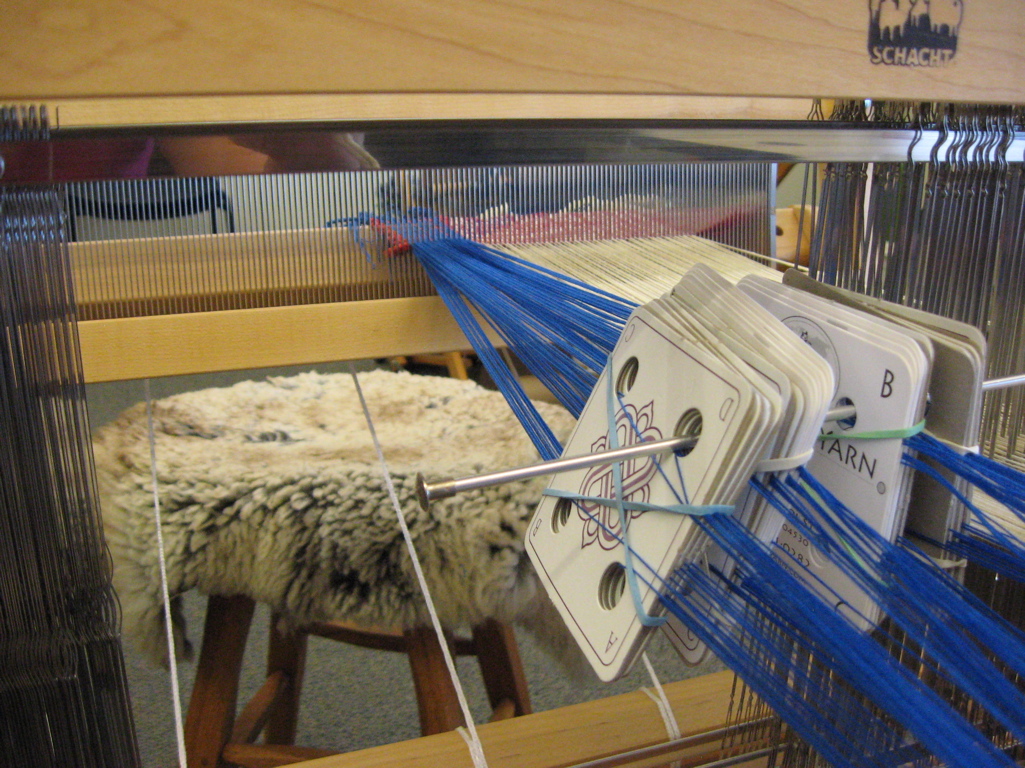
The warp yarns were then threaded into the reed in groups without shifting the order of the tablets or dropping any of them onto the floor!

IMG_5924

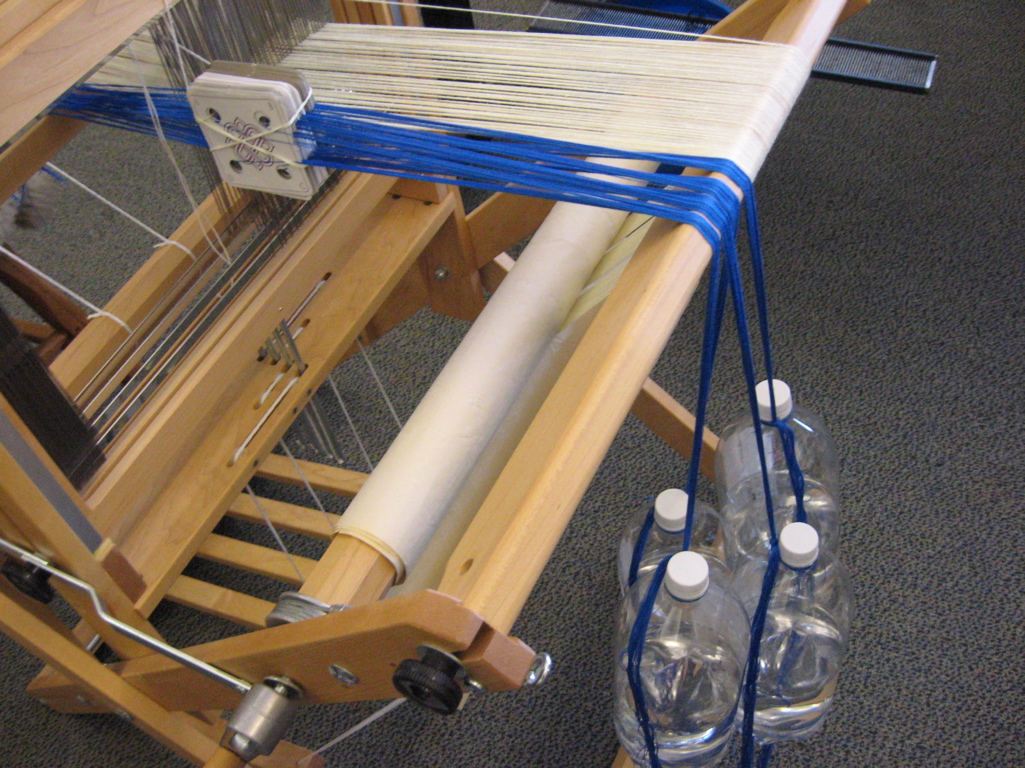
The warp ends were tied securely to the front breast beam rod and water bottles were attached at the back to tension the warp.

IMG_5922

At this point we were all ready for a lunch break!

After lunch, life got much more exciting for me.  I forgot to rubber band the tablets when I loosened the front ties in an attempted to correct some tension issues and 1/4 of my warp yarns were pulled back through the reed and those tablets fell to the floor = NOOOOOOOO!!!!!!!!  Luckily the warp yarns stayed in the tablet holes and with Inge’s help, I got the tablets gathered together and the warp reattached to the front rod = whew!!!  The rest of the afternoon was spent untangling the mess of warp yarns I had made.  By the end of the day I finally had everything sorted out.  Time to quit and have a fresh start in the morning!

IMG_5933

Days 2 & 3  (much smoother sailing!!)

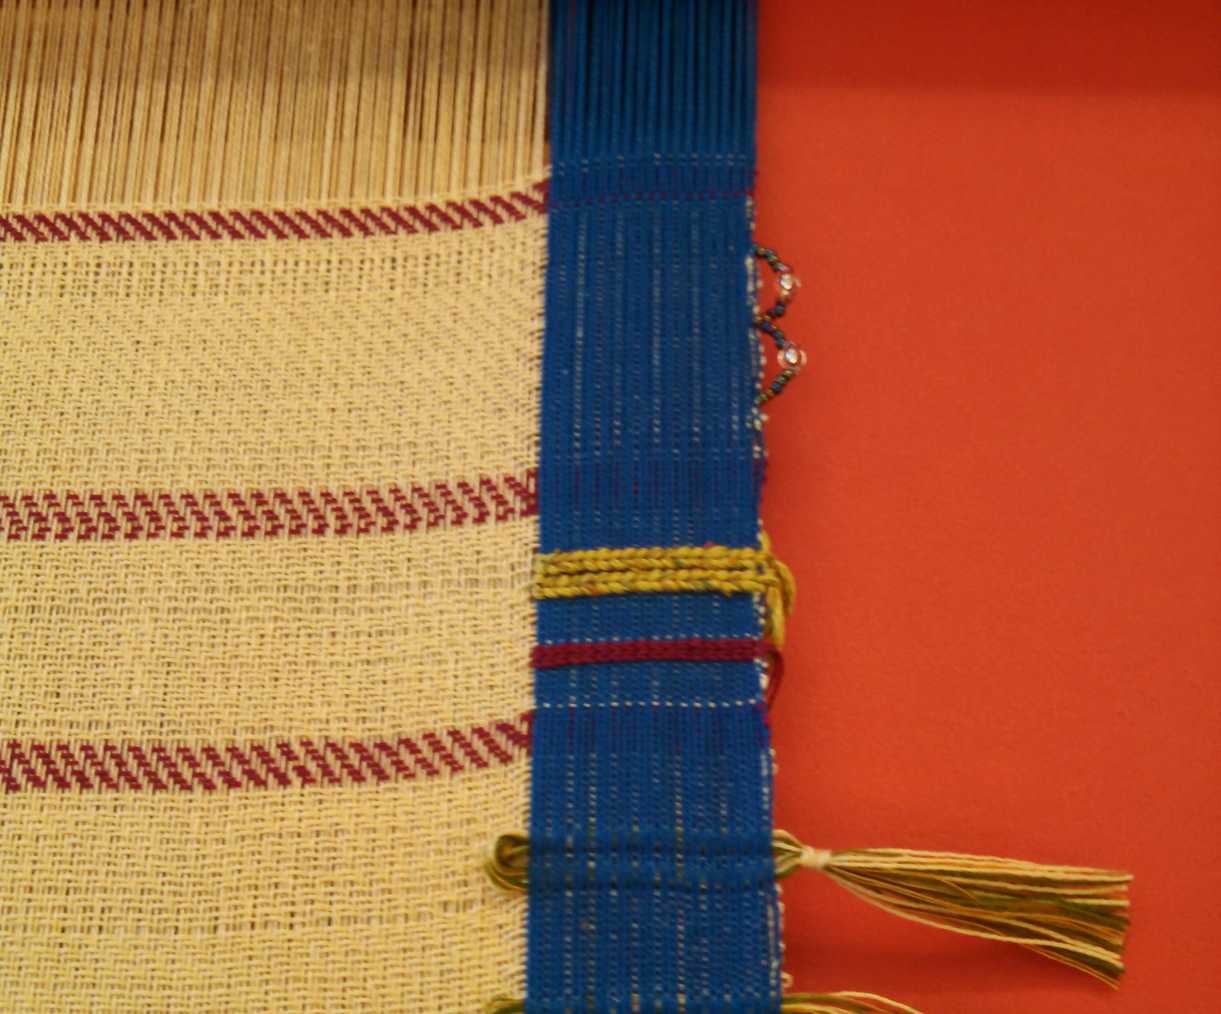
To weave the fabric (cream color) & tablet border (blue) at the same time, one shuttle is used to carry the weft across both sections.  I work the loom as I normally do and the cards are rotated by hand 1/4 turn with each pass, either forward or backward, depending on the pattern.  I soon got into a rhythm and was ready to start on the samples/exercises to embellish the tablet border.

IMG_5932
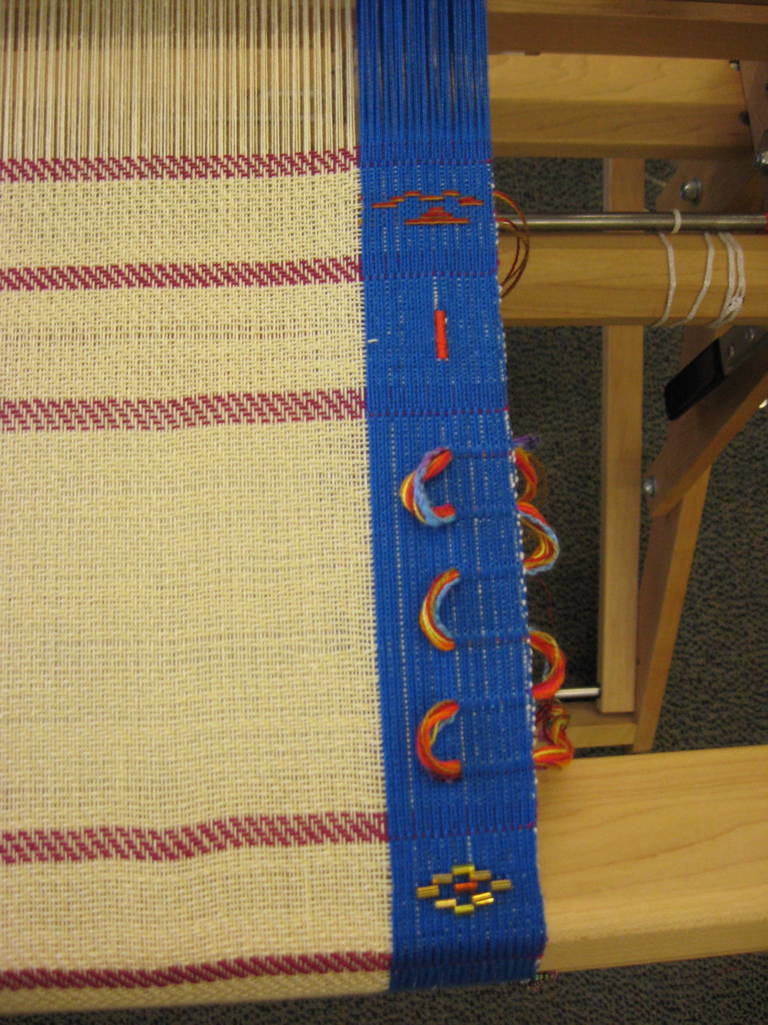
1) Making loops to attach fringes.

IMG_20140809_172443_920
(bottom)  2) Tassles   3) Twining   4) Beaded Edge  (top)

IMG_5943
(bottom)  5) Bead Brocade   6) Selvage Loops  7) Wraped Warps   8) Brocade  (top)

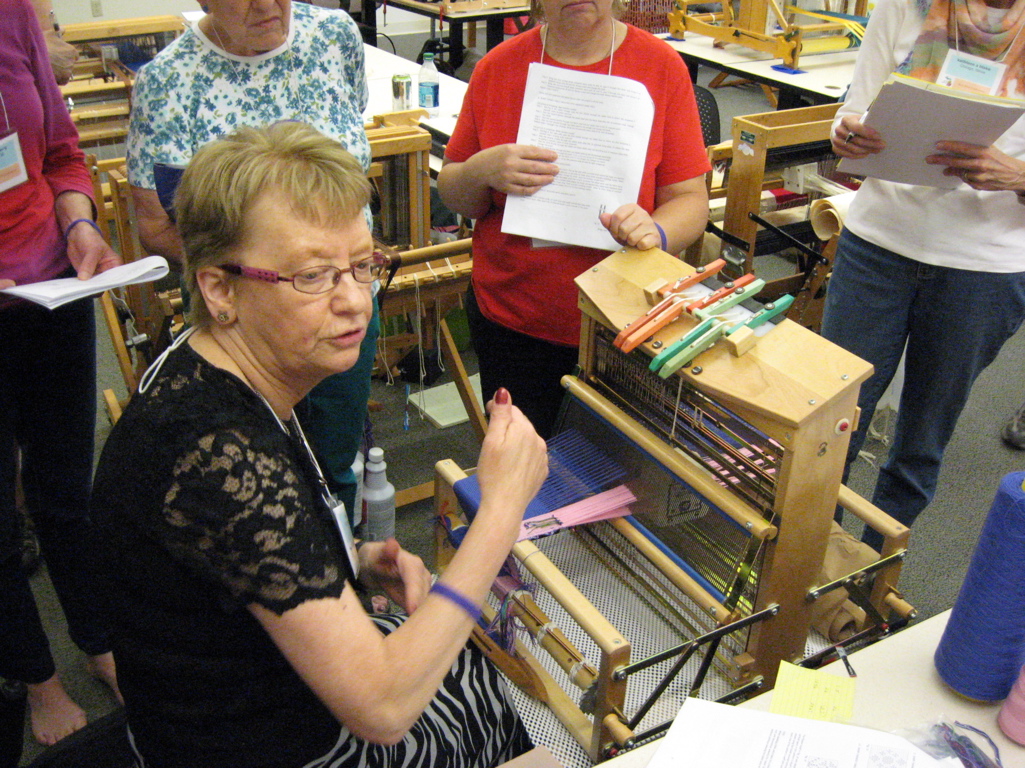
There were breaks throughout each day as Inge talked about the history of tablet weaving….

IMG_5935

explained the samples we would be doing…..

IMG_5930

and gave us a chance to see her fabulous woven garments up close.

IMG_5929

It was a fantastic set of days with a fabulous group of weavers!

TabletBordersMLH2014


Michigan League of Handweavers Biennial Fiber Show

I spent a lovely summer afternoon in Holland, Michigan for the last day of the Michigan League of Handweavers Biennial Fiber Show – complete with refreshments, awards ceremony and Ann Keister’s comments on jurying the show as well as a PowerPoint presentation of her work.

Surround Sound Vest won 3rd place in the Functional Fiber category and besides being presented with a lovely woven & beaded ribbon…. I got $75 in prize money too!!

IMG_20140629_134140_726    IMG_20140629_134323_599


It was nice to see ‘Surround Sound Vest’ and my ‘Green Man’ tapestry, as well as all the other fabulous fiber works of art displayed so beautifully.  Hats off to everyone at MLH who worked so hard to put 80 items on display!!

IMG_20140629_134713_980  IMG_20140629_140100_266

IMG_20140629_140108_679  IMG_20140629_140125_200

Samurai: Beyond the Armor Fashion Design Competition

Arriving early at the Detroit Institute of Arts for a talk ‘The Medieval Art of Swordplay’ by Jeffrey Forgeng who is the curator at the Higgins Armory Museum – Worcester Art Museum, I stumbled upon the creations by 10 local designers which had just dazzled the runway in an unusual fashion show at the DIA.  The fashion show was the culmination of a competition hosted by the DIA and Detroit Garment Group Guild (DG3), in which the designers were challenged to create outfits inspired by the DIA exhibition, Samurai: Beyond the Sword.  These garments were amazing!!!

IMG_20140517_125649_113

I may have missed the formal runway show but being able to stand next to these exquisite garments afterward as the models moved about the sunlit Rivera Court….

imgres

To see them ‘up close’…. oh this was my lucky day!  Check out DG3’s site for photos of the all the entries.