Posts

Cartography Chic

Guilds and associations are great places to connect with other artists, bounce ideas around, get support, feedback, and be challenged to push one’s creativity and art.  My fiber guild is the Ann Arbor Fiberarts Guild and back in May 2014, a challenge was issued for the April 2015 meeting:

Recycled and Repurposed Runway 

Tablecloths, cassette tape, telephone wire, discarded garments, curtains and draperies, old sweaters, cast off jewelry – any and all of these materials might go into a garment or accessory you create for this creative runway show.
Your object of fashion may be wearable and useable…. or not,
sedate or flamboyant…. or something in between,
fashionable…. or not.
The only criteria is it must be made from used materials.
How creative can Guild members be?
We will learn the answer to that on the runway!

I had already woven a garment using audio cassette tape [see July 2013 post “Recycle… Upcycle…. Fairs… and more…..”] which had been part of our annual spring fashion show in 2014 so I wanted to come up with something new.  What to use and what to do?  For the next 9 months ideas simmer in the back of my mind…. and then I cleaned out a cabinet.  There were the National Geographic maps that had been collecting for over 30 years!

Cartography ~ study and practice of making maps
The premise being that by combining science, aesthetics, and technique,
reality can be modeled in ways that communicate spatial information effectively.

I’ve always liked maps.  The lines, shapes, colors can be beautiful works of art.  We even used them to decorate the nursery when the kids were little.  I would weave something out this pile of maps!

nursery map

But what?

In 1999, I attended my first Association of Guilds of Weavers, Spinners and Dyers summer school taking a course on weaving with bulrushes taught by Linda Lemieux. In the USA, bulrushes are a protected plant but in the UK, they can be cultivated and harvested making this was a unique opportunity for me.  We wove braided bands, containers and finished the week with making a hat.

IMG_6581 IMG_6578

I would use those same techniques to weave a hat & purse out of maps!  I made samples weaving on the bias and plain weave to see how pliable the map paper was.  It was quickly apparent that the paper on its own was very flimsy and I would have to reinforce it to keep it from tearing and to be firm enough to hold the shape.

Using my notes from a workshop I took in 2000 from Jackie Abrams weaving with painted cotton paper as reference, I used a spray adhesive to attach the map paper to sheets of artist canvas.  I made several more tests cutting the map/canvas strips into 1/2″ and 1/4″ widths and used waxed linen thread when twinning was needed.  This worked much better and I was ready to start!

IMG_6564  IMG_6570

I laid out 1/2″ wide map/canvas strips in a plain weave….

  IMG_6591  IMG_6592

and laid that on the bias over a hard foam hat block to weave the crown using pins and clips to keep it in place.  I stitched the base of the crown to secure the proper diameter.

IMG_6593

I was not able to weave the brim as I had done on the bulrush hat but made it separate and attached it to the crown using hot glue.

IMG_6657  IMG_6670  IMG_6661

Next I trimmed the spokes, used the spay adhesive to attach a map to the underside of the brim, and machine stitched around the edge.

IMG_6699  IMG_6745

 IMG_6709

Making the purse was MUCH easier!!!  Using 1/2″ map/canvas strips and a styrofoam block for the mold, I wove a 12″ x 5 1/2″ x 1″ clutch bag.

IMG_6720 IMG_6714

All the pieces were given a coat of matt varnish to provide added strength and protection.

The Cartography Chic Hat & Purse Set is just the ticket
for any explorer with a flair for fashion!

Early Medieval Tunic found in Glacier to be Recreated

reconstructed-early-medeval-tunic-650x433

Astonishingly well preserved Iron Age tunic will be recreated (mostly) using the ‪spinning‬ and ‪weaving‬ techniques available at the time.  You can read about the examination of the wool fibres, method of spinning, the diamond twill weaving pattern and other factors which have been revealed by this project.
Click on the link to read this fascinating article.
http://www.medievalists.net/2014/11/24/early-medieval-tunic-recreated-norway/


Look Ma….. No Seams!

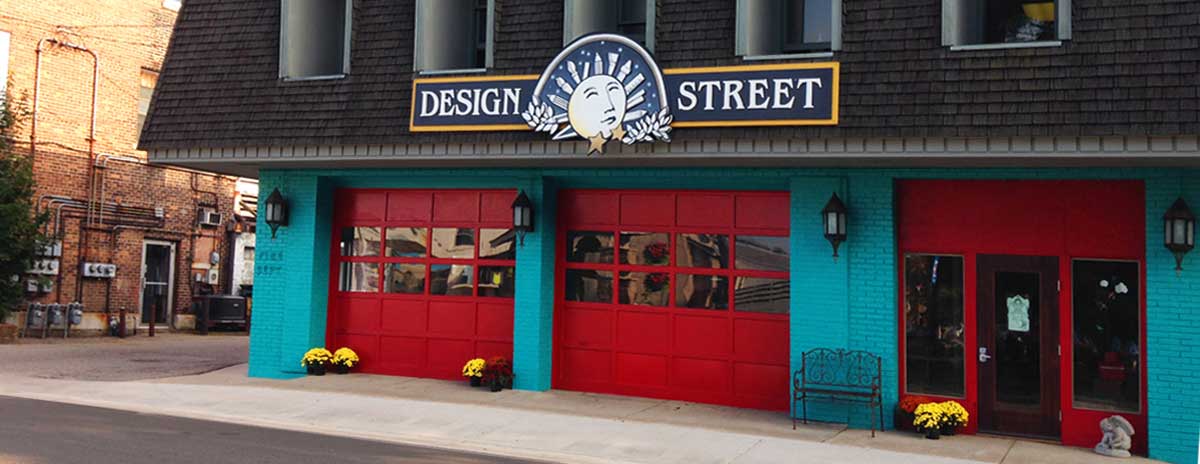
In the middle of September I spend 3 fabulous days in a felting workshop with international feltmaker and clothing designer Charity Van der Meer from the Netherlands.  The workshop was organized by Michigan felt artist Dawn Edwards and held at Design Street, a community art education center in Plainwell, Michigan.

bldglow

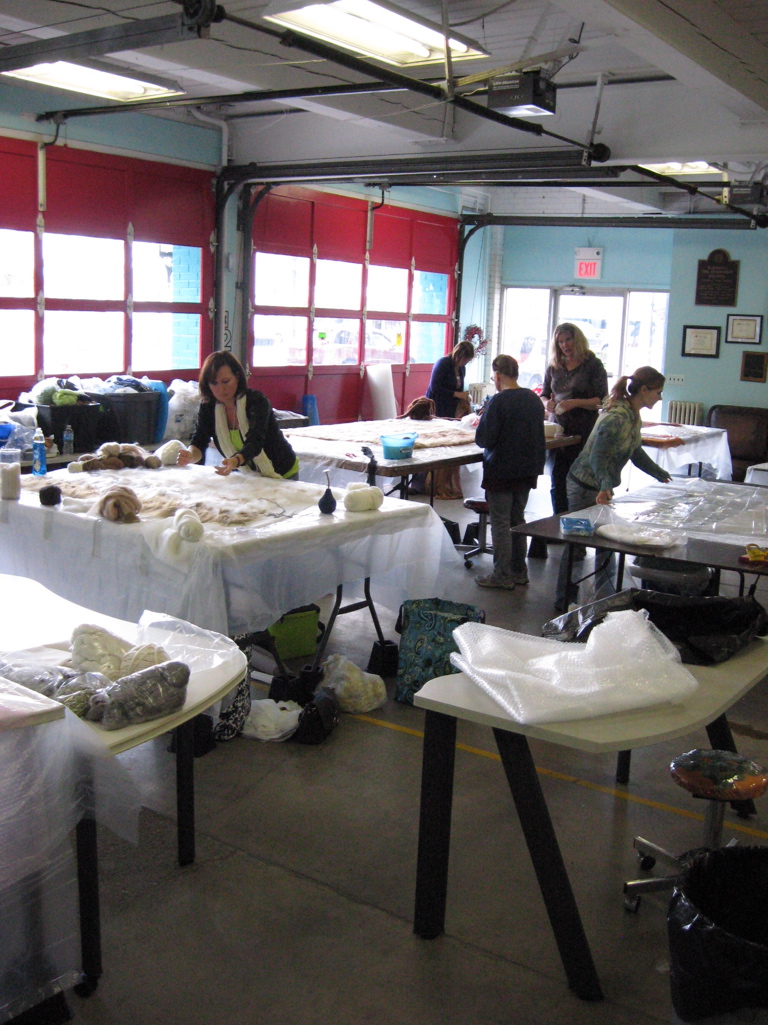
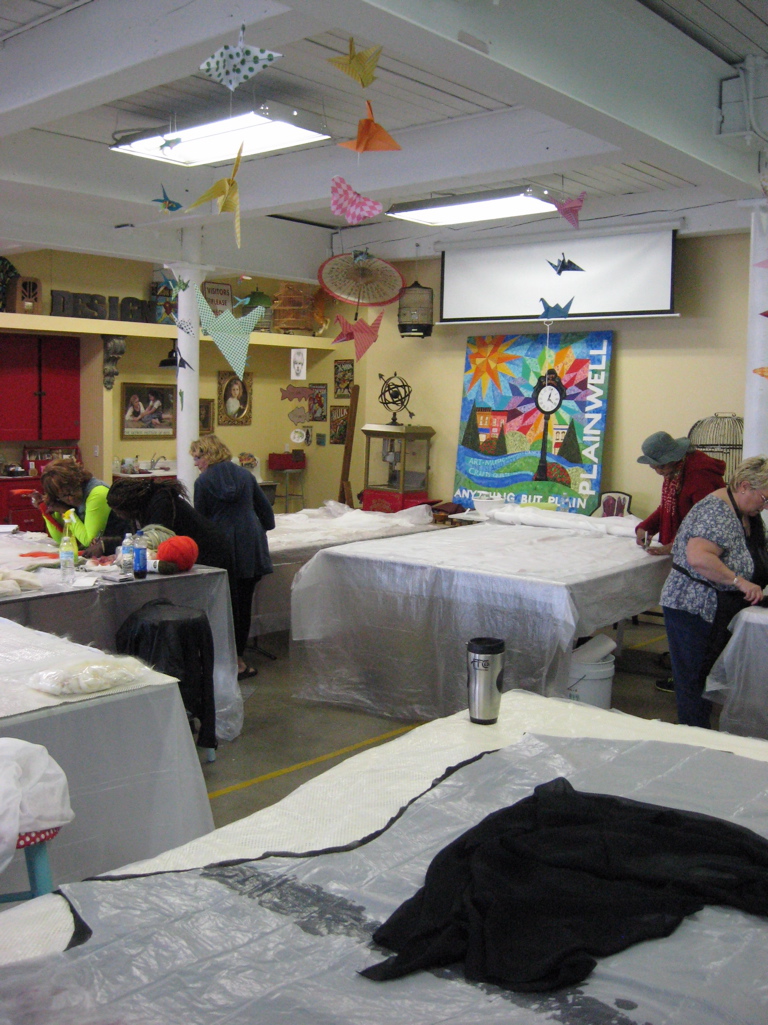
The old fire station has lots of natural light and plenty of space for 12 large felting stations.

IMG_6033   IMG_6034

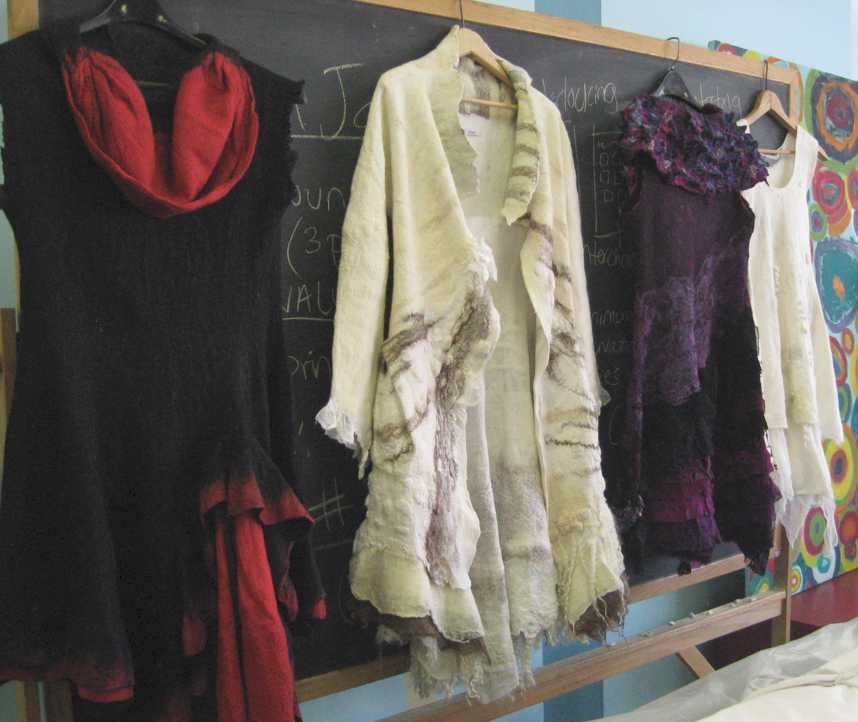
Charity’s work is amazing!  She combines colors, textures and shapes to create clothing that is soft, light weight and comfortable to wear.

IMG_6052

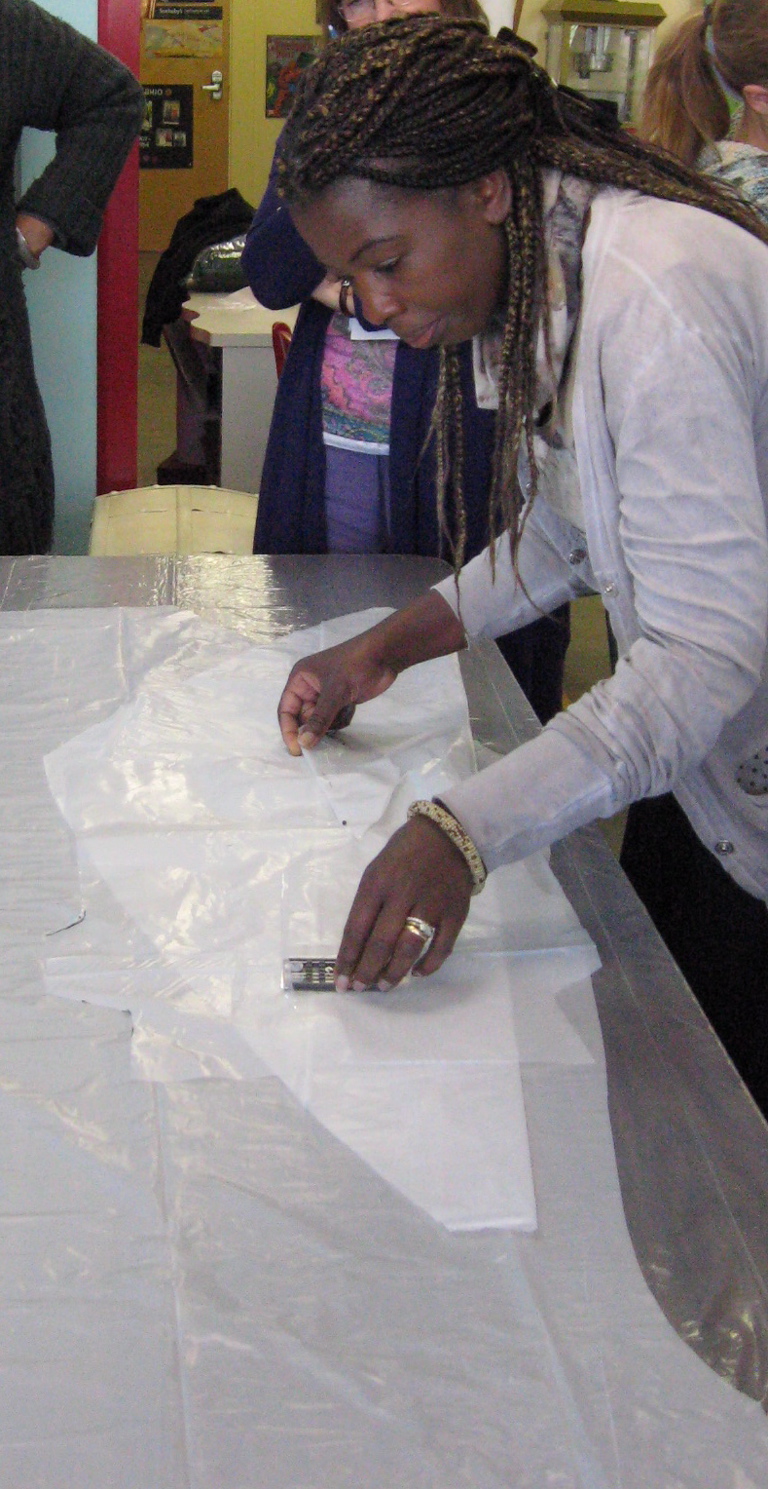
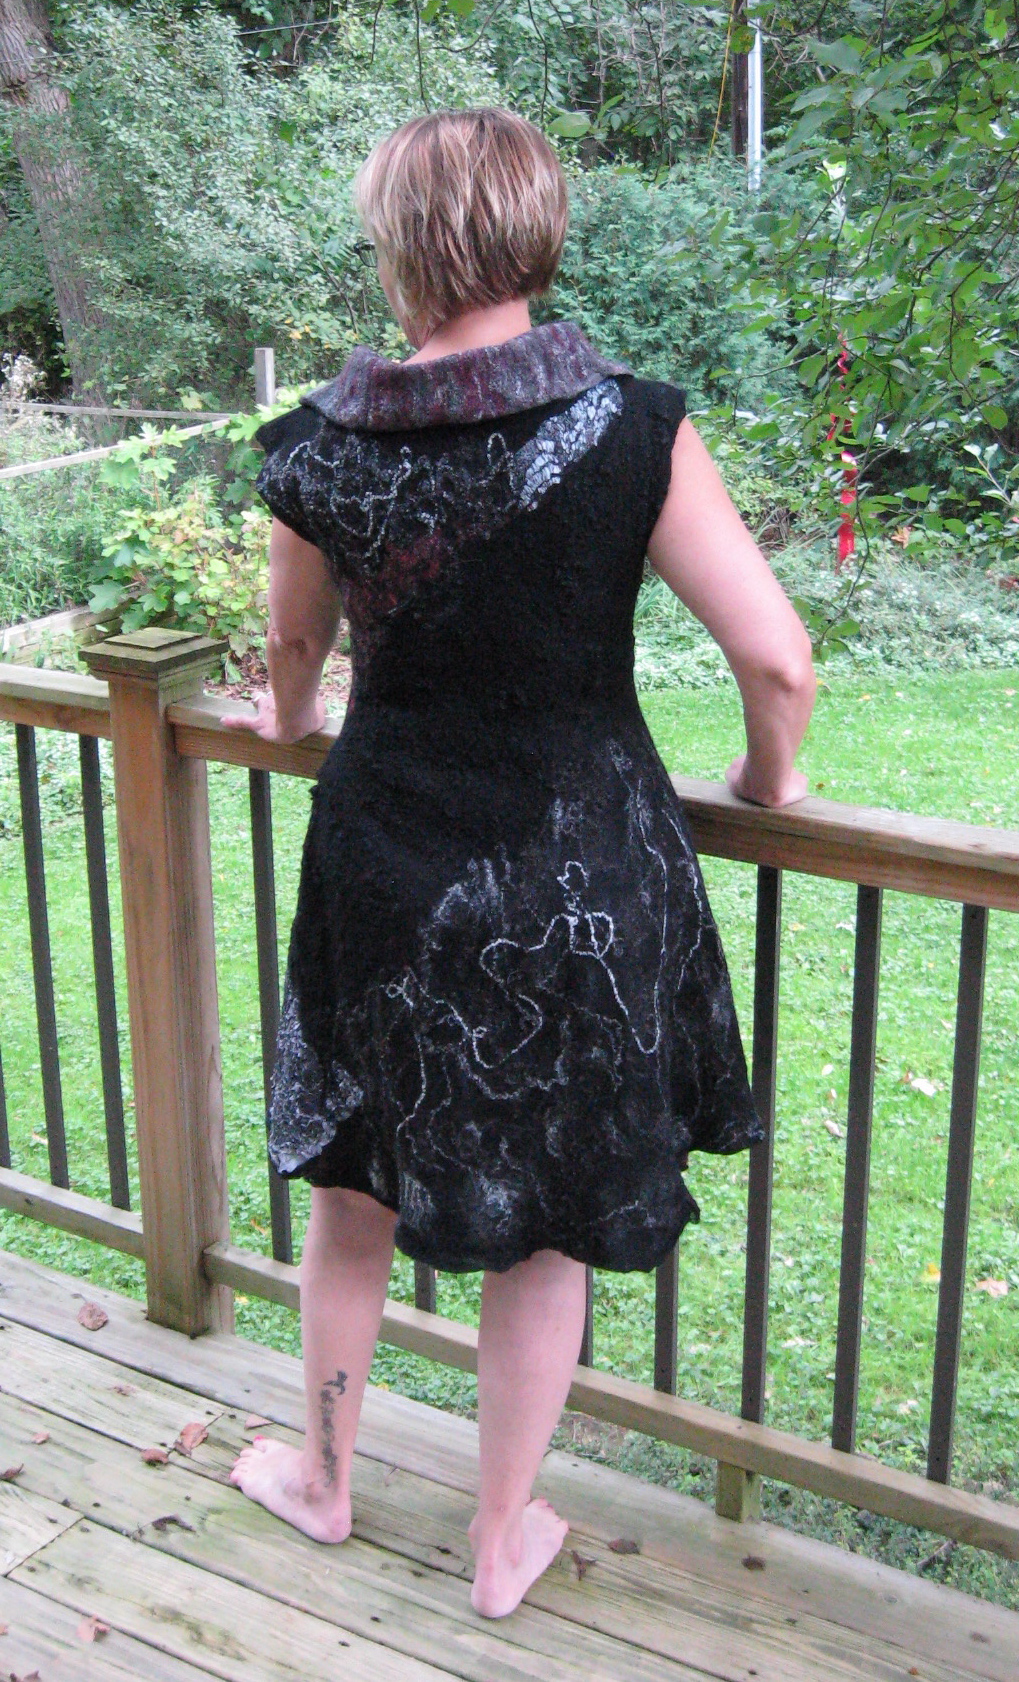
The  focus of this workshop was to make a one-piece nuno felted dress or skirt with an emphasis on pleating, layering and adding godets to the design.  Using her very simple but effective patterns we were encouraged to use our imagination and develop our own fashion ideas.  We calculated our starting dimensions (the dress will shrink 100%) and Charity showed us how trace out our patterns onto plastic and add the godet panel(s).  [A godet is a triangular piece of material inserted in a dress, shirt, or glove to make it flared or for ornamentation.]

IMG_6030

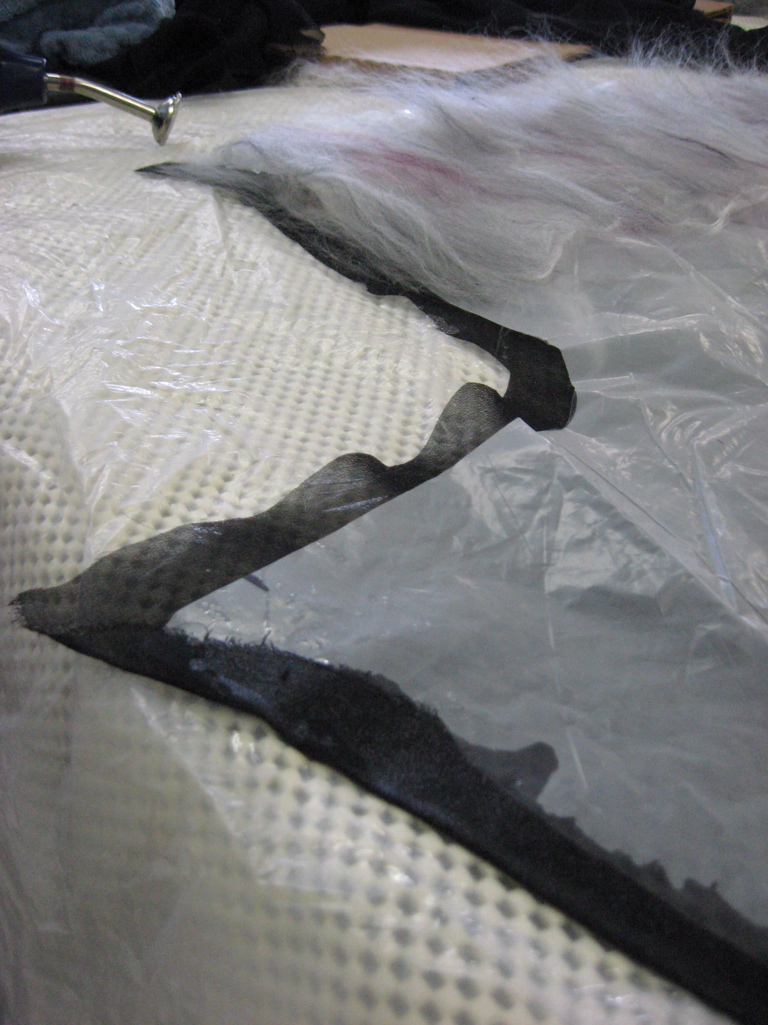
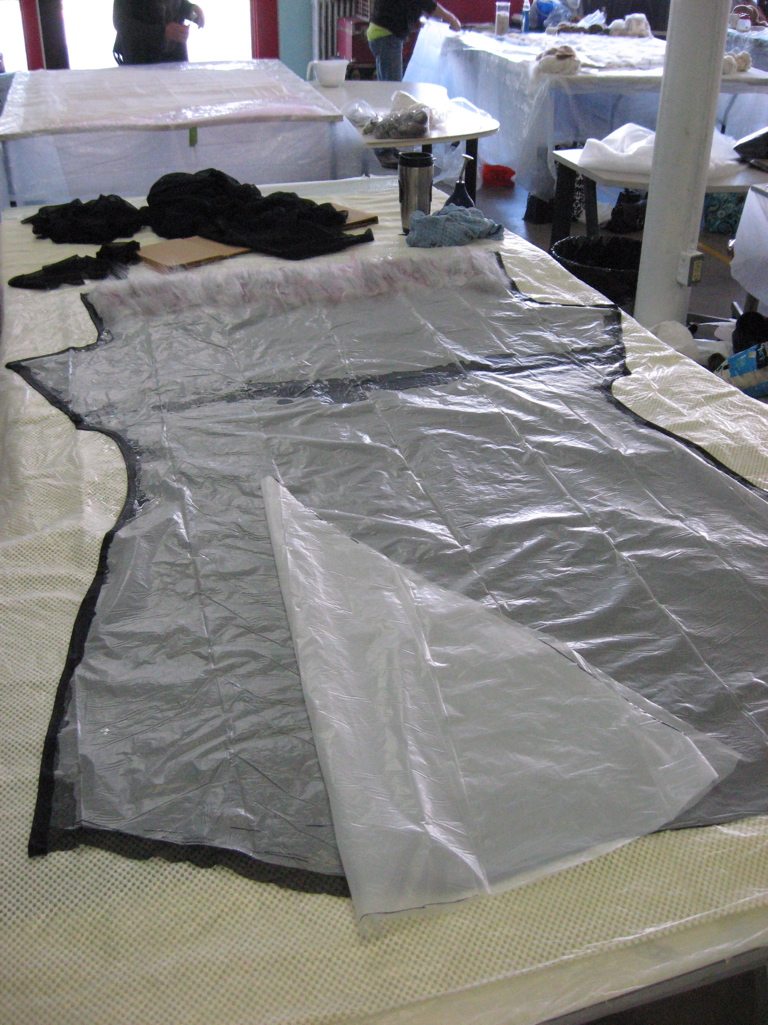
Using silk chiffon fabric and merino wool fibers we created layers wrapping the silk & base wool around the plastic pattern.  The plastic works as a resist to keep the wool & silk from felting into a 2D shape instead of the 3D shape needed to be a dress.  Overlapping the silk fabric and wool fibers at the shoulders and sides creates the ‘seam’ so no sewing is involved!!

IMG_6031 IMG_6032

Day 2:  The silk fabric & wool fibers are layered for the other side but this time making sure to cover the godet separately.

IMG_6036  IMG_6039

Now the fun begins = adding the details and embellishments to the dress!!  I used wool fibers, silk fibers, polyester lace fabric, blended wool/silk fiber, plus wool and silk yarns.

IMG_6044

Wet down the front of the dress with warm soapy water.

IMG_6045

Layout my design and wet down the back.

IMG_6046

Sandwich everthing between plastic……

IMG_6048

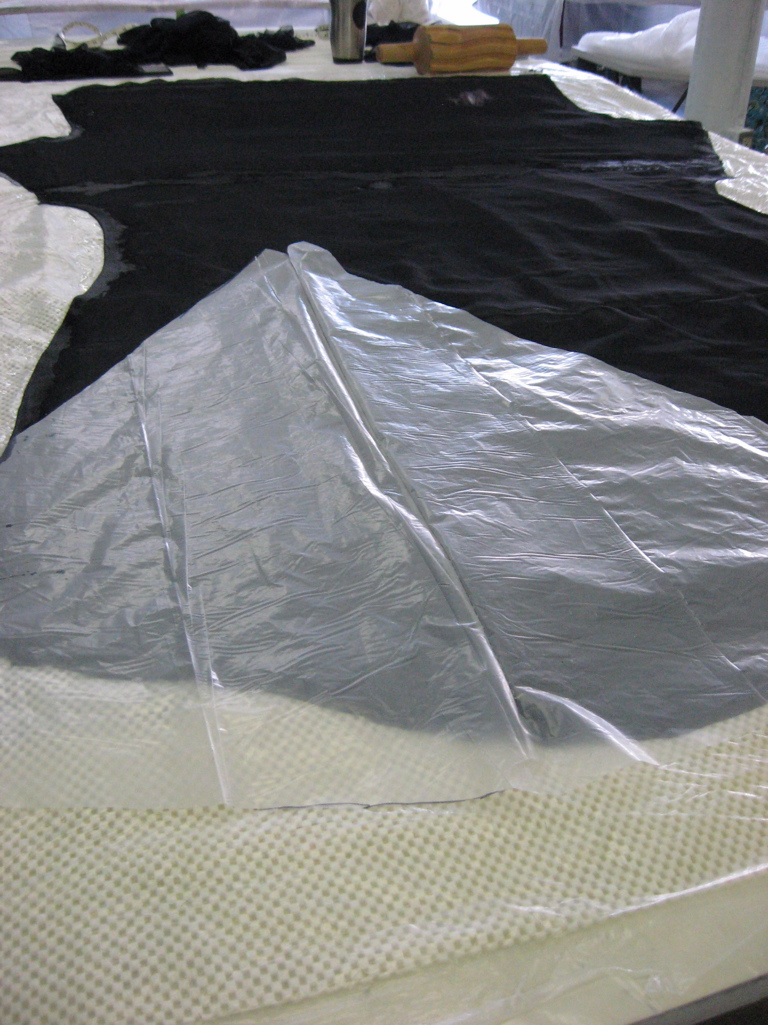
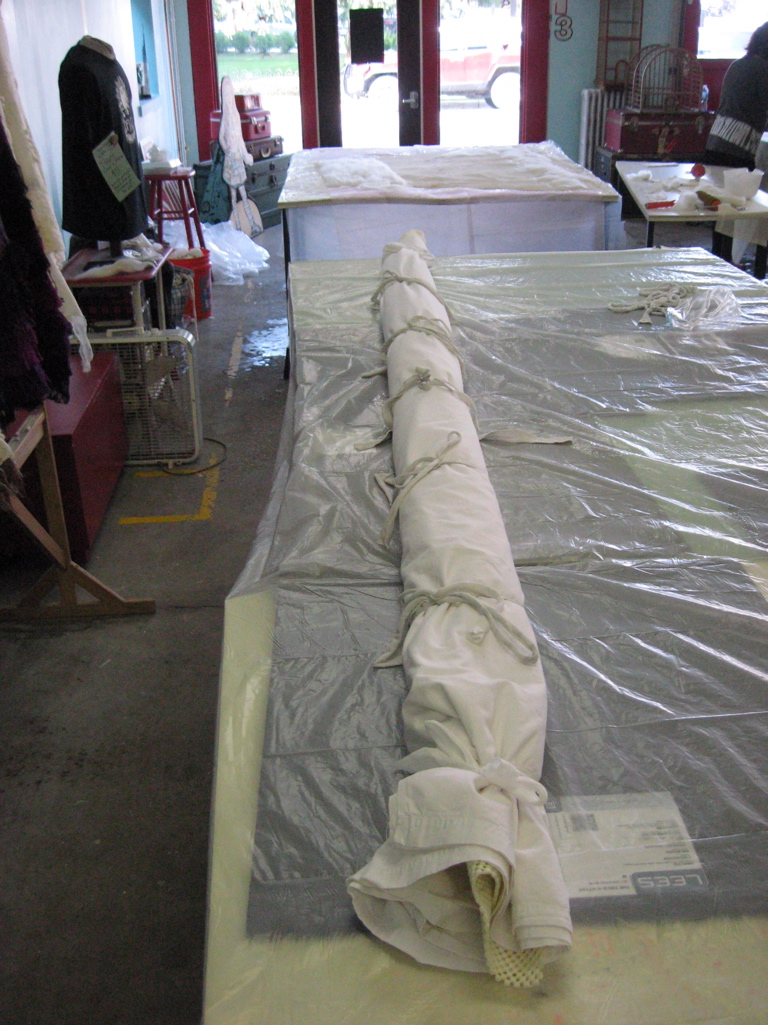
Roll it all up in an anti-skid rug mat and old sheet then start rolling…… rolling…. rolling….

IMG_6051

Day 3: Continue  rolling…. rolling… rolling…..

Now it’s time to unwrap and try it on!  (Oh…. was this the part soggy!!!)
And…. oh my gosh…. it fits like a glove!!

IMG_6059  IMG_6078

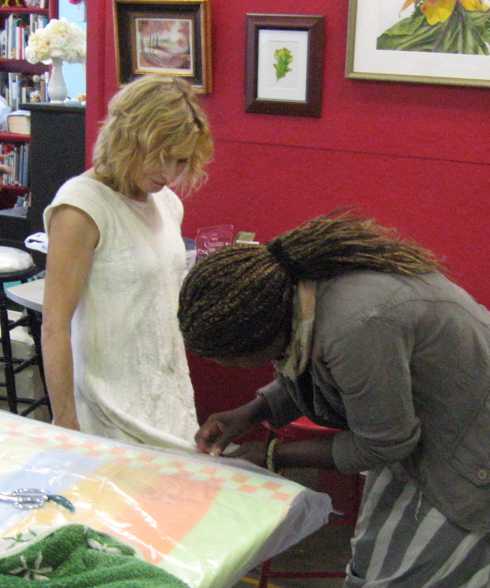
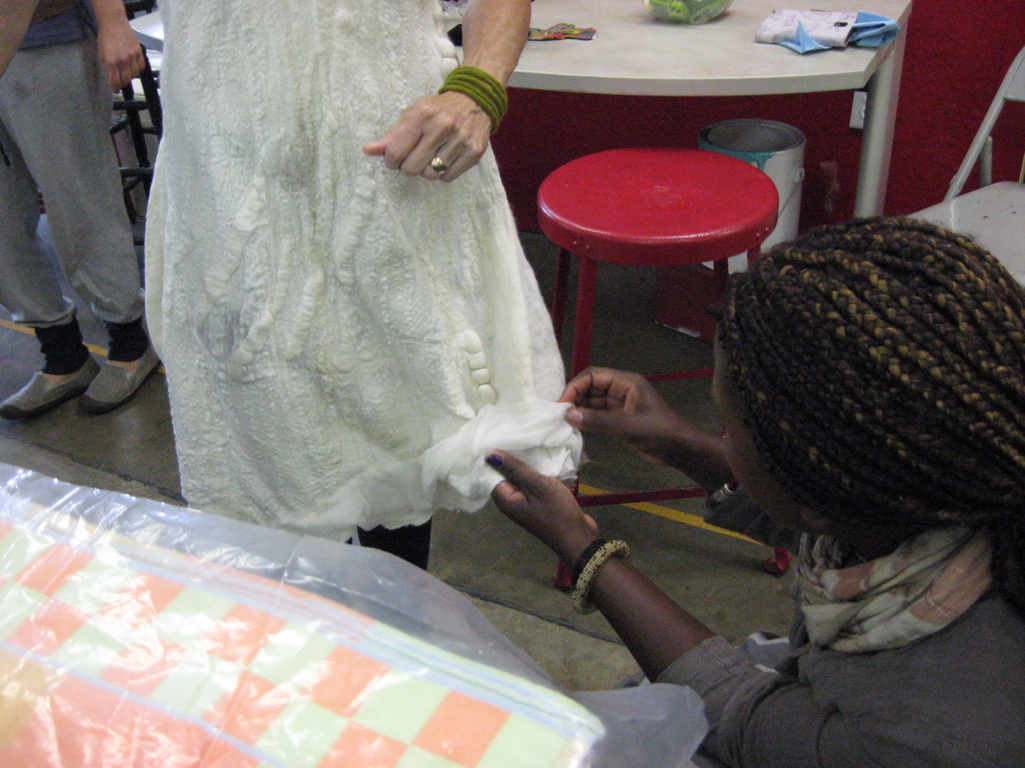
Charity helped smooth and give finishing touches to everyone’s dress.

IMG_6053  IMG_6054

And we all went out for a group photo.  Each dress and skirt was true one-of-a-kind work of art!!!

workshop participants

I even had enough time to layout a shorter top before leaving and felted it at home the next day.

IMG_6089  IMG_6083

This workshop was just the ticket to my get my creative juices flowing this fall!  I will definitely continue to work with this technique and I’ve made a note in my 2016 fall calendar = Charity may be back to give another workshop!!


Michigan League of Handweavers Biennial Fiber Show

I spent a lovely summer afternoon in Holland, Michigan for the last day of the Michigan League of Handweavers Biennial Fiber Show – complete with refreshments, awards ceremony and Ann Keister’s comments on jurying the show as well as a PowerPoint presentation of her work.

Surround Sound Vest won 3rd place in the Functional Fiber category and besides being presented with a lovely woven & beaded ribbon…. I got $75 in prize money too!!

IMG_20140629_134140_726    IMG_20140629_134323_599


It was nice to see ‘Surround Sound Vest’ and my ‘Green Man’ tapestry, as well as all the other fabulous fiber works of art displayed so beautifully.  Hats off to everyone at MLH who worked so hard to put 80 items on display!!

IMG_20140629_134713_980  IMG_20140629_140100_266

IMG_20140629_140108_679  IMG_20140629_140125_200

Samurai: Beyond the Armor Fashion Design Competition

Arriving early at the Detroit Institute of Arts for a talk ‘The Medieval Art of Swordplay’ by Jeffrey Forgeng who is the curator at the Higgins Armory Museum – Worcester Art Museum, I stumbled upon the creations by 10 local designers which had just dazzled the runway in an unusual fashion show at the DIA.  The fashion show was the culmination of a competition hosted by the DIA and Detroit Garment Group Guild (DG3), in which the designers were challenged to create outfits inspired by the DIA exhibition, Samurai: Beyond the Sword.  These garments were amazing!!!

IMG_20140517_125649_113

I may have missed the formal runway show but being able to stand next to these exquisite garments afterward as the models moved about the sunlit Rivera Court….

imgres

To see them ‘up close’…. oh this was my lucky day!  Check out DG3’s site for photos of the all the entries.


Surround Sound and Green Man make the cut!

Surround Sound Vest’ wins FUNCTIONAL FIBER 3rd Place award!

Surround Sound vest

83 pieces were entered into the Michigan League of Handweavers 18th Biennial Show.

The ‘Green Man’ tapestry was also accepted into the show.

Green Man_Barbara Schutzgruber

The exhibit at the Holland Area Arts Council, 150 E. 8th Street, Holland MI 49423, runs from May 17-June 29, 2014. (Regular hours: Monday-Thursday 10am-8pm, Friday 10am-5pm, Saturday 10am-3pm)

The reception, awards ceremony and talk by juror Ann Keister (retired professor of Art & Design at Grand Valley State University) will be on Sunday, June 29, 2014 from 2-4pm.

Read stories behind the creation of these pieces
Surround Sound Vest

The Saga of the Green Man
part 1  –  part 2  –  part 3


Winter Blues Jacket revisited

I had a little jacket, it was old as can be…
Tralala lalalala lalala
What I’d ever do with it, I just couldn’t see
Tralala lalalala lalala
So I thought a little while
And made myself a vest in the very latest style
Tralalala lalala – Tralalala lalala
Made a vest in the very latest style.
–from a Yiddish folk song

What does a fiber artist do when she realizes that she has not worn the hand-woven jacket she spent months weaving and constructing?  She turns it into something else.  Or even better… ends up with 2 items of clothing!!

In 2012, I created ‘Rapunzel’s Winter Blues’ jacket

The finished jacket!!

when I took Michelle Moenssen’s workshop “Making a Jacket from Hand-woven Fabric”.  This was fabulous learning experience, as I had never sewn a tailored jacket (i.e. suit coat) before… let alone one from hand-woven fabric.  [click here for the slide show of the full process]

After 2 years… I realize I had not worn the jacket even once.  My life at this point doesn’t need that style of jacket.  But as any fiber artist who makes her/his own cloth for garments knows, one does not just toss away that much ‘time, sweat, and tears’; and though I do sell my woven and felted garments, this one has strong emotional ties for me so it would be like selling one of my children!  So… I began to think what could the jacket transition into that I would be more likely to wear?

I decided that remove the sleeves – transforming it into a vest – would be the simplest as I had no desire at this point to completely deconstruct the jacket.

Winter Blues jacket revisit

Now… what to do with the hand-woven fabric from the sleeves?  Mary Sue Fenner’s ‘One-of-a-Kind Jacket Trunk Show’ at the March 2014 AAFG meeting inspired me to make a second garment using lightweight commercial wool and the hand-woven fabric as accent panels creating this ‘Two for the Price of One’ vest.

2for1 vest   2for1 vest back
(pattern – Simplicity 2341)

I’m happy to say that both vests will be on the runway at AAFG’s Fiber Feast on April 5, 2014.

The song begins with an overcoat becoming a jacket – jacket to vest – vest to tie – tie to button – button to nothing – nothing to song and Simms Talback’s 1999 picture book Joseph Had a Little Overcoat is a Caldecott Metal winner so who knows… over the years to come this hand-woven fabric may continue to be re-imaged and transformed, giving it renewed life and rebirth.  Tralala lalalala lalala…..

Weaving in Wales – Summer School winds down…..

One of the best things about summer school is the ‘Walk About’ on Saturday afternoon.  This is when we all get a chance to see what everyone else has been doing all week.  It’s always a bit of a scavenger hunt adventure to find them all and this year was no different = 16 courses were held in 6 different buildings spread over the entire campus!  Turkey Red Dying won the prize for most creative dirctions by using ‘Follow the String’ to lead us through a labyrinth of hallways, in and out of the building (due to wet paint!) until we arrived at their location.

We got our classroom cleanup and table displays ready.

10_workstation  classroom_2

Here’s a sampling of the work produced in the Tapestry course woven by
Sally Bohlings    ——     Alison Coates    ——–   Sandra Combes
Sally Bohling  Alison Coates Sandra Combes

Rita Corbett       ————        Andrea Cross
Rita Corbett  Andrea Cross

Elizabeth Hancock     ——–      Barbara Wright
Elizabeth Hancock  Barbara Wright

Here’s a quick tour of some of the other courses…..

Bags_1  Bags from Bits

Breaking rules_1 breaking rules_2  Rule Breaking Weaving

Damask weaving  Pick-up Damask in linen

Designer spinning_1 Designer Spinning

Eco dye_1 Eco Dye_2 Eco Dying

Garments_1 Garments_2 Sewing Handwoven Fabric

Ikat_1 Warp Ikat

string bags_1 string bags_2 String Bags

Turkey red_1 turkey red_2 Turkey Red & All That Madder

Recycle… Upcycle…. Fairs… and more…..

The past 30 days have been filled with projects coming to completion (deadlines are my friend!) with 2 major events this month: demonstrating weaving all day at the Saline Celtic Festival and co-chairing AAFG’s participation in the Ann Arbor Art Fairs.

Deadline:  Have the ‘Surround Sound Vest’ completed for display at the Saline Celtic Festival

Earlier this year I saw a portfolio case woven from recycled/upcycled VHS tape at Ten Thousand Villages in Ann Arbor. Ten Thousand Villages is a national organization focused on Fair Trade working with artisans in developing countries around the world. Ann Arbor has a ‘brick & mortar’ store on Main Street where I volunteer. The case had a wonderful sparkle but was rigid and that got me thinking…. ‘Could fabric suitable for a garment be woven with magnetic tape???’ Audio cassette tape immediately came to mind – it’s thinner/lighter weight and being a performing storyteller….. I have a LOT of cassettes that I’ve acquired over the years!! I had a sample warp on the small loom I use for demonstrations so I wound the magnetic audio tape onto a bobbin and gave it a try… it wove OK. I put the sample through the washer and dryer…. it came out OK!!! The fabric is a bit stiff so it would be best for outerwear. I decided to make a long vest with narrow panels that I can wear for performances.

Library - 4968

I used 10/2 cotton (purple) and 10/2 tencel (accent) for the warp (12 yards long – 8 1/2″ wide – 24 ends per inch) and began to weave using a simple plain/tabby weave structure.

audio casstte weft

Several days and 150 min of tape (3 cassettes) later….. I had only completed 60 inches = ARG….. 9+ yards to  go. This is taking a LOOONG time. Weaving with the magnetic audio tape is slower than using regular yarns because I had to make sure that each pick (shuttle pass) lay smoothly and did not kink before I beat it. I was getting 15-16 ppi (picks-per-inch). Plus I discovered when my first bobbin was finished and I moved on to the next cassette that magnetic audio tape comes in different colors!! Now began the adventure of finding cassettes that matched as I wanted the fabric color to be consistent. Time to rethink my project…. perhaps a full garment made of this isn’t such a practical idea after all. So…. into my stash I dove and found a wonderful purple rayon boucle that would be perfect to use for the rest of the yardage. I was able to complete the 9+ yards in the same amount of time it took to weave the first 60″.

Library - 4928

Off the loom, washed and dried I had 9 1/2 yards of fabric, 7 1/2″ wide = no room for errors!! I made a muslin prototype to verify fit and did a lot of measure twice (or 3… or 4… times!) BEFORE  I cut anything.

Library - 4930

Pattern: #1028 Artist Vest by Dana Marie Design, Co.

The selvages on the magnetic tape fabric were very rough so I used my serger to give a smoother finish to the edge. I used a cotton/polyester bottom weight fabric to make bias tape for the bands. Sewing the magnetic tape had challenges as the sewing machine needle caused some snagging when it hit the magnetic tape but I was able to carefully work the tape back into place.

And here’s the end result!

Last Roll - 01Last Roll - 10Last Roll - 03Last Roll - 06Last Roll - 07

‘Surround Sound Vest’ made her public debut on July 13, 2013 at the Saline Celtic Festival.

0713130859Celtic Fest crop

Her ‘Celtic’ experience continues with her ‘international debut’ in August when she’ll travel with me to Carmarthen, Wales where I’m taking a tapestry course by Alastair Duncan – part of the biennial summer school by the Association of Guilds of Weavers, Spinners, and Dyers in the UK.

Felting with Suzanne Higgs – Day 2

Felting at the Michigan Fiber Festival Symposium in Kalamazoo, MI at the end of March.  I did 2 workshops with Suzanne Higgs.

Day 2 – Fabulous, Funky, Fun Felt Bag

For this workshop we made felt bags using recycled sari silk as surface embellishment.

1_sari silk

2_resist

Light weight, flexible plastic 1 1/2 times larger than the desired bag size is used as a resist – a middle core/layer to keep the wool from felting in the center of the bag.
———–

3_inside bag

Working from the inside out, thin layers of wool are laid out on both sides of the plastic resist.  The inside of the bag will be yellow, with a pink rim folded over to the outside.
—————–
4_middle layer

Periwinkle will be the middle color
——–

5_placing sari silk crop

and finally the sari silk is wrapped around the entire bag.
———–

6_cover and rub

Wet with soapy water, wrap in plastic and start rubbing to felt the wool to the silk
————-

Here’s how the inside and the outside came out:

7_inside of bag

8_outside of bag_a9_outside of bag_b

13_interior

———–

before_after

The starting resist size (26″ x 26″) compared to than the final size (15″ x 12″ after folding the edge down).
————–

Add handles, magnetic snap closure and I’m done!

handle_ahandle_bsnap & handles